The slide-outs are an important part of recreational vehicles and motorhomes. This is because it’s a manual override that’s attached to the outboard beam, making it easier to retract or extend the slide-out rooms if there is a power loss.
Power Gear is one of the most preferred choices for a slide-out as it helps increase the footprint, so there is more living space in the motorhome.
However, they have various fault codes that indicate a specific issue in the slide-out, which is why we are sharing the common fault codes along with their causes and solutions.
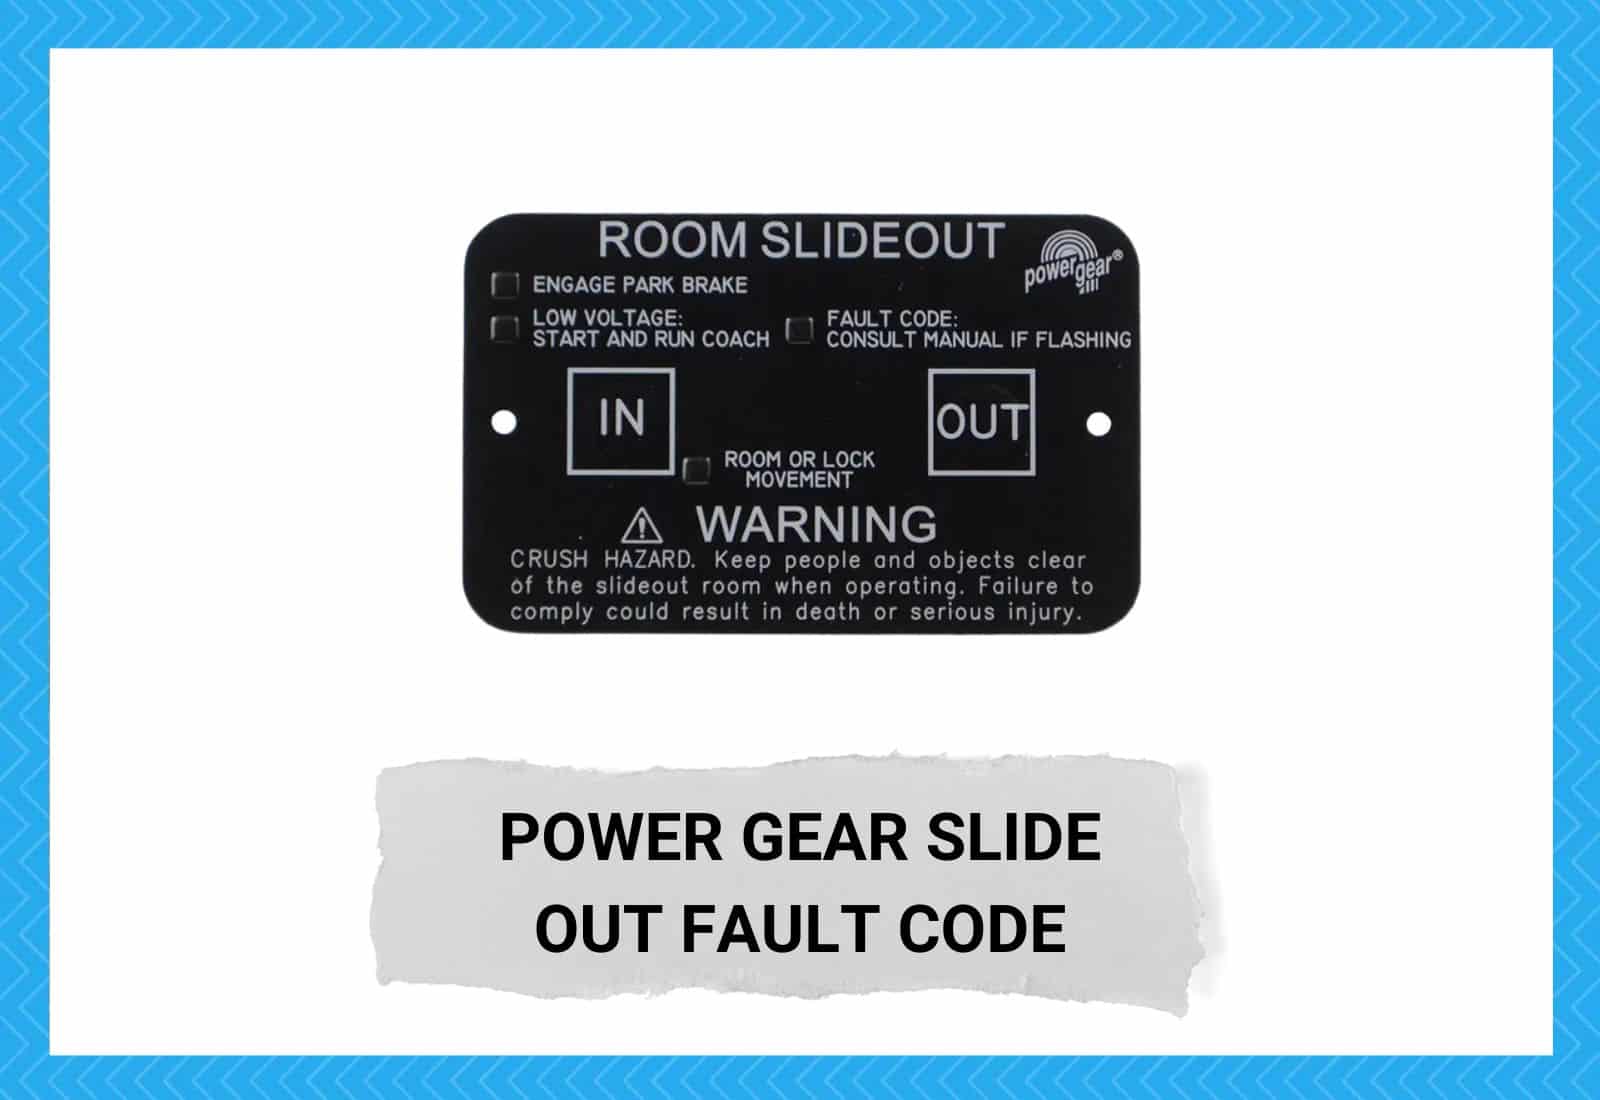
Power Gear Slide Out Fault Code
The slide-outs control is designed to diagnose and detect various faults. Whenever a fault is identified, the room movement stops, and the red LED indicator starts flashing a few times, along with the fault code.
There are two types of faults, including major and minor. These fault codes have to be cleared to ensure slide-out moves smoothly.
The minor faults can be fixed with the help of in and out buttons on the touchpads, while the major faults can be cleared by using the clear fault or set stop button that’s located on the back of the touchpad.
The fault codes are shown to notify the users about a major fault in the system and prevent permanent damage to the system.
1. Fault Code 1
This is a major type of fault and means that the stop hasn’t been programmed. In most cases, this error code appears on the control system when the stop locations haven’t been set for slide-out controls. The solution is to set the stops with the help of a program mode.
The program mode can be used to select the in and out stops and change the stop settings. To add the stop, follow the below-mentioned instructions;
- Look for the control and check which location your slide-out motors are connected to (there are four motors)
- Take out the touchpad from the wall and press the set stop/clear fault option for five seconds. As a result, the LEDs will turn on (the red LED will be solid but the green LED will flash)
- Now, you can set the “in” stop. For this purpose, you have to press the slide-out motor buttons on the touchpad that corresponds to the motors that you’ve to move. The next step is to press the out or in button on the touchpads, depending on the desired rail movement’s direction. Then, move your room to a retracted position and use the set stop/clear fault button again to program the “in” stop.
- To program the “out” stop, you’ve to press the slide-out motor buttons for five seconds and press the out or in button on the touchpad according to the rail movement’s direction you want. Then, move the room to the extended position and save the stop by pressing the set stop/clear fault button. As a result, the out stop will be programmed as well.
Once the stops have been programmed, you can put the slide-out in normal mode. However, before you enable the normal mode, make sure the LED light flashes three times and turns off. =
On the other hand, if the LED light flashes for ten seconds, it means that the programming is incomplete, and you’ve to follow the programming steps again.
2. Fault Code 2
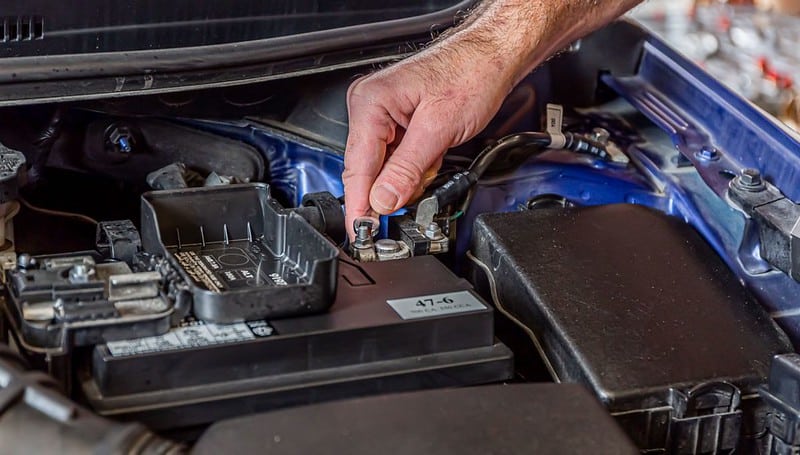
This is a minor code and means that the battery’s voltage has been reduced to less than 8V. The most common reason behind this fault code is a bad battery or damaged wire connections.
For this reason, we recommend that you check the wire that connects the slide-out to the battery and make sure it’s intact (it must not be frayed or damaged). However, if the wire is working fine, it’s likely that the battery is low and has to be jump started.
Jumpstarting the battery will charge it, resulting in the removal of fault code 2. However, if you haven’t changed the battery in two to three years, a battery replacement is a more reliable solution.
Last but not least, you have to check the electrical system of your vehicle. However, since there are built-up charges in the electrical system, it’s recommended that you hire a mechanic to check and repair the electrical controls.
3. Fault Code 3
This is also a minor code and indicates that the voltage has fallen below 10.5V whenever the room movement is initiated. In most cases, it’s caused by a bad wire connection between the control and the battery.
The solution is to inspect the wire connections between the battery and control and see if there are physical damages, such as fraying or blackened parts.
If the wire connections are damaged, you must get them replaced to ensure the battery transmits proper signals to the control. However, if changing the wire doesn’t work, it’s likely that the battery has gone bad, and a new one should be installed to operate the slide-out system.
4. Fault Code 4
Fault code 4 is a minor code and indicates excessive voltage in the battery. In particular, it happens when the voltage is more than 18V whenever the room movement starts.
The only reason behind this code is the damaged battery, which is why the battery has to be replaced to optimize the voltage.
However, it’s better that you hire a mechanic to install the battery, as there are various other connections that have to be completed while installing a new battery.
5. Fault Code 5
The error code appears on the control when the slide-out motor starts drawing excessive current. It is usually caused by an obstruction in the slide-out system, so you have to inspect the surrounding area and clear the obstructions.
In addition to this, the experts recommend re-adjusting the vehicle’s room. Secondly, fault code 5 also appears when the stops aren’t programmed, and the only solution is to re-program the stops.
6. Fault Code 6 & 7
This is a major fault code and indicates a short slide-out motor. In most cases, the motor shorts when the wiring is damaged. To fix the shorted motor, you have to check the motor harness wires as well as the motor for a short.
Irrespective of which component of the motor system is short, you’ve to replace it immediately.
On the other hand, fault code 7 means that the slide-out motor is open – it is caused by a blown fuse or a bad connection. For this purpose, you have to check the wire connections and replace the bad ones.
In addition, you can use the multimeter to check the fuse’s continuity, and if it’s blown, it should be replaced.
7. Fault Code 8
This is a major code that means that the motor sensor isn’t getting signals on the yellow wire. It’s caused by a damaged wire connection, so make sure you replace the yellow wire to ensure signals.
8. Fault Code 9
This code indicates that there are no signals on the blue wire (it’s the out 2 wire). Again, the solution is to replace the blue wire.
9. Fault Code 11
This minor code means that the room lock motor is consuming excessive current and is caused by obstruction or excessive drag. As far as the solution is concerned, you have to remove the obstructions in the slide-out system and make sure the damaged parts are removed to prevent drag.
10. Fault Code 12 & 13
Fault code 12 indicates a short room lock motor, while fault code 13 indicates an open room lock motor.
Since both these issues are caused by bad wiring connections, you’ve to inspect the wires to make sure the damaged wires are replaced on time. Once the wiring connections are fixed, the room lock motor will start working.
The Bottom Line
The Power Gear slide-out is a reliable choice for RVs and motorhomes. It has been designed with a control, which shows the fault codes and makes it easier to understand the cause behind performance issues.
The solutions are easy, but if they involve changing the damaged wires or components, you should hire a professional.

Low battery light flashes when operating slide on 2017 Isata 3 fw. Batteries are new. Has been wired to operate with motor running. Voltage meter shows 13.8. Been plugged into shore power. With generator running, meter shows 14.5 and all is good. How to get 14.5 volts without running generator ?
I have a Isata 4 with the same issue of low battery condition. I have installed lithium batteries, lithium charger and the dinette slide works most of the time without a fault if I am plugged in or generator running. It was much worse before the lithium batteries. I just stop and restart if the low battery light flashes. I never have an issue with the bedroom slide which is much smaller. I truly think the slide is too heavy for the motors they used.
I just replaced the gear on the rear motor on a full wall slide out after replacing the gear I ran the slideout, out and it seemed to run fine when I was trying to bring it back in a red light came on blinking 5 times and then 1 green what would this mean?