The motorhomes and RVs are perfect for people who like vacationing and moving around the country. However, these are huge vehicles and need to be stabilized properly, which is why many users opt for LCI electronic leveling.
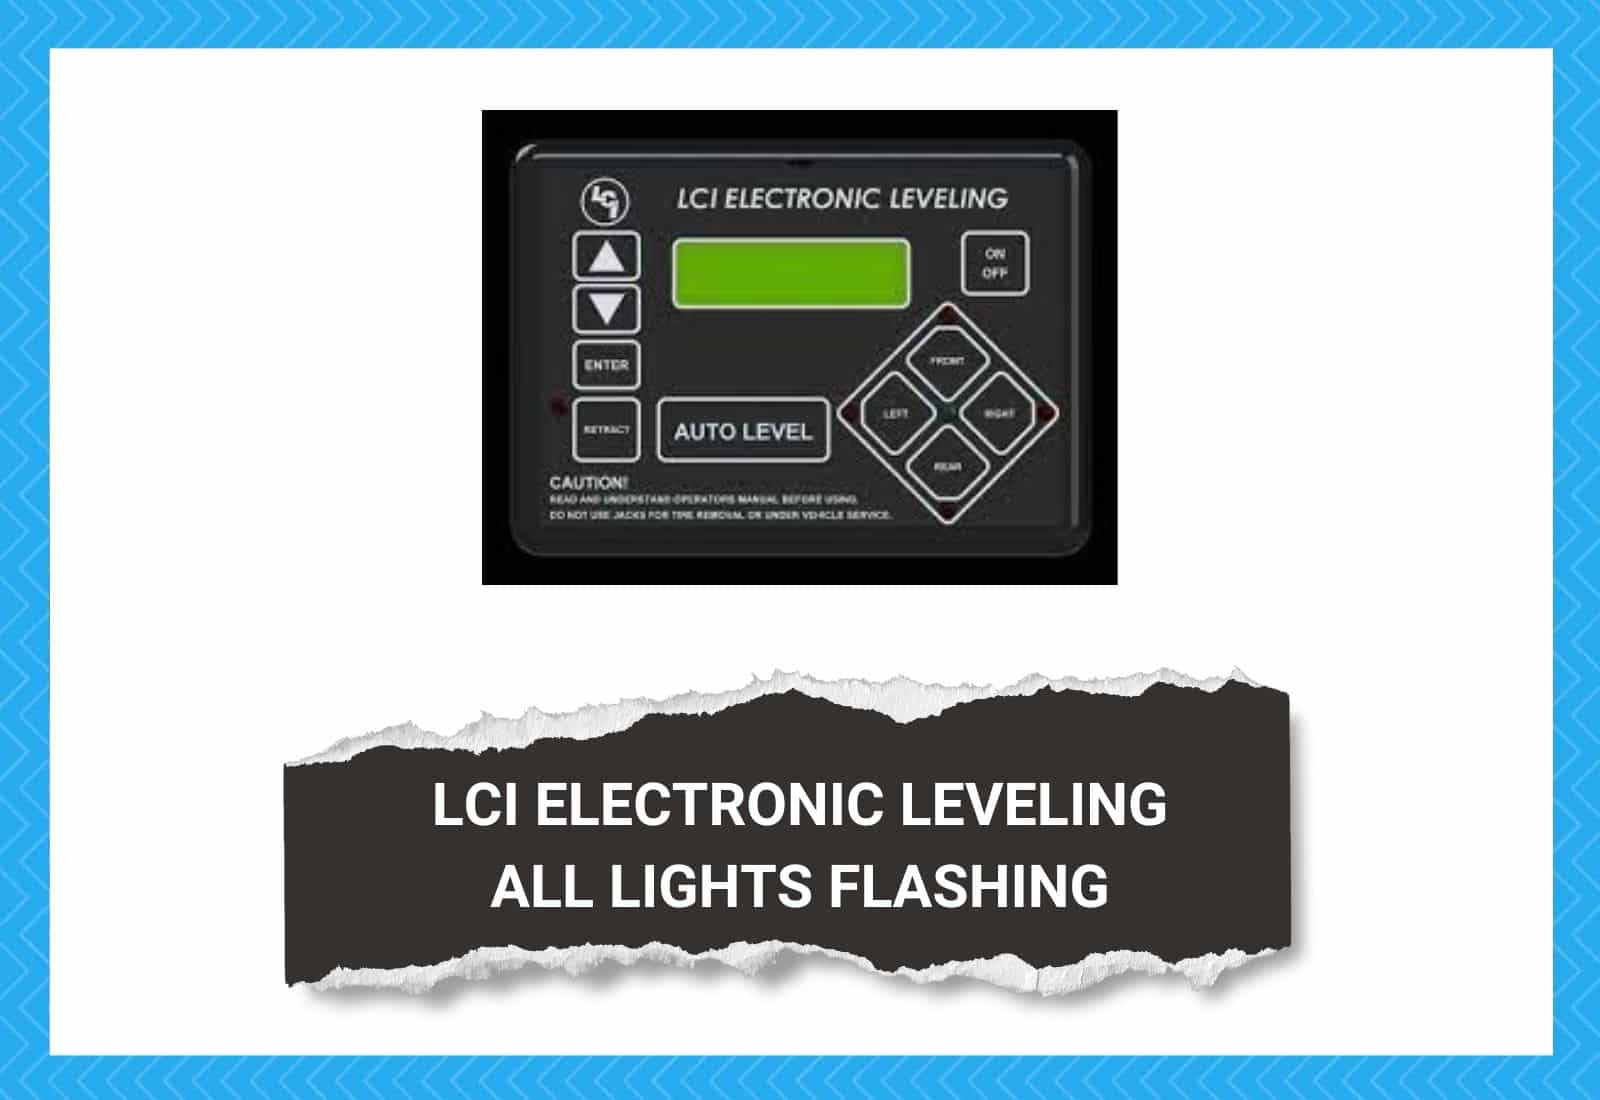
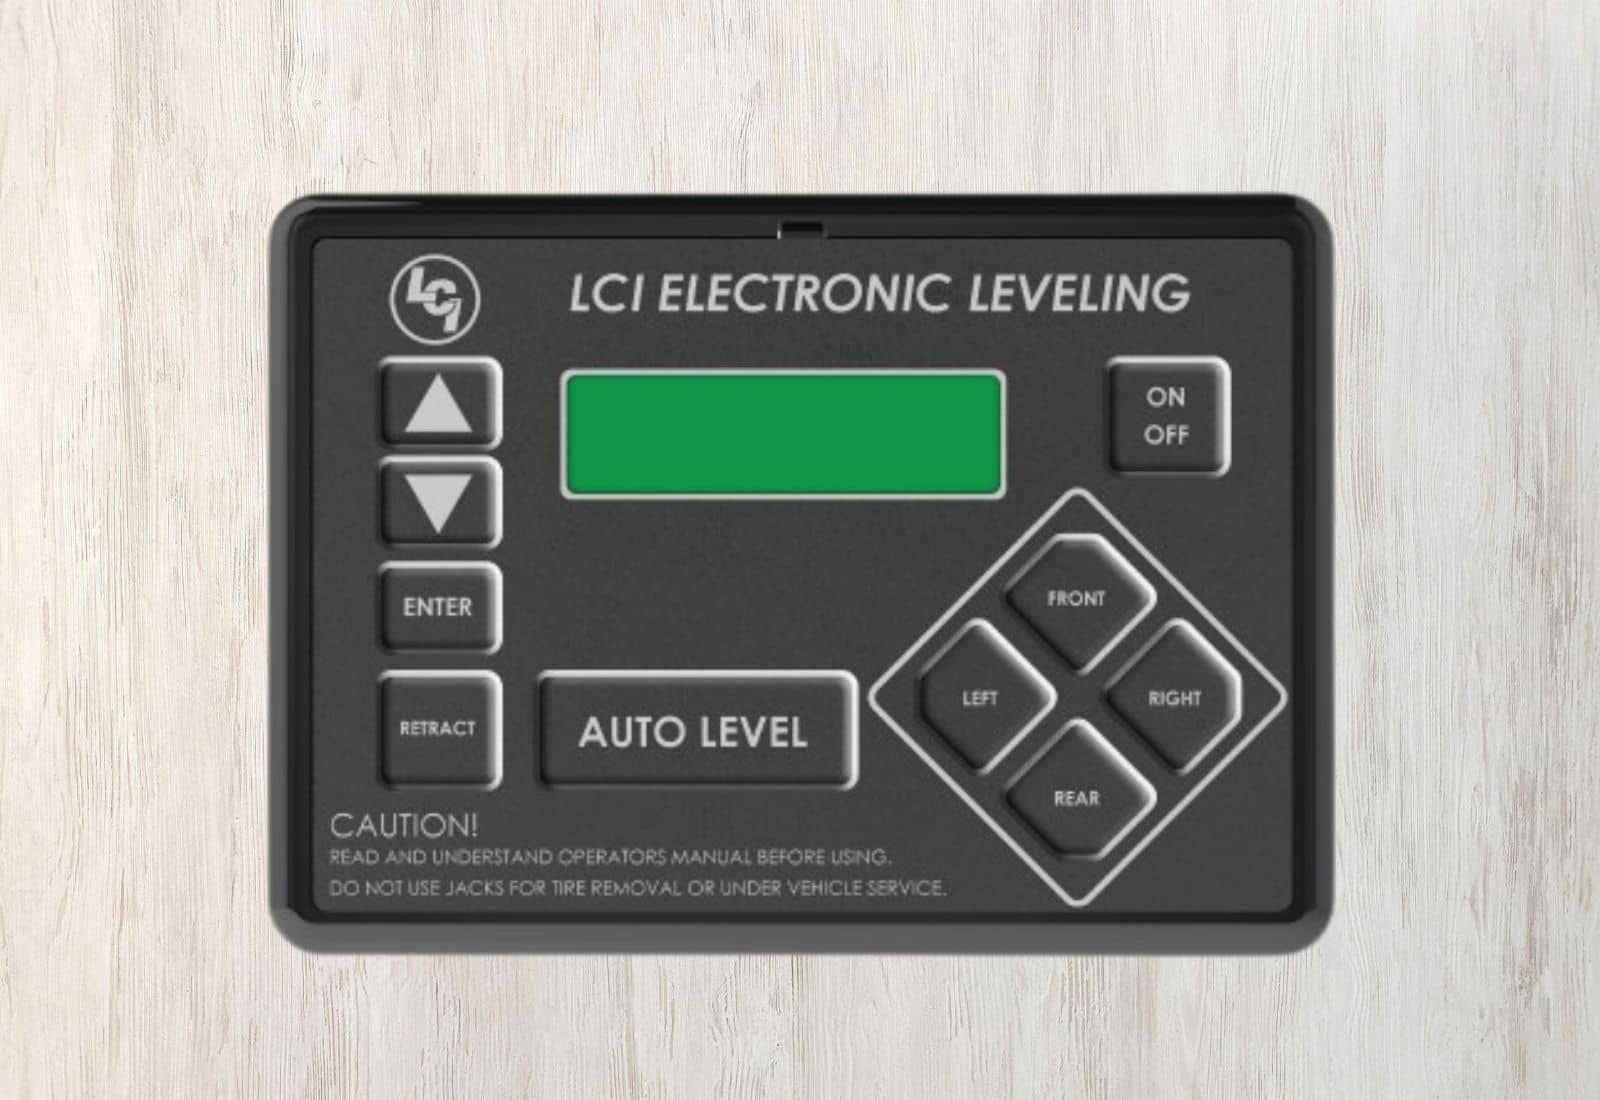
It is designed to level and stabilize the caravan with a push of a button, promising an improved camping experience. It has a control board with LED indicators that help keep an eye on the leveling and stabilization process.
However, if all lights start flashing on the control board, there are various solutions that you can try!
How to Fix LCI Electronic Leveling All Lights Flashing?
1. Reset
It often creates an alarming situation when all lights on the control board start flashing at once. One of the easiest and quickest solutions is to reset the electronic leveling system by pressing the four diamond-shaped buttons on the panel.
However, if the system isn’t reset by using the diamond-shaped buttons, you can contact LCI customer support.
2. House Batteries
The second potential reason behind functionality issues and flashing lights is the house batteries. The house battery is responsible for optimizing the electrical consumption in the RV, but if it stops working, the control board will experience power fluctuations, hence the flashing lights.
For this reason, we recommend that you charge the house batteries. If charging the batteries doesn’t work, you have to replace the battery.
However, before you replace the batteries, it’s recommended that you check the wiring. That’s because the house batteries won’t be able to work if the voltage falls below 9.5V, and the voltage fluctuations are caused by bad wiring.
The bad wiring should be replaced to optimize the voltages, and as a result, the battery will power the control board.
In case the wires aren’t damaged and are already correctly connected, only then should you replace the battery (make sure you replace the connecting wires as well).
3. Prove Out Mode
If the lights are flashing for two seconds and then turn off automatically, it means that the vehicle is in the prove-out mode. So, just give it a few minutes, and normal operations will resume.
The lights start flashing when the parking brakes aren’t set. The parking brake is important to ensure that the vehicle remains motionless when it is parked.
However, if you have stopped the vehicle but haven’t pulled the parking brake, it can result in flashing lights. For this reason, make sure that you pull the brakes as soon as you stop the vehicle.
On the other hand, if you have engaged the parking brake but the lights are still flashing, it’s likely that the cables are damaged. That’s because the parking brakes have a wire that connects two-wheel brakes, which is connected to the pulling mechanism.
So, in that case, you should turn off the vehicle immediately and check the wire that connects the parking brakes to the wheel brakes. If the cable is damaged, it must be replaced immediately.

5. Gearshift
The lights also start flashing when the gear shift is in the incorrect position while you are trying to level and stabilize the vehicle with the help of an electronic leveling system. Keep in mind that while you are leveling, the vehicle must be in parking mode.
So, if you have selected the wrong position on the gearshift, the leveling won’t be completed, and the lights will start flashing. The solution is to change the position of the lever on a gearshift.
On the contrary, if you are unable to change the position of the lever on a gearshift, it’s likely that the crankshaft is broken and should be repaired immediately.
Lastly, if the lights stop flashing within a few seconds, it means that the jacks are retracting or extending in auto mode, which is a normal operation. For this reason, you must wait a minute before changing the gearshift’s position.

6. Leveler Circuit
The lights also flash when the leveler circuit is not working properly. The leveler circuit shows performance issues due to various reasons, including;
First of all, you have to check that jacks are retracted at the right point because if they are retracted too far, they will lead to circuit issues, hence the flashing lights. Ideally, the jack must stop at ¼ inches before it hits the foot.
Check the spider harness of the sensor circuit and replace it if it is blackened
If the two above-mentioned solutions don’t work, it’s likely that the jack is defective and should be replaced to make sure the circuit starts working properly
7. Jack Motor
A jack motor is another component that you’ve to check when the lights start flashing on the leveling’s control board. The jack motor is important to operate and control the jacks and improve the mechanical advantage.
However, if the jack motor is damaged, it won’t supply power to the jacks, and the lights will start flashing when you try to control the jacks.
For this reason, we recommend that you hire a mechanic and ask him to check the jack motor, or you can use the multimeter to check the jack motor’s continuity.
If the multimeter shows zero continuity, it means that the jack motor is burnt and should be replaced immediately, so you can control the jacks.
However, before you replace the motor, make sure that it is getting a 12V direct current. If there is a current issue, you’ve to charge the batteries and make sure the wire that connects the motor to the battery is working properly (the damaged wire won’t transmit the power signals and has to be replaced).
8. Jacks
If the motor is working, but the jacks are still stuck, the LCI leveling’s control board will start flashing lights. For this purpose, you’ve to check the jack connections and make sure they are connected to the right ports and are secure (the loose connections must be tightened up properly).
In case the connections are correct, just cycle the jacks a few times, and they will start working normally. That’s because the jacks sometimes need warming up if the vehicle hasn’t been used for a long time, and cycling will warm them up.
9. Transmission
If all lights are flashing on the LCI electronic leveling’s control board and there are audible beeps as well, it means that the transmission has been shifted out of neutral or park mode.
In most cases, it happens when the system is in auto-retract mode. All you have to do is to shift your system back into neutral or park mode. Once the vehicle is in neutral or park mode, you can start the leveling process.
10. Sensor
In case the lights are still flashing, there are chances that the leveling sensor is not working properly because of a bad connection. The solution is to locate the leveling sensor and check its wiring.
In case the wiring is frayed or has other physical damage, it should be replaced to make sure the sensor is getting sufficient power to operate.
11. Controller
If you have tried all the solutions, but the lights are still flashing, it’s likely that the calibration values of the sensor are out of range. Unfortunately, it’s not possible to calibrate the sensor on your own, and the only solution is to replace the controller.
However, you must hire a professional mechanic to install a new controller to make sure the connections are made properly.
The Bottom Line
There are multiple reasons behind the flashing lights on LCI electronic leveling’s control board. To resolve the issue, it’s recommended that you follow the troubleshooting process in the same sequence as we have mentioned in the article.
Also, if you have to replace the wires, batteries, or any other components, hire a mechanic to ensure secure connections. However, if the leveling is under warranty, you can claim a free repair or replacement.
