Imagine going to your favorite campground without worrying about where you’ll sleep or relieve yourself. You don’t have to set up a tent and watch out for wild animals rummaging through your stuff.
You can get all muddy and grimy because you know there’s a proper shower nearby where you can clean up as you do in your home.
Yup, that’s possible if you have a recreational vehicle. It’s a vehicle designed to take the stress and inconvenience out of camping by providing the same amenities found in a real house.
No wonder the outdoor recreation industry continues to boom (and has never declined, even after the pandemic). The competition is also growing steadily, causing the price of RVs to dwindle slowly. Soon, everyone will be able to afford them and enjoy their many perks.
The drawback of mobility
Unfortunately, transforming a vehicle into a house has some repercussions. For one, a house is designed to be stationary, stable, and level—three qualities hardly achievable with a vehicle.
Unlike a house, a vehicle can only be stationary when parked, stable if it has enough weight to counter lateral movements, and level when parked on level ground.
This raises the question, how do you stabilize and level an RV? Well, manufacturers have taken these factors into account. They include leveling jacks in their designs, allowing owners to level their RV on an uneven surface.
It can lift the RV a degree or two to ensure the floor is perfectly horizontal. It also provides a little stability, although you need to put up additional support to keep the RV steady.
HWH Corporation is one of the leading designers and manufacturers of hydraulic equipment in the United States. Its products include slide-outs, control modules, and hydraulic leveling systems.
It is popular in outdoor recreation for its leveling systems, as many RV manufacturers use them as a standard leveling system for their trailers and coaches.
An HWH leveling system uses single-acting cylinders like standard hydraulic jacks. It also uses powerful springs for retracting.
Most RVs with an HWH leveling system also come with an active air suspension system consisting of two airbags that inflate and deflate depending on road or parking conditions. Those airbags can easily take care of curves and stability problems.
Inside the RV, typically on the left side of the driver seat, is the control panel for the leveling system. It’s slightly more complicated to operate than older leveling system models because of its multiple buttons and functions.
But you can always check the manual for the action you’d like to make until you memorize all the commands. There’s also an automatic leveling function that makes the operation less intimidating.
Troubleshooting and Repair before Rebuilding
HWH has been providing leveling and suspension solutions for RVs since the late 80s, so it shouldn’t surprise you that some old models have one of their products.
Unfortunately, this means some HWH leveling systems are already due for replacement and no longer perform as efficiently as they should. Undeniably, there are also some that are still brand new yet already acting up.
Understandably, it’s impractical to replace HWH leveling jacks just because of a random issue you encountered once.
You may unknowingly throw away a component that still has a few years left in its useful life if you’re too keen on meeting a certain level of performance or quality.
It would be best to conduct manufacturer-recommended troubleshooting and repair first. This way, you can maximize your leveling system’s value.
- Identify the issue or issues. Observe the lights on the control panel, which are illuminated, and if the lights are steady or blinking. Check the manual for their meanings and how to deal with related issues. Listen to the hydraulic jacks’ sound when you try to lower or retract them. Is it something you’ve heard before? Strange noises typically indicate damage within the hydraulic jack.
- Get out of your coach and physically inspect the hydraulic jack. Look for anything that doesn’t belong, such as deformities, snapped springs, buckling, leaks and obstructions. If you find nothing, the most likely culprit is a blown fuse. Don’t worry because that’s what fuses do. They interrupt electrical surges to prevent immense voltage from destroying the leveling system electronics. All you need to do is replace the fuse, and the leveling jacks will be back in operation.
- Try the manual override (although this won’t fix the problem), but you must know how to do it to get your leveling jacks proper servicing. Your goal here is to temporarily retract the leveling jacks so you can drive to the nearest workshop to have them checked.
Should the problem persist after doing standard troubleshooting, it’s time to go a little more invasive and try these simple fixes:
- Stuck/not going down – the most straightforward explanation for this occurrence is that air in the bags needs to be released to lower the entire RV. In short, the leveling jacks may not be the problem, to begin with. To dump the remaining air, turn the system on and press the dump button on the control panel.
- Won’t retract – As previously explained, the springs are responsible for retracting the leveling system, so they are the first ones you must check if the jacks are not pulling back. You should also check if all the components are well-lubed because sometimes friction is to blame. And if allowed to build up, too much resistance might cause the components inside the jacks to snap.
- Retracting very slowly – This issue may also be related to the springs. The springs are probably already too old and rusty to absorb pressure. It may also be due to low hydraulic fluid levels, which you can fix by refilling the jacks with new fluid. It’s also possible that the jacks lack grease and only need to be lubricated with motor oil.
- Leaks – One of the reasons hydraulic jacks work is that they are tightly sealed containers. The hydraulic fluid in them has the perfect environment for generating pressure. Unfortunately, the pressure will also be released if there’s a hole or crevice where the hydraulic fluid could leak through. The easiest fix to this problem is to tighten the fluid cap. But if the leak comes from somewhere else, you must take the leveling system in for a thorough check.
HWH Leveling Jacks Rebuild
Tried everything but nothing worked? Then, it may be time to rebuild. Of course, if the entire leveling system has to be replaced, the best solution is to let a certified HWH mechanic do it.
But in most cases, only the springs need to be replaced, and that’s something even a non-savvy RV owner can carry out. Before doing so, though, you need to get your tools ready.
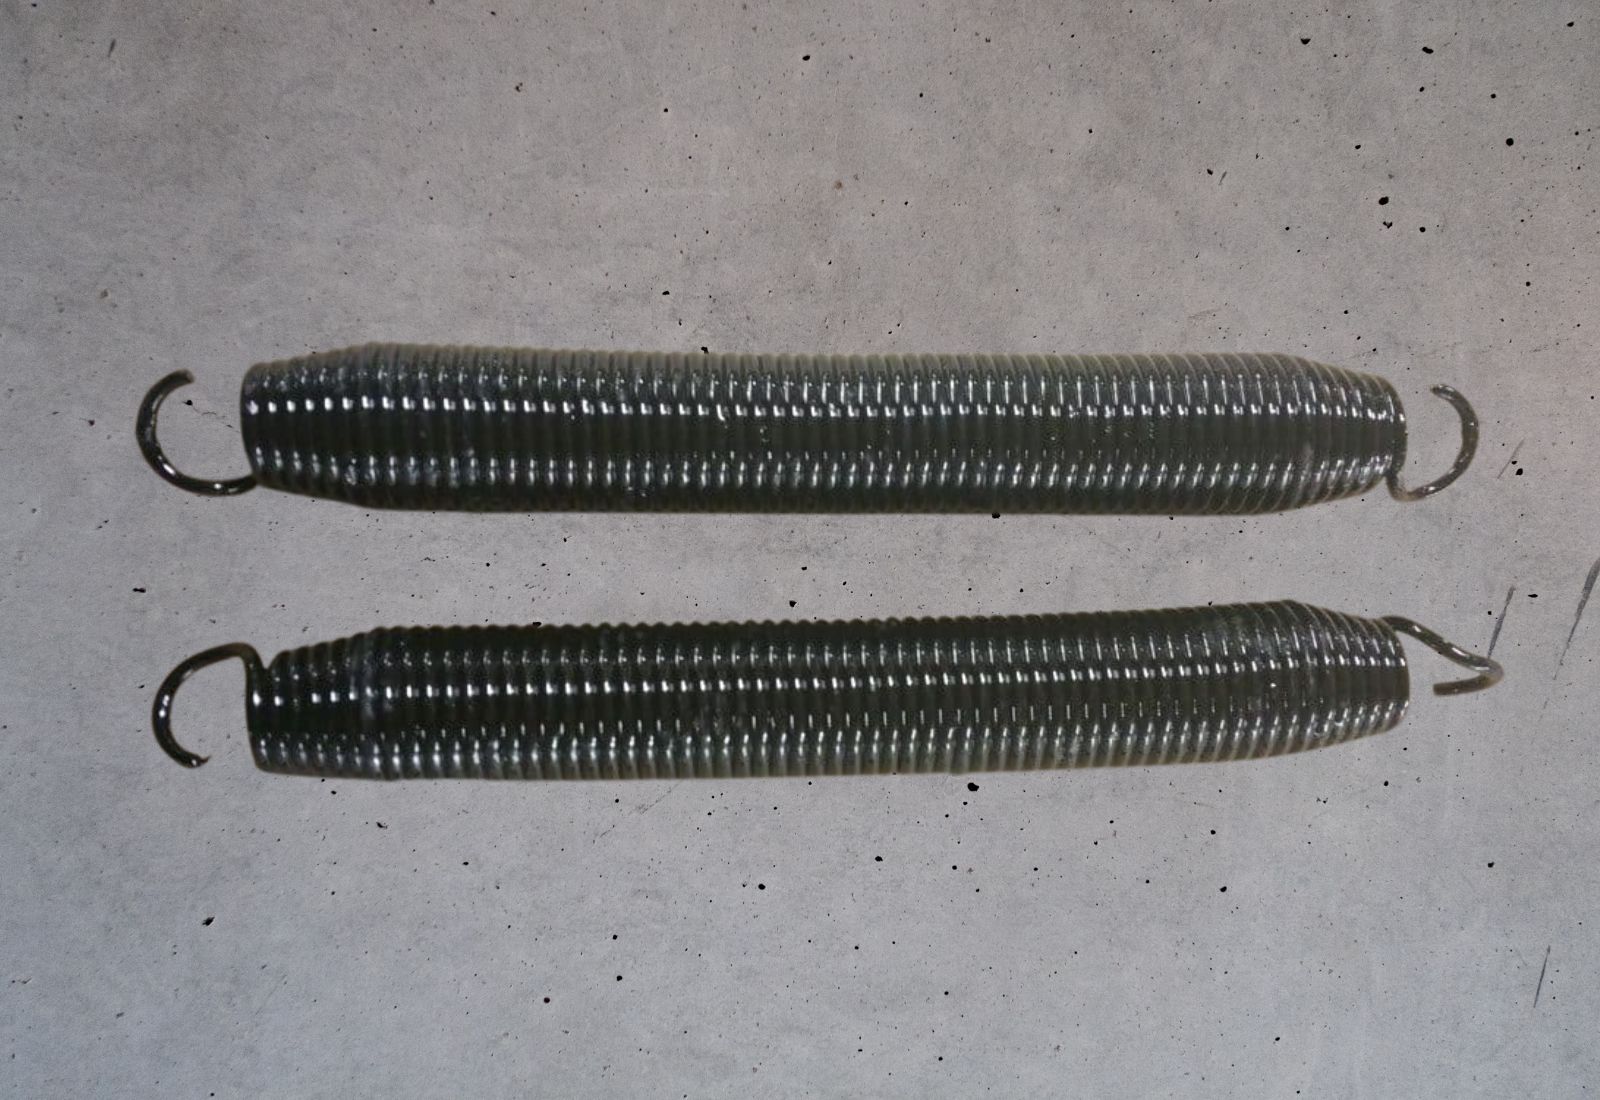
Since you’re only removing and replacing the springs, you won’t need any cutting and power tools. You can do it in many ways, but the safest is with a prying tool, shims, or both. The prying tool is simply a customized rod or tube with a peg welded to it.
This rod will serve as the lever, like the lever of a bottle jack. The lower end of the spring is anchored to the rod’s peg, creating a fulcrum for the lever. The lower end of the rod is grounded, and the other end is pulled down.
This will pull the spring along until its hook is loose enough to get off the jack’s base plate.
The spring’s hook must be pried loose from the plate because there’s still tension that locks the spring into the base plate. This means the spring must be stretched slightly and shut externally to free it from the base plate.
Prying it off with this simple apparatus will do just that. After removing one spring, it will be easier to remove the other.
You can use shims if you don’t want this complicated process. These plastic, ceramic, or metal chips are available on Amazon or at any hardware store. You will need at least 15 pieces, depending on how long the springs on your leveling jacks are.
![]()
Remember that your goal is to stretch the springs enough to free them from the base plate. Then, all you need to do is insert the shims between the coils to increase the spring’s length.
When installing the new springs, make sure to stretch them first. Tie each end with a tie-down strap, then connect one end to a rigid post and the other to your car. Just be careful with the speed by which you pull the car away.
Do it very slowly, just enough to let you insert the shims. Unlike the old springs, which have been stretched for a long time, new springs have tightly spaced coils that won’t separate by manual stretching.
Once your leveling jacks have new springs, expect them to perform much better. However, you must anticipate that the hydraulic jack will eventually have to go. When the time comes, let professionals do it. It pays off to have a well-installed leveling system.
