Introduction
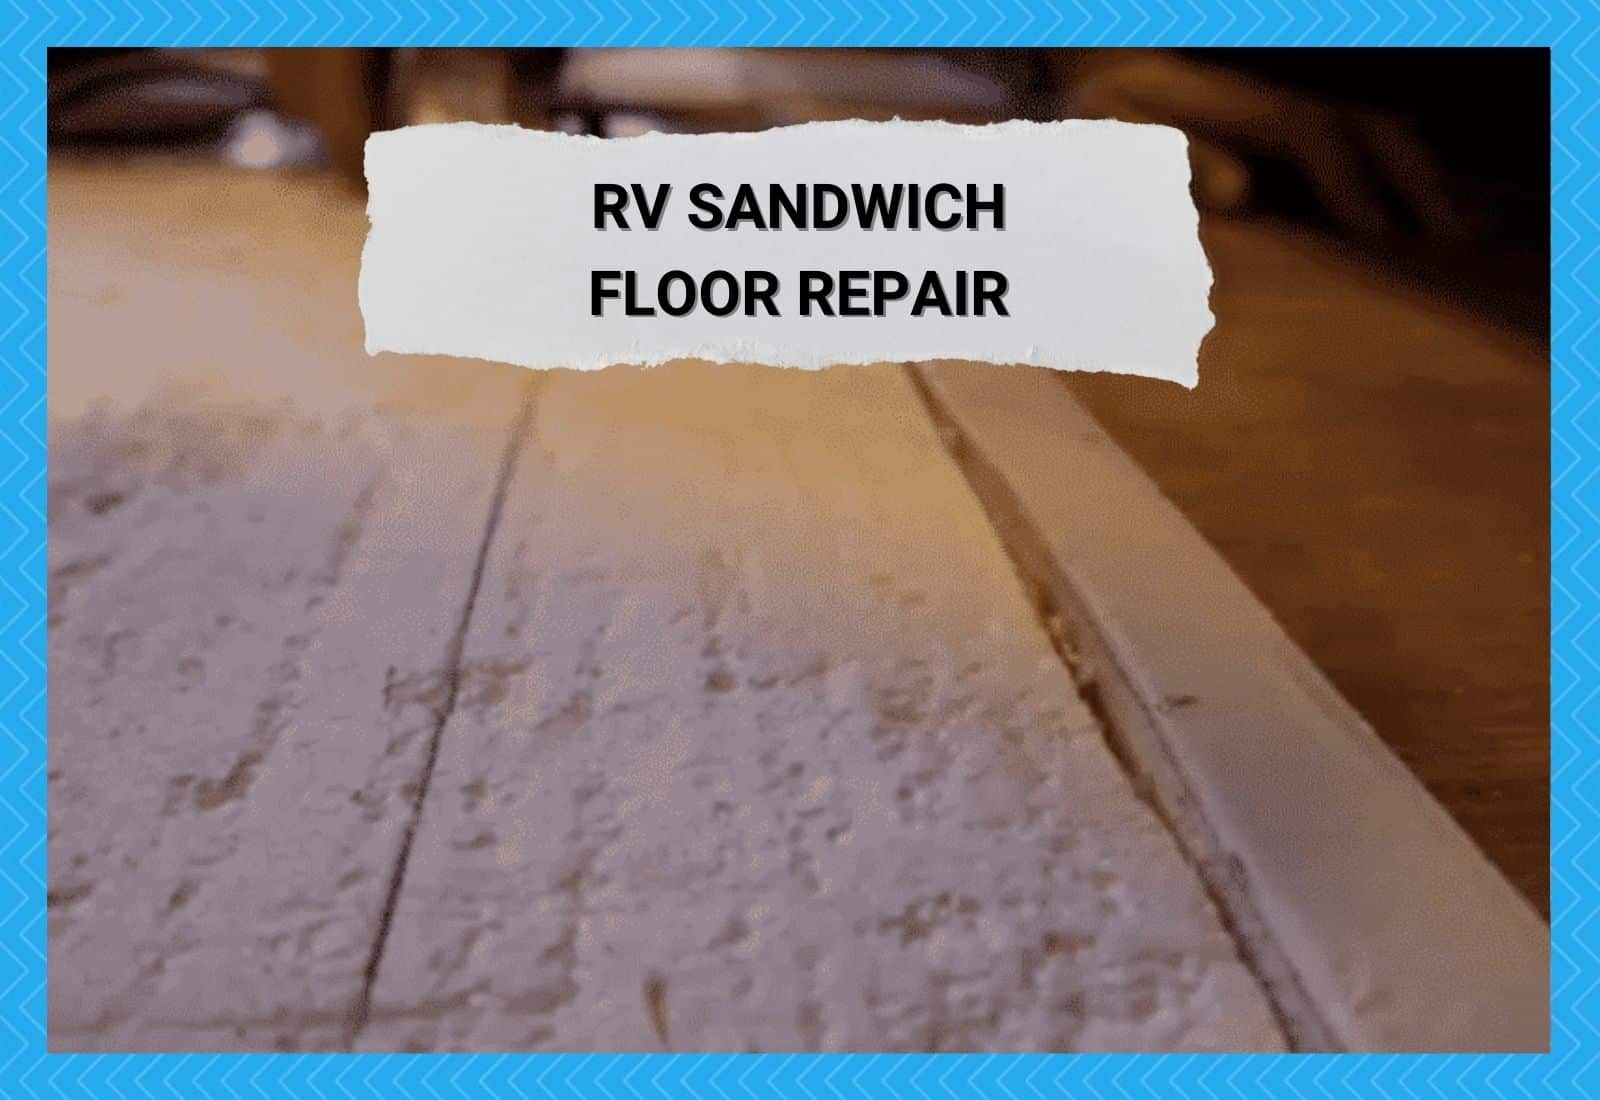
In recent years, innovative composites have been adopted by the RV industry to improve vehicle performance and comfort. Notably, sandwich flooring has been adopted as multifunctional lightweight material which provides exceptional thermal and acoustic insulation.
The sandwich floor panels are effective because they incorporate insulation, vapor protection, and fire resistance in a single lightweight foam panel. They are ideal for RVs because, beyond the technical benefits, they can be easily fitted and covered in attractive vinyl veneers.
Unfortunately, as any RV enthusiast will know, damage to their beloved RV is incredibly stressful and concerning. Sadly, other than some bodywork bumps and scrapes, water damage to floors is the most common threat to our mobile homes.
When disaster strikes, you must know how to diagnose and resolve the problem quickly. Therefore, this article will walk you through exactly what you need to do.
How Do you Know The Floor is Damaged?
Even a goliath RV has less floor space compared to the average home. Therefore, you will become intimately familiar with every squeak and imperfection of your beloved RV’s floor. Fortunately, this is a crucial skill in identifying issues early when they are more easily resolved.
The most common cause of RV floor damage is due to water. Sandwich flooring panels are particularly susceptible to water damage due to their foam construction which absorbs water easily and begins to disintegrate fast.
Symptoms of water-damaged sandwich floors include; a high-pitched squeak and soft or spongy areas. Often these symptoms are accompanied by the distinctive smell of mold and must.
If you are unfortunate enough to experience any of these symptoms, you must address them as soon as possible!
RV Sandwich Floor Repair
Once you have identified water damage with your RV’s sandwich floor, you must manage the problem swiftly. The longer you leave it, the more likely it will become more substantial and costly to fix. But don’t worry. Here are the comprehensive steps to follow if you run into trouble.
1. Find water source
The first and most crucial step is identifying where the water is coming from. Assess where the damage is localized and try to identify any nearby water sources.
Moisture leaks often originate from compromised pipe joints that have degraded over time. However, it is not unheard of for leaking fresh or grey water tanks to be the source of severe water leaks.
RVs have confined spaces packed with all your essential components to make it your comfortable and unique home on wheels. However, if your RV spends long periods unused and is not aerated regularly, then condensation may be your problem.
Finally, deteriorating seals around windows and roof vents might allow water into your RV. Rubberized seals will naturally degrade over time and require regular checks to ensure they function adequately.
Once you have found your moisture source, you must deal with it comprehensively. Otherwise, any repair attempts will be futile and wasteful.
2. Assess and Address
Once the water source has been identified and rectified, it is time to begin the repair process. Use chalk to outline the affected areas generously, making sure you note every section which requires attention.
Removing as much moisture from the area to fully appreciate the extent of the damage is critical. The most effective method is to open all of the windows and doors in the RV and use any internal heating you may have.
Ideally, you would also utilize a dehumidifier to ensure that as much moisture as possible is removed.
Allow the RV to dry out for around 24 hours. Once completed, you should reassess the chalked area to see if the affected area has reduced size. If the soft spot of the floor has shrunk substantially, you have caught the problem early.
Unfortunately, if the majority of the area is still very soft, it is more severely damaged. In this instance, the structural foam has disintegrated and requires more serious attention. Therefore, reviewing the extent of the damage is a vital step that will impact the rectification process.
3. Cut Out Area
If your RV’s sandwich floor appears severely damaged, it is time to consider cutting it out. It may be a disturbing prospect, but it is the only way to fix your floor permanently.
It would be best if you considered contacting your RV dealer to source the same style of sandwich flooring. However, most RVs are customizable, so it is likely to be a reasonably simple request.
Examine the affected areas and attempt to square the affected areas off. Doing so will help you when you are replacing the section, as sandwich panels come in rectangular sections.
To remove the affected area, you will require a flexible saw or jigsaw. The topmost layers of the panel will be the most solid so consider drilling guide holes in them first.
Once you have cut the affected section, it is time to remove them. The panels are securely glued to the subfloor, so it will be a laborious task.
Once removed, it is time to shape the new panel and glue it into position. During this process, you should be on the lookout for mold. If you identify infected areas, address them with powerful antifungal chemicals. Mold will naturally spread, and even a tiny area can quickly proliferate throughout your RV.
4. Add Epoxy
There is a less labor-intensive solution for sandwich flooring that isn’t as severely damaged. In addition, this method is more straightforward and can produce remarkable results.
After locating the soft, damaged areas, you can drill small, uniformly spaced holes over the area around 6 inches apart. Then inject construction epoxy into the holes, being careful not to overfill them.
The epoxy will spread throughout the damaged cavity and cure over a few hours. It will act as structural support for the floor in the spongy areas due to minor foam damage.
Although the thermal integrity of the sandwich flooring will be compromised, this method is a very effective solution for minor repairs. Of course, eliminating the need to tear apart your cherished RV is always the most desirable solution.
Conclusion
After reviewing this article, you will be more equipped to deal with water damage to your RV’s sandwich flooring. Identifying the degree of damage and the most appropriate method to fix the problem permanently is vital.
So when you next spot water damage on your RV’s floor, act quickly and calmly and follow what you have learned. You will be back on the road before you know it!
