Ice dams, ice stalagmites, and snowy loads may be visually appealing, but they can pose serious difficulties for the rest of the building and surroundings. Ice dams arise when snowmelt does not run down from the roof into the drainage and instead freezes as the temperature falls.
The ice obstruction inhibits further melting, allowing water to slip beyond your roof’s panels and into the upper layer of your building.
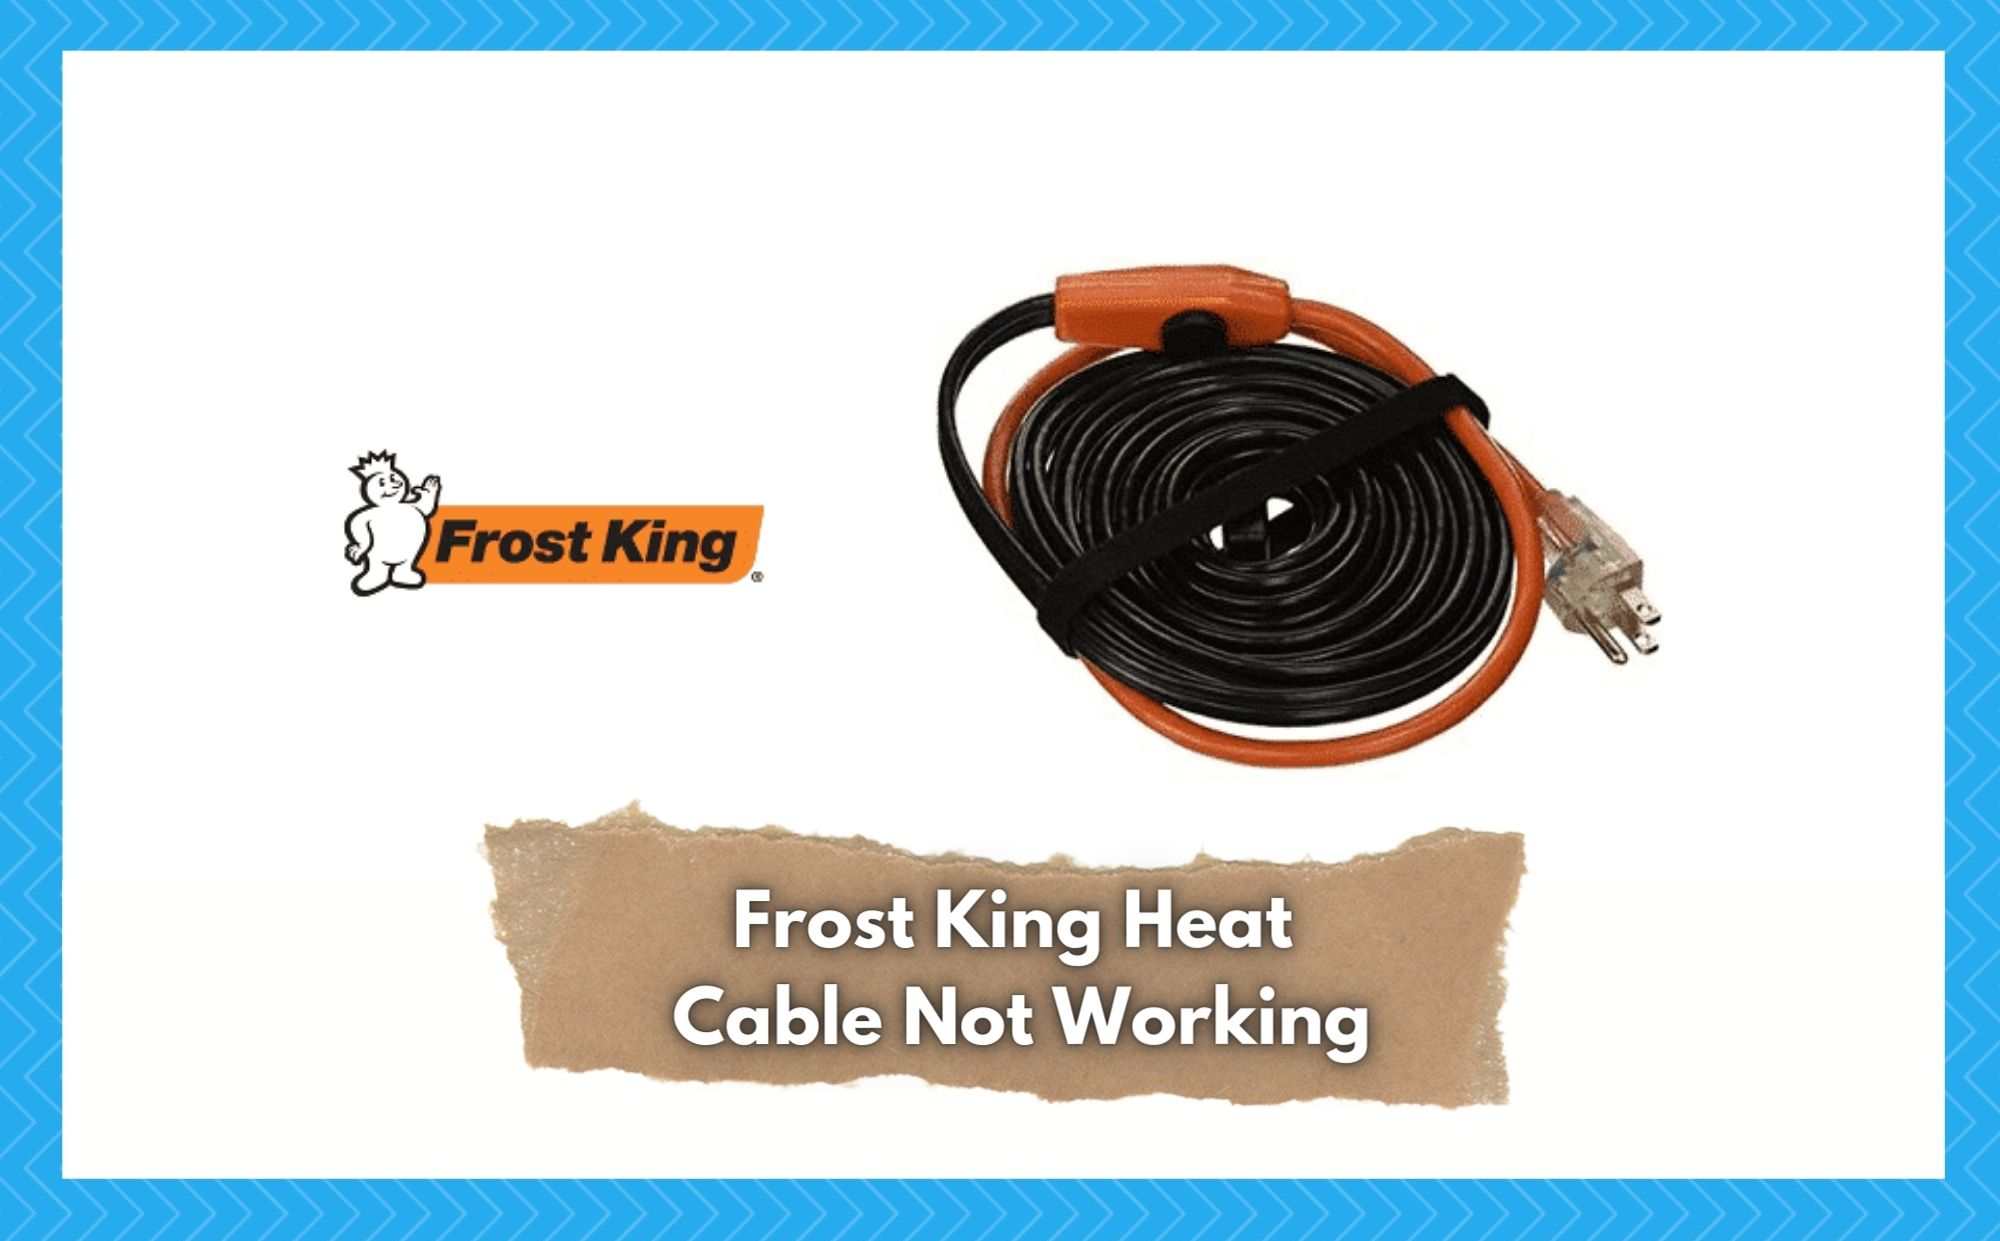
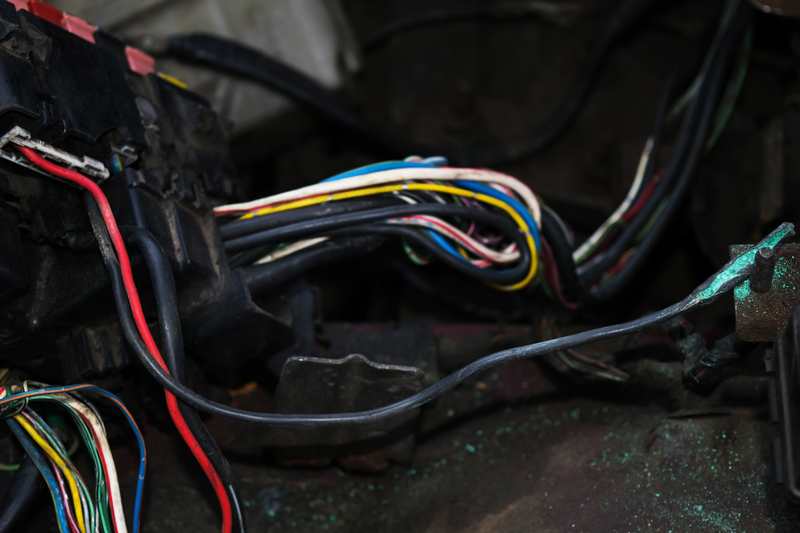
If you reside in a colder climate, then it is common for water lines to freeze. To gain access to the water supply, you must first heat the waterline. You may achieve this by running a Frost King heat wire down the waterline, which will prevent the water line from freezing. If you are facing reezing difficulties practically all of the time, you should instantly acquire this wire.
Benefits of Frost King Heating Cable
- It easily attaches straight to a broad range of interfaces and geometries (e.g., 1/4 diameter or bigger pipe, glassware, knobs, catalysts, tanks, and so on).
- High watt density and user-configurable setups result in rapid and consistent heat-up.
- Extreme temperature
- Standardized temperature regulating devices make them simple to manage.
- A wide choice of diameters, power levels, operating temperatures, and styles are available to fulfil your specific heating needs.
The Procedure to Test Heat Cable
An in-line thermostat is usually fitted to manage the operation of modern heat tapes. The thermostat is programmed to switch on the electricity when the temperature drops below 40 degrees Fahrenheit.
- Turn off Circuit Breaker

Turn off the heat tape’s electricity supply. This may include turning off the power switch or removing the fuse that powers the circuit breaker. It may also be necessary to unhook the heat cable from the power socket.
- Discard Insulation
Discard any insulation that may have been placed over the heat wrap. You must have complete visual access to the heat cable coating that has been deployed.
- Examine Heat Range
Drag your palm over the heat tape’s edge. Examine the insulation for splits, scratches, or cracks. Stop the test if the electric cable insulation has any surface cracks. Remove the faulty heat cable and replace it according to the manufacturer’s instructions.
- Set Plastic bag with Ice
Cover the nutritional plastic bag partially with ice. Seal the bag by securing the opening of the container. Place the in-line thermostat on the heating cable.
Place the ice bag over the heat cable thermostat. Allow 30 minutes for this to settle. This period of time will be adequate to lower the thermostat’s heat below 40 ° Fahrenheit. Avoid water flow through the pipe you are checking.
- Replace Thermostat
Reconnect the heating cable to its power supply. Feel all the way the entire length of the heat tape. It should be warming up. If the heating wire does not warm up after 10 to 15 minutes, then the thermostat or the heat tape itself is defective. Remove the heat tape and replace the device.
Testing heat cables on a constant schedule are critical for system maintenance and guaranteeing appropriate operation. However, to get these cables to work, you have to install them correctly. If your Frost King heat cable isn’t working, try these solutions.
Frost King Heat Cable Not Working
- Check Installation
The Frost King heat cable installation is quite simple, but you must attach the cable in the exact location for it to operate effectively. If you have not installed the cable in the correct position, then your pipes will freeze up.
So, to avoid this, you should follow the owner’s manual and install the heating cable on the bottom of the horizontal pipeline.
Similarly, in vertical pipes, the heating cable should be installed on the side that is more exposed to the cold weather. Other than that, you can simply attach the wires with the help of electrical tape or any other adhesive.
Doing that will maximize the exposure of water inside the waterline to the heating cable. So, if you have installed the cable correctly, follow the mentioned procedure and put the cables in the correct position.
- Check Power
If you have installed the cable correctly, then you may be having issues with the power supply. The cables need a constant power supply to work properly. So, if the power from the unit is not according to the requirements defined in the user manual, then you will keep running into issues with your heating cable.
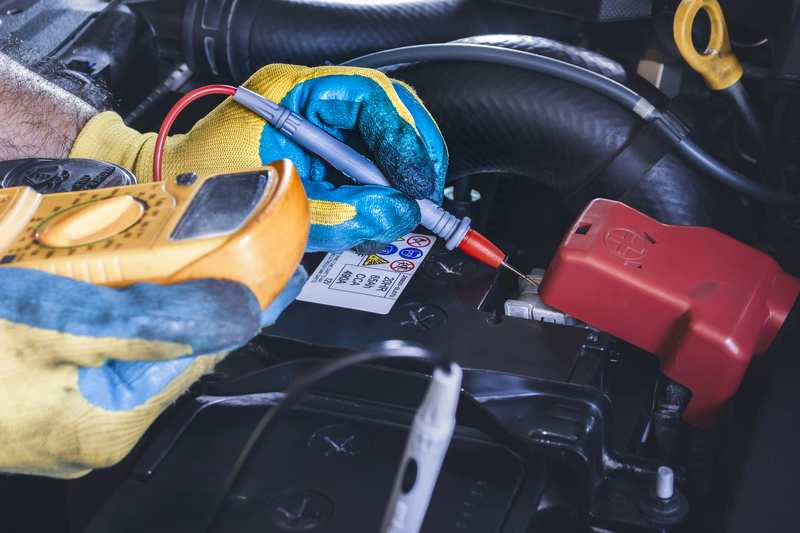
To verify, you can use a multimeter or other voltage-measuring devices to check the power output from the source. If the reading on your device does not meet the defined limit in the owner’s manual, then you need to do something about the power source if you want your heating cables to work properly.
- Examine Resistance
Examine the circuit’s resistance and connections from the load end of the breaker. It is critical to examine the needed capacitance for each circuit. Inspect all of the connections, dismissals, and heat traces from the breakers. All of these elements are necessary and essential for the operation of a heat cable. It would be an error in your troubleshooting attempts if you didn’t bother to check them all together as a system.
- Steams Out
Heat cable owners are frequently required to wipe out the pipe or tank to eliminate dirt or corrosion. Highly pressurized steam is frequently the simplest method to do this. The higher the pressure, the higher the temperature of the vapor. When that temperature surpasses the heating cable’s permissible exposure temperature, the heat trace may be rendered worthless due to damage caused by the steam.
- Voltage Issue
Check that the correct voltage is being used. The simplest method to accomplish this is to start by testing at the breakpoint. Ensure the integrity of both the power flowing to the breaker and the breaker board, since electricity to the facility is not always what it appears to be. This voltage drop or overload might cause issues with heat trace heat output.
After that, activate the wire and measure the voltage at the end of the heat probe run. Confirming that the voltage at the end of the run from the source is adequate to ensure that the system has the required voltage to work. Voltage checks at the breaker are a must in any troubleshooting procedure.
- Damaged Cable
If the power output from the source is not according to the cable’s requirements, then it may be that your cable is damaged.
In that situation, you will need to get the cable replaced. Start by inspecting the cable for any physical damage. You can isolate the problem with the use of a measuring device on your cable. If you can’t find any power, then the cable has gone bad and you will need to buy a new one. You can also claim the warranty if it is valid and you made this purchase recently.
Most of the time, the issues with the heating cable are related to power output or faulty installation. But if that is not the case with you, then, you will need to buy a new heating cable as your current one has gone bad.
