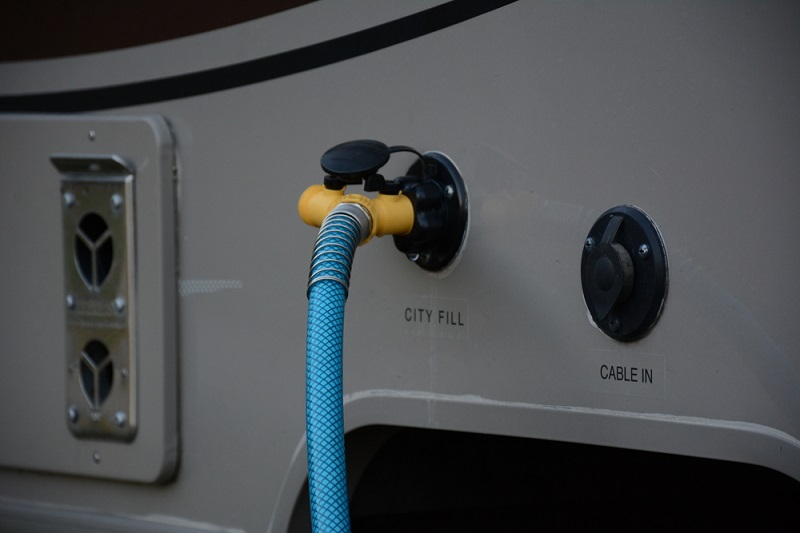
Heat Tape for RV Water Hose
Most RVs can’t handle freezing temperatures, which includes frozen hoses when you’re hooked up to the water spigot. If you’re staying in an extremely cold place, heating and insulating your water hose will help keep it from freezing. Likewise, if your hose is already frozen, it can easily be thawed with some heat.
Taking a few preventative measures to protect your RV and your water hoses from freezing can allow you to camp in any weather. Let’s look at how you can use heat tape (also called heat cable) to keep your water hose from freezing.
First, know how long your hose is, to determine how much heat tape you’ll need to get.
Buying the Heat Tape
The heat tape is electrical and has a sensor that detects when the temperature of the hose dips to freezing. It then heats up if when it gets too cold. You’ll need to get this at a hardware store, in the plumbing department, or you can also buy it online or at an RV supply store. It’s called heat tape, heat cable, or pipe heating cable. Get enough to cover the length of your freshwater hose.
While you’re buying the heat tape, also get enough foam pipe insulation to cover your hose. You can find this at a hardware store in the plumbing department. It’s usually made of black closed-cell foam, and come in 8-foot lengths.
Finally, have a roll of electrical tape handy.
Wrapping the Hose
Secure the sensor with electrical tape to the end of the hose closest to where you will plug in the heat tape. Press it against the hose, and run the tape along the length of the hose; do not coil the heat tape around the hose, simply run it straight down the hose. Wrap electrical tape around the heating tape every foot to hold it in place.
Insulating the Hose
After you have the heat tape secured to the full length of the hose, put the foam pipe insulation around the house. Pull the sides of the foam insulation apart to put the hose inside. Some pipe insulation has self-stick sides to hold it together once the hose is in. If your pipe insulation doesn’t have self-adhesive tape, secure it with some duck tape.
Plug in the Heat Tape
Plug the heat tape into a power outlet; either plug it into the campsite’s power or into an outlet on the outside of your RV. Once it’s plugged in, the sensor will detect freezing temperatures and turn on the heat when it gets too cold.
Finally, connect the hose to the water supply and to your RV. Your water hose should be good until spring.
Related Video:

