The RVs are perfect for long travels and camping as they are designed with a kitchen, bathroom, and bedroom to make sure you have a comfortable experience. Similarly, cleaning the bathroom and kitchen is important, which is why Flojet Macerator pumps are used.
These are waste pumps that can handle gray and black water from holding tanks as it connects to the sewer adapter. However, many users have complained about the pump not working and we have some solutions to help.
Flojet Macerator Pump Not Working
1. Black Tank Is Solidified
A common reason behind the pump’s functionality issue is the solidified black tank. The black tank solidifies when it hasn’t been cleaned for a long time. For this reason, you have to disconnect the black tank and clean it up (make sure you clean the pipes as well).
Once the black tank is cleaned, you can reconnect it with the pump and it will start working. Keep in mind that the blank tank should be cleaned every week to prevent solidification.
2. Plumbing Connections
The suction and plumbing connections have to be airtight to make sure the pump works. For this reason, you need to use a three-inch non-collapsible hose and clamp on the exterior of the pump housing to ensure a tight connection.
In addition, make sure there are no sharp bends in the pipe to optimize the priming. On the other hand, to discharge the direct waste to the sewage receiver, the hose must be at least one inch in diameter.
3. Wiring
Wiring is important to make sure the waste pump is connected to the electrical system of the RV. However, if the wiring isn’t correct, it will fail to power the waste pump.
For this reason, we recommend that you access the pump’s wiring connection and opt for a heavy-duty copper wire to prevent excessive voltage fluctuations. You can also consult the user manual to check the correct wire size.
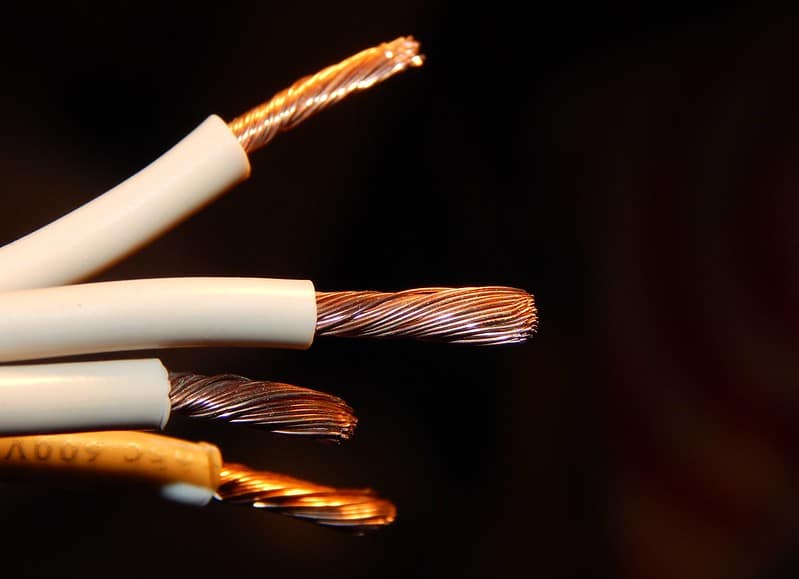
Once you purchase the wire, you have to connect the black wire to the negative terminal and the orange one to the positive terminal to ensure proper rotation.
If you have changed the wiring but the waste pump is still not working, you have to check the fuse. It’s common for the fuses to blow when there are voltage fluctuations or amperage issues.
So, access the fuse, and if it seems blackened out, you should replace it with a new one. The new fuse must have a 20-amp rating and it should be installed between the pump’s power switch and a power source.
4. Vibrations
In some cases, the pump stops working because of excessive vibrations in the pump (the vibrations can loosen the wiring connections). To resolve this issue, you have to locate the waste pump and tighten the wiring connections.
In addition, you must use rubber grommets as they can absorb vibrations. Lastly, you should install the waste pump closer to the tank.
5. Motor

Another reason behind a bad waste pump is the burnt-out motor. This waste pump is designed with a DC motor, which is prone to burning or failure.
In particular, the DC motor starts showing performance issues when it is used for more than fifteen minutes at one time. For this reason, we recommend that you don’t use the waste pump for more than fifteen minutes.
If you have to pump out more waste, allow the pump to cool down for five to ten minutes and then turn it on again.
On the other hand, if the motor is already burnt, the only solution is to get it replaced. The replacement DC motor must have the same specs as the previous one (it will help prevent voltage and connectivity errors).
In addition, you should hire an electrician to install the motor.
6. Stuck Impellers
If you haven’t used the waste pump for a few months and it’s not working anymore, it’s likely that it’s jammed.
Fortunately, this issue is easy to resolve as you only need to pour some water down the pump’s discharge line. The water will help free the impeller to make sure it starts working again.
If this doesn’t work, you should look on the back side of the motor because there is a screwdriver slot on the motor shaft. You can try loosening it up as it helps free the stuck impeller and the pump will start working again.
7. The Float Controls
The float controls are installed with the pump to identify liquid’s level in the tank. It usually stays on top of the liquid surface and works as a mechanical switch to signal the pump when the liquid level increases or decreases. ====
In simpler words, if the float control signals the pump that the water or waste level has increased, it flushes out the excess – it basically controls when the pump will turn on.
So, if the float controls are damaged or stuck, the pump won’t get the signals on time, hence the functionality issue.
To resolve this issue, you have to locate the float controls in the pump and free them if they are stuck. On the other hand, if they are physically damaged, they have to be replaced.
8. Voltage
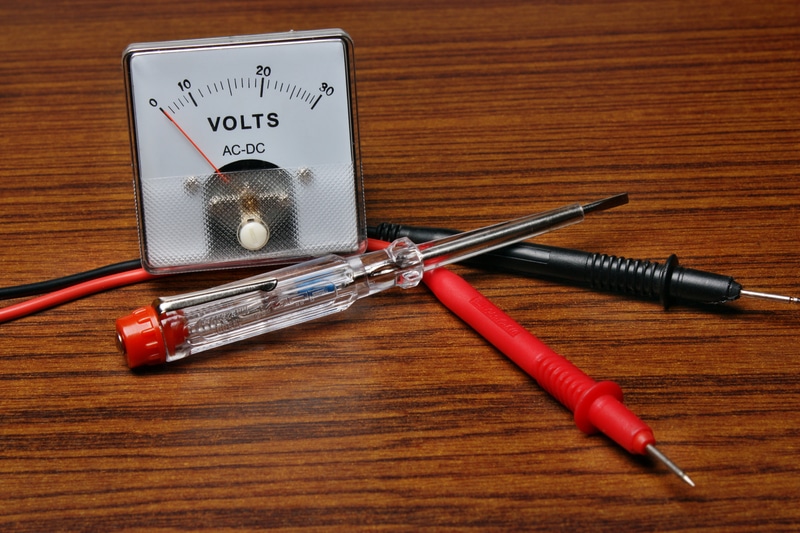
The waste pump needs a proper electrical connection to work and voltage fluctuations are one of the most common reasons behind the pump’s functionality issues.
For this reason, you need to use a voltmeter with the pump to determine the voltage it’s getting. If the voltage is less than 12V, the pump won’t work. The solution is to get the voltage line checked and repaired by an electrician.
9. Tripped Circuit Breaker
If the waste pump is still not working, we recommend that you try to use any other electric appliance in the RV. If the other appliances don’t work either, it’s likely that the circuit breaker has tripped because of the excessive load.
So, disconnect some electric appliances and turn on the breaker manually. Once the breaker is turned on, switch on the pump and it should work fine.
On the other hand, if the circuit breaker trips again after a few minutes, you should get the line voltage checked. If there is a low voltage, you should recharge the battery to ensure it gives out sufficient voltage for the electrical appliances to operate.
Secondly, this waste pump needs to be plugged into its own fuse or circuit breaker. That’s because if the circuit breaker is responsible to power other appliances or power outlets as well, it won’t be able to cater to the pump’s load, hence the issue.
The solution is to get another breaker installed for the pump to make sure its load can be managed by the electric circuit.
10. Power Cord
The waste pump has its own power cord, which has to be connected to the electrical circuit to provide electric current to the pump’s motor. So, if the pump is not working, it’s recommended that you check the power cord and make sure it has a strong connection.
In addition, you should check the prongs of the power switch and clean them with a contact cleaner if there is rust on them (you can also use abrasive paper). Once the prongs are cleaned, reconnect the power cord to the electric circuit tightly.
The Bottom Line
The waste pump is actually a very important part of the RV as it helps keep the vehicle clean. The solutions mentioned in this article will help fix the functionality issues.
However, to prevent this from happening again, make sure you get the tank serviced and cleaned regularly and always give the DC motor a break to prevent its failure.
Last but not least, if the pump is under warranty, you should immediately call the customer support team to claim a free replacement or repair.
