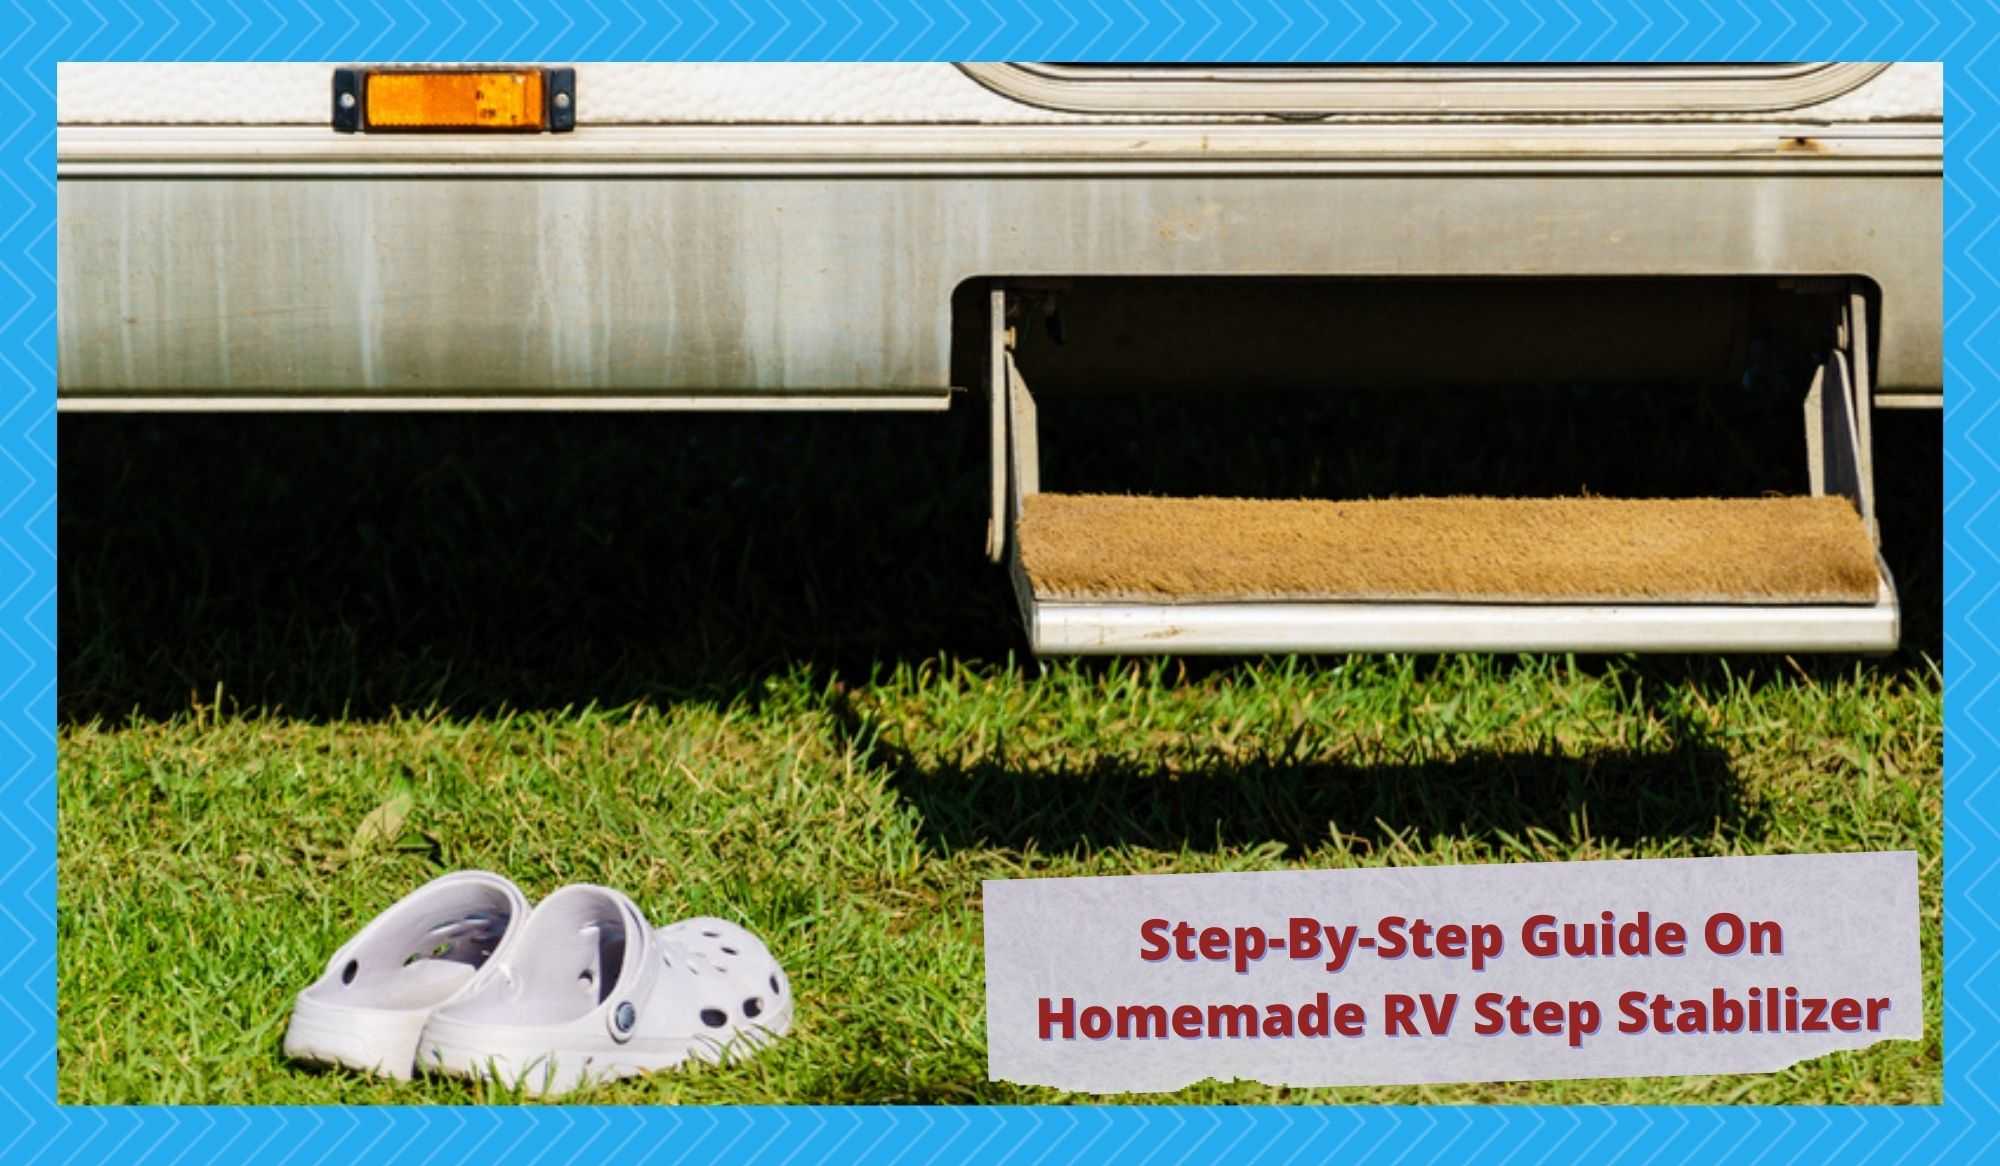
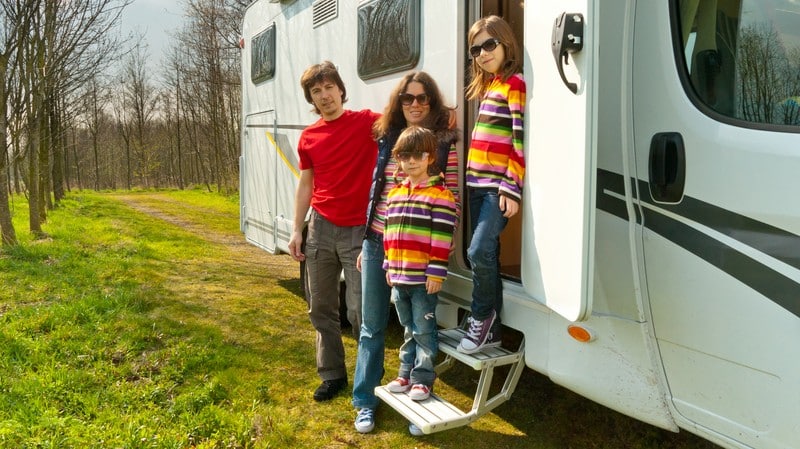
If you own a recreational vehicle, you know that one of the most frustrating things can be the steps that lead into your RV. When you park on an uneven surface, the steps can sway and wobble, making it difficult to enter and exit the RV safely. That’s where a step stabilizer comes in.
A step stabilizer is a device for keeping the RV’s staircase steady. It typically consists of brackets mounted to the steps’ underside and a telescoping support arm extending from the brackets to the ground. The support arm is adjustable, allowing the user to customize the stability provided to the steps.
There are several types of RV step stabilizers available on the market. Some common types include:
- Manual step stabilizers – These are typically made of metal and require the user to adjust the stabilizer to fit the RV steps manually.
- Automatic step stabilizers – These are designed to automatically adjust to the height of the RV steps, eliminating the need for manual adjustments.
- Spring-loaded step stabilizers – These use stretched springs to help stabilize the RV steps by absorbing any movement or vibration.
- Electric step stabilizers – These use motors or actuators to adjust the position of the stabilizer and help keep the RV steps firm.
- Folding step stabilizers – These are designed to fold up when not in use, making them easy to store and transport.
- Adjustable step stabilizers – These can be adjusted to fit different sizes of RV steps, making them a versatile option for use on multiple RVs.
- Non-slip step stabilizers – These have a non-slip surface to help improve traction and reduce the risk of falls.
- Lighted step stabilizers – These have built-in lights to help improve visibility and safety when using the RV steps at night.
Now that you have been formally introduced to the different types of step stabilizers, it’s also crucial that you know the different types of steps used in RVs. This way, you can determine which stabilizer best suits your RV’s staircase or if a customized one is much better.
Different types of steps

The steps used in RVs come in different styles and structures. Here are a few common examples:
- Manual Steps – These are the most basic type of steps and are typically found on older or smaller RVs. They are extended and retracted by hand.
- Electric Steps – These steps are operated by an electric motor and are controlled by a switch inside the RV. They are more convenient than manual steps but may require more maintenance.
- Automatic Steps – These steps are similar to electric steps but extend and retract automatically when the RV door is opened or closed.
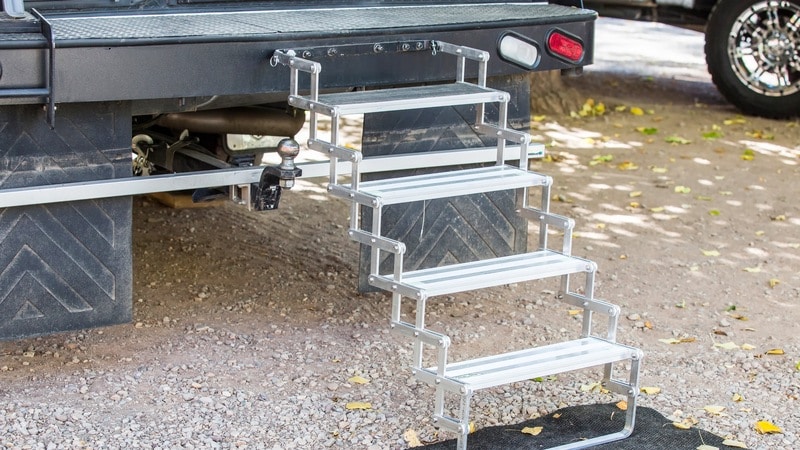
- Fold-out Steps – These steps are attached to the side of the RV and can be folded out when needed. They are typically used on smaller RVs and are convenient because they don’t take up much space when not in use.
- Stabilizing Steps – These steps may be used with manual, electric, or automatic stairs and can be adjusted to different heights.
- Motorized Steps – These are powered by a small electric motor and can be extended and retracted at the touch of a button. They are often used on larger RVs or RVs with high doorways.
Why are stabilizers necessary in the first place? – Cantilever steps
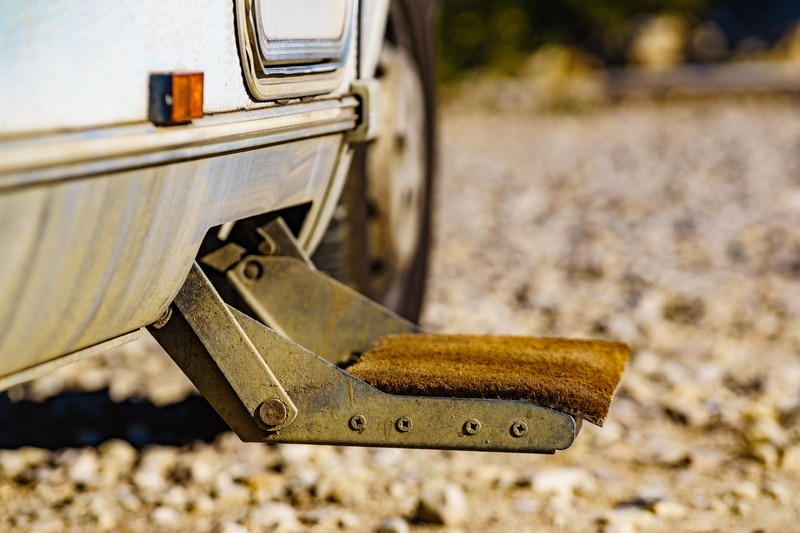
A cantilever step, also known as “slide-out” stairs, is a type of stair or step that projects outward from a wall or support structure, similar to a cantilever beam. It is supported at one end, usually by a wall or column, and has no support on the other. Most RVs have cantilever steps.
This type of staircase is popular for RVs because they offer several benefits:
- Space saving – Cantilever stairs can be stored inside the RV when not used, so they do not take up additional space outside the vehicle.
- Convenience – Cantilever stairs can be easily extended and retracted as needed, making them very convenient.
- Safety – Cantilever stairs typically have handrails and non-slip surfaces, which can help prevent accidents or injuries.
Cantilever steps are typically used to create a more open and spacious feel in a space, as they do not require additional support structures. You can also use them to create an architectural feature or a visual connection between different levels of a building.
However, they must be designed carefully to ensure that they are structurally safe and capable of supporting the loads placed on them. There are a few potential disadvantages to using cantilever stairs on an RV:
- Cost – Cantilever stairs may be more expensive to install or replace than traditional RV stairs.
- Complexity – Cantilever stairs are typically more complex in design and construction than traditional stairs, making them more challenging to repair or maintain.
- Limited weight capacity – Some cantilever stairs may have a lower weight capacity than traditional stairs, which could be a problem if you need to support heavy loads.
- Limited height – Cantilever stairs may not be as tall as traditional stairs, which could be a problem if you need to reach high entrances or areas.
It’s unlikely for cantilever steps to endure months of constant use due to their unusual structure. Relying for support on just one end is equivalent to quick wear, especially if the occupants are heavy. It would be best to use a staircase that goes all the way to the ground.
Why are the steps on your RV unstable?
There could be a few reasons why the stairs on your RV might feel unstable:
- Poor installation – Stairs not adequately secured to the RV will become loose and wobble over time.
- Low-quality materials – RV steps are more expensive than they look because they are made of premium materials considering their function. So if your replacement steps cost you half the price, start saving for a new one.
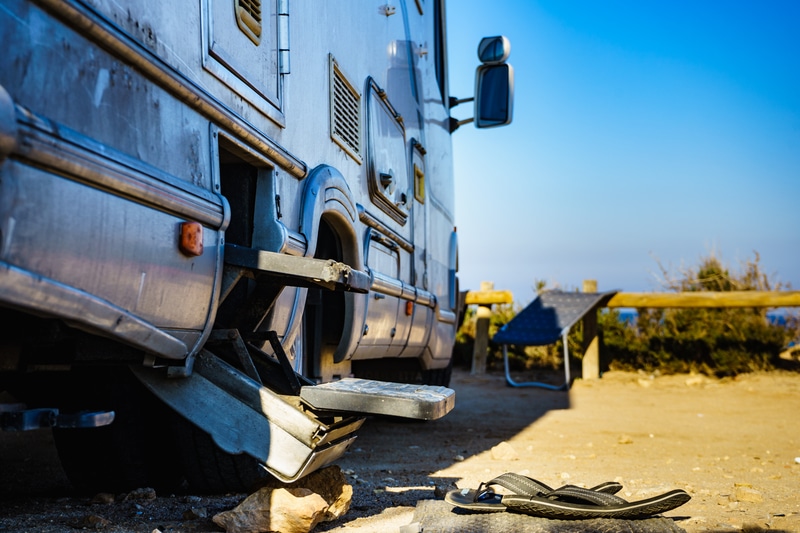
- Unstable ground – Non-cantilever steps can only extend enough to reach the ground. You can’t press them deeper to find compact soil on soft ground. You may need to insert a wood block to support the stairs.
- Incorrect use – Any device, including RV steps, has a designated correct application. Misusing it could lead to damage. For instance, if you hop or jump as you go up or down the stairs, expect them to malfunction sooner than they should.
All these issues can be addressed partly or entirely by using step stabilizers. Those above are your choices, but if none suits your needs, consider customizing.
How to make a Homemade RV Step Stabilizer

While you can buy step stabilizers from RV supply stores, they can be expensive. A cheaper and more DIY-friendly option is to make your step stabilizer. This guide will walk you through the process of making a homemade step stabilizer for your RV.
To make your step stabilizer, you will need the following materials:
- Two long pieces of 2×4 lumber (the length will depend on the width of your RV steps)
- Four short pieces of 2×4 lumber (the length will depend on the depth of your RV steps)
- Four L-brackets
- Screws (at least eight pieces)
- A drill
- A saw (optional)
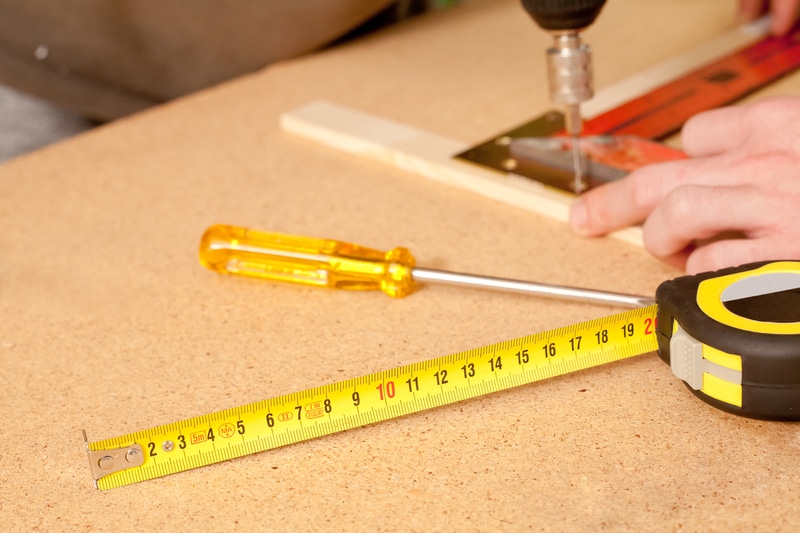
Step 1: Measure your RV steps
The first step is to measure your RV steps. Find the width and depth of the steps to determine the size of the 2×4 lumber you need. It’s a good idea to measure twice to ensure accurate dimensions.
Step 2: Cut the 2×4 lumber to size

Once you have the dimensions of your RV steps, it’s time to cut the 2×4 lumber to size. You can cut it yourself at home with a saw or ask your local hardware store staff to cut the lumber for you.
Step 3: Assemble the step stabilizer frame
Attach the two long pieces of 2×4 lumber to the four short pieces using the L-brackets and screws. The L-brackets should be placed at each corner of the frame, with the screws going through the L-bracket and into the 2×4 lumber. Make sure the frame is sturdy and secure before moving on to the next step.
Step 4: Attach the step stabilizer to the RV steps

Position the step stabilizer frame under the RV steps, ensuring it is centered and balanced. Once the frame is in place, use screws to attach it to the RV steps. The screws must be long enough to go through the frame and into the RV steps but not so long that they come out the other side.
Step 5: Test the step stabilizer
Before using the step stabilizer, test it by standing on the RV steps and observing if they feel stable and secure. If the steps feel wobble-free, then your homemade step stabilizer is a success.
Conclusion
Making your step stabilizer for your RV can be a rewarding and cost-effective solution to the problem of unstable steps. By following the steps outlined in this guide, you can quickly build your step stabilizer without professional help. It is also best to make several versions, each with a different height, to have an option for every situation.
