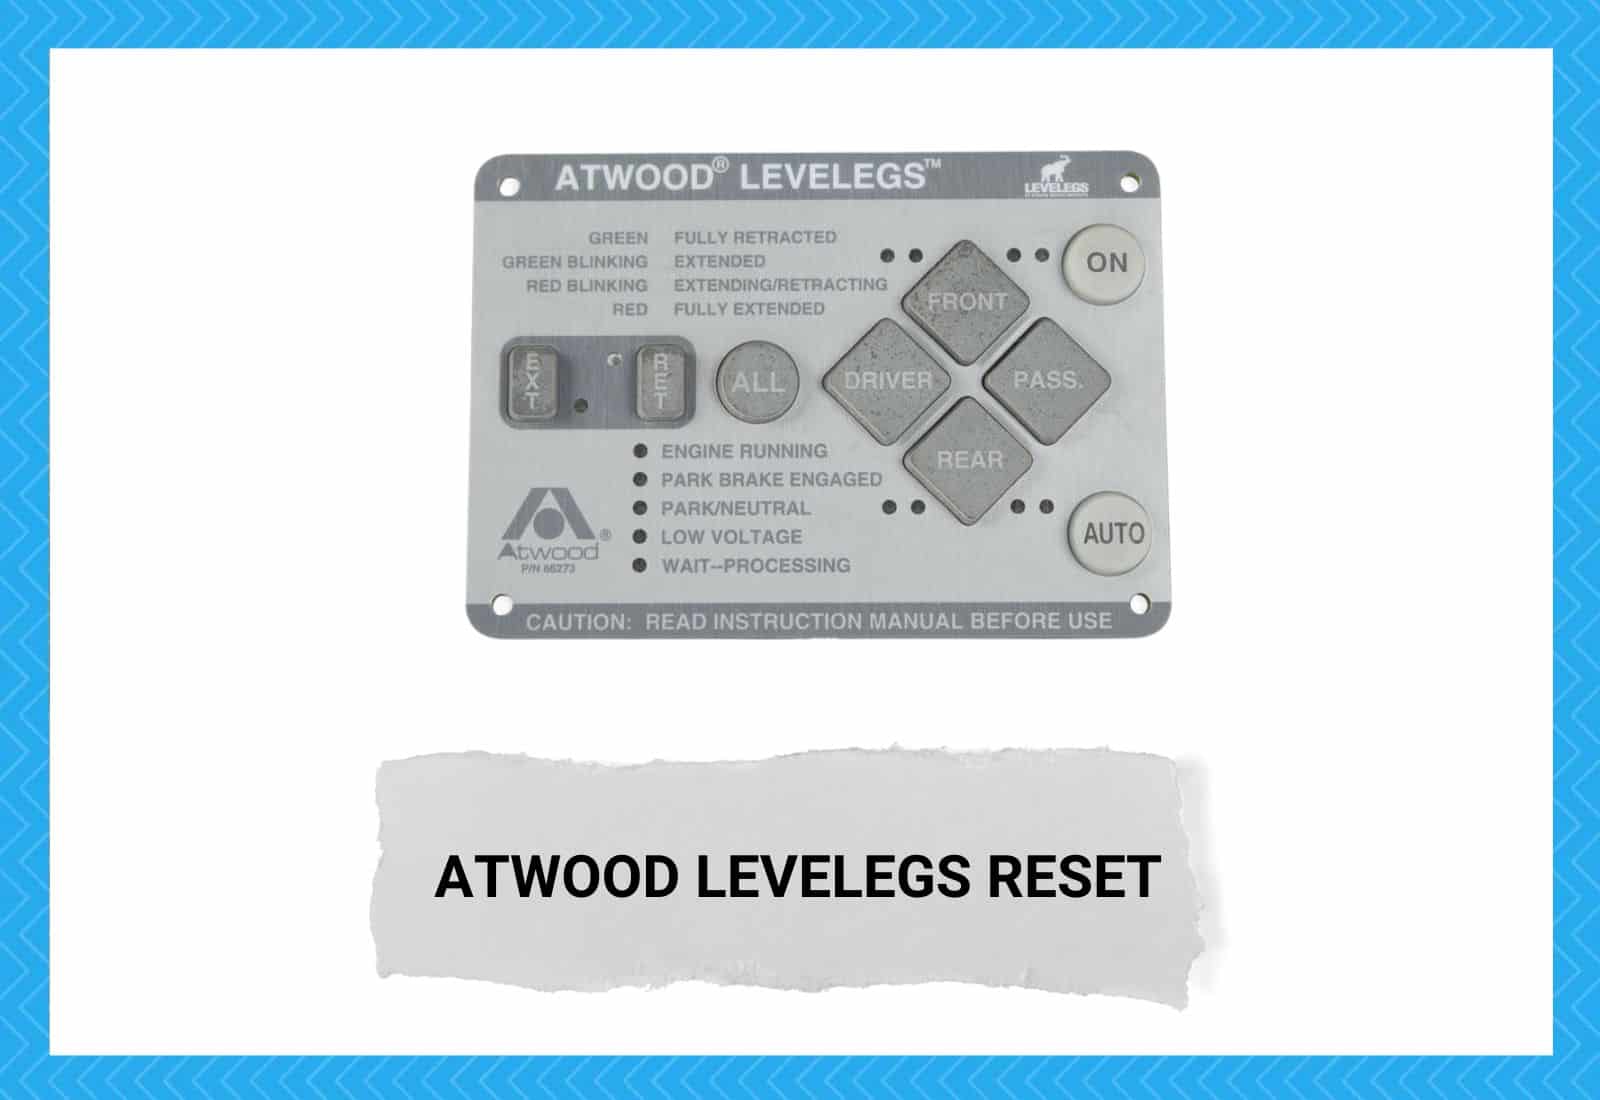
Atwood Levelegs are fantastic for keeping your travel safe when you drive an RV, trailer, or camper. The last thing you want to do is end up stranded on the road when hauling yourself and your family around.
RVs are popular modes of transportation for people who like road trips, and bringing an Atwood Leveleg with you is the best way to avoid trouble.
However, you may encounter situations where you need to reset this device to use it properly. This is especially true if you’ve operated on a different RV previously or if you use this device often.
Please continue reading to learn everything you need about how to reset Atwood Levelegs. Our step-by-step guide will make the resetting process as easy as possible for you.
Atwood Levelegs Reset
1. Turn Off The Jack
Resetting your Atwood Levelegs is a crucial part of troubleshooting this device so that you can successfully complete your work. You first need to turn off the jack so that you don’t risk things going wrong while you inspect the device.
Keeping the jack on while you investigate the situation can be hazardous and lead to permanent damage.
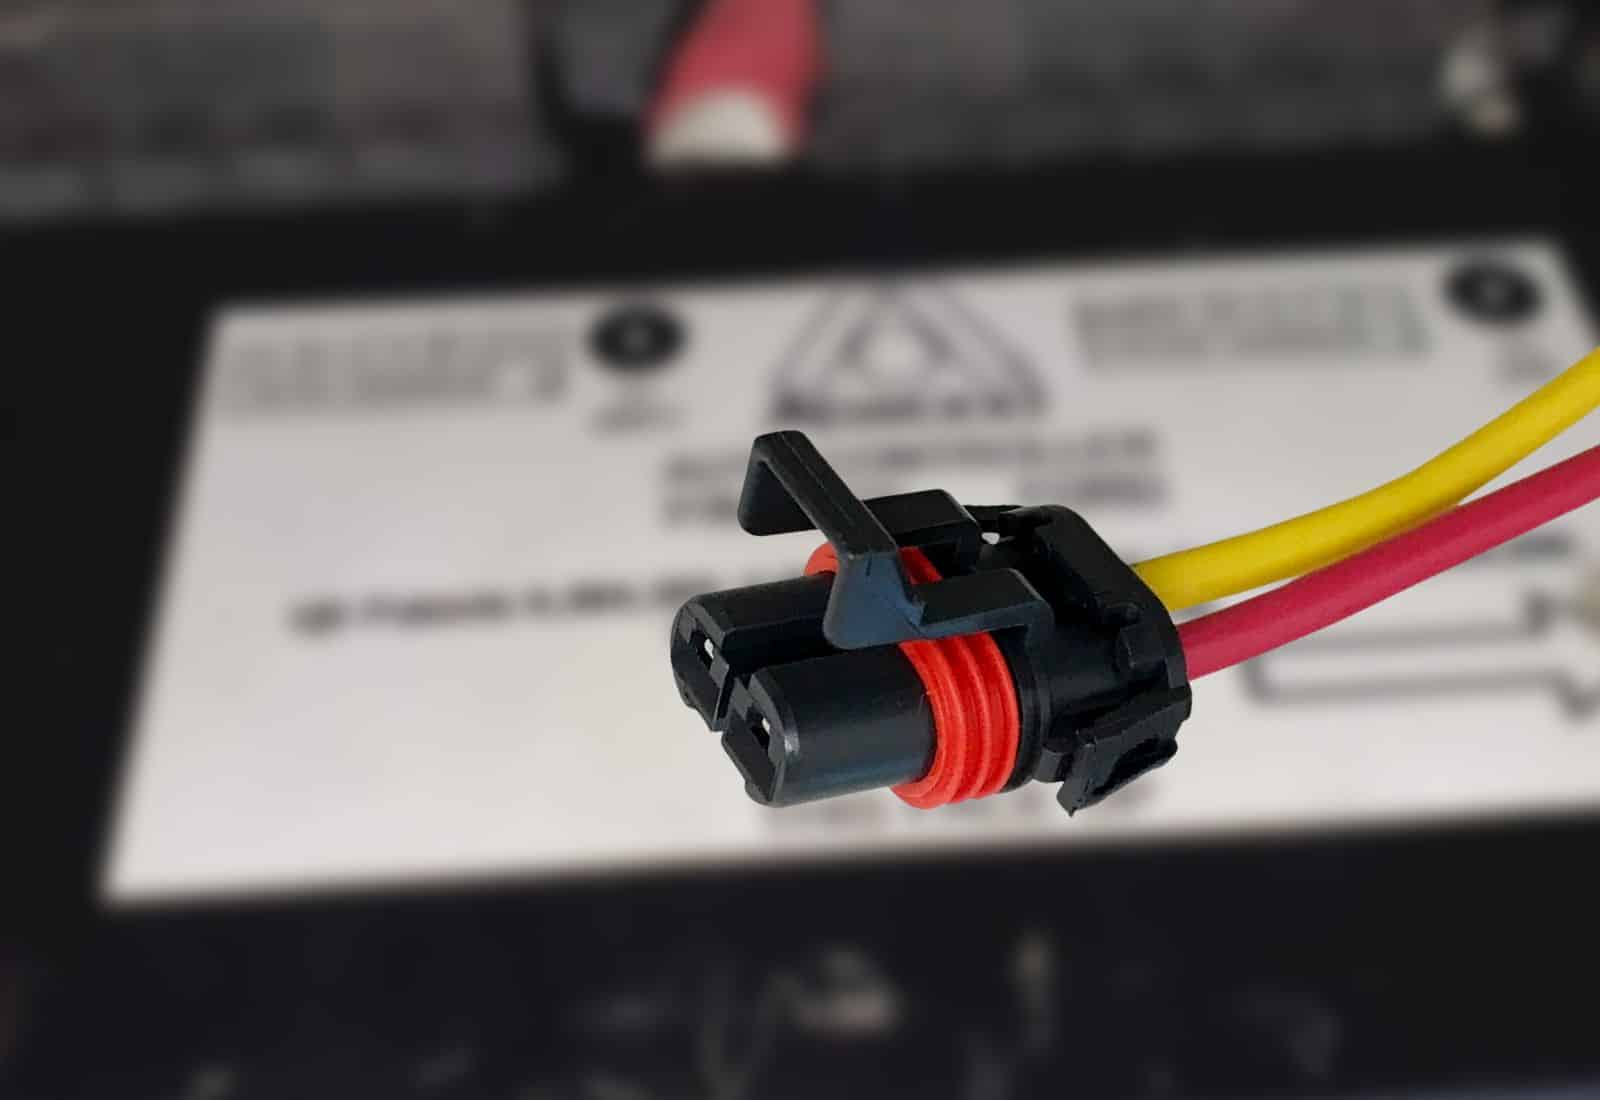
To turn off the jack, you need to press the on button and pull apart the plug. Unplugging the device is the best way to ensure it doesn’t turn back on if you accidentally bump the button while you complete the next step.
2. Check Levlegs for Jams
If you’re having trouble using your Atwood Levelegs, the most likely culprit is a jam in your machinery. Several things can jam up your device because debris can easily get caught up in the components of your jack.
It would be easier for you to examine the jack for jams by extending it so that any debris is noticeable to your eye.
After you check the jacks for debris, you should spin the motor nuts on the jacks to ensure that there’s no dust trapped in that area. These situations can cause a jam in your jack that will make it difficult for you to use your device.
3. Extend And Retract Jack
After you clear the noticeable jams in your jack, you need to extend and retract each jack a few times period this is the best way to ensure that there are no issues with the device before you power it fun and use it to complete your task.
Watching the jacks extend and retract is a multi-person job, so ensure you have a friend nearby. If any of the jacks refuse to budge, you can turn one of the nuts on the jacks to complete the job manually.
This process can be tedious, and you’ll need multiple people to help you out, especially if more than one Jack has a malfunction. It would help if you did not power on these devices until you resolve the problems with your jacks.
4. Power Back On
After you and your friend confirm that each jack can extend and retract without trouble, you can power the devices back on. To power the devices back on, you need to plug them in and press the on button.
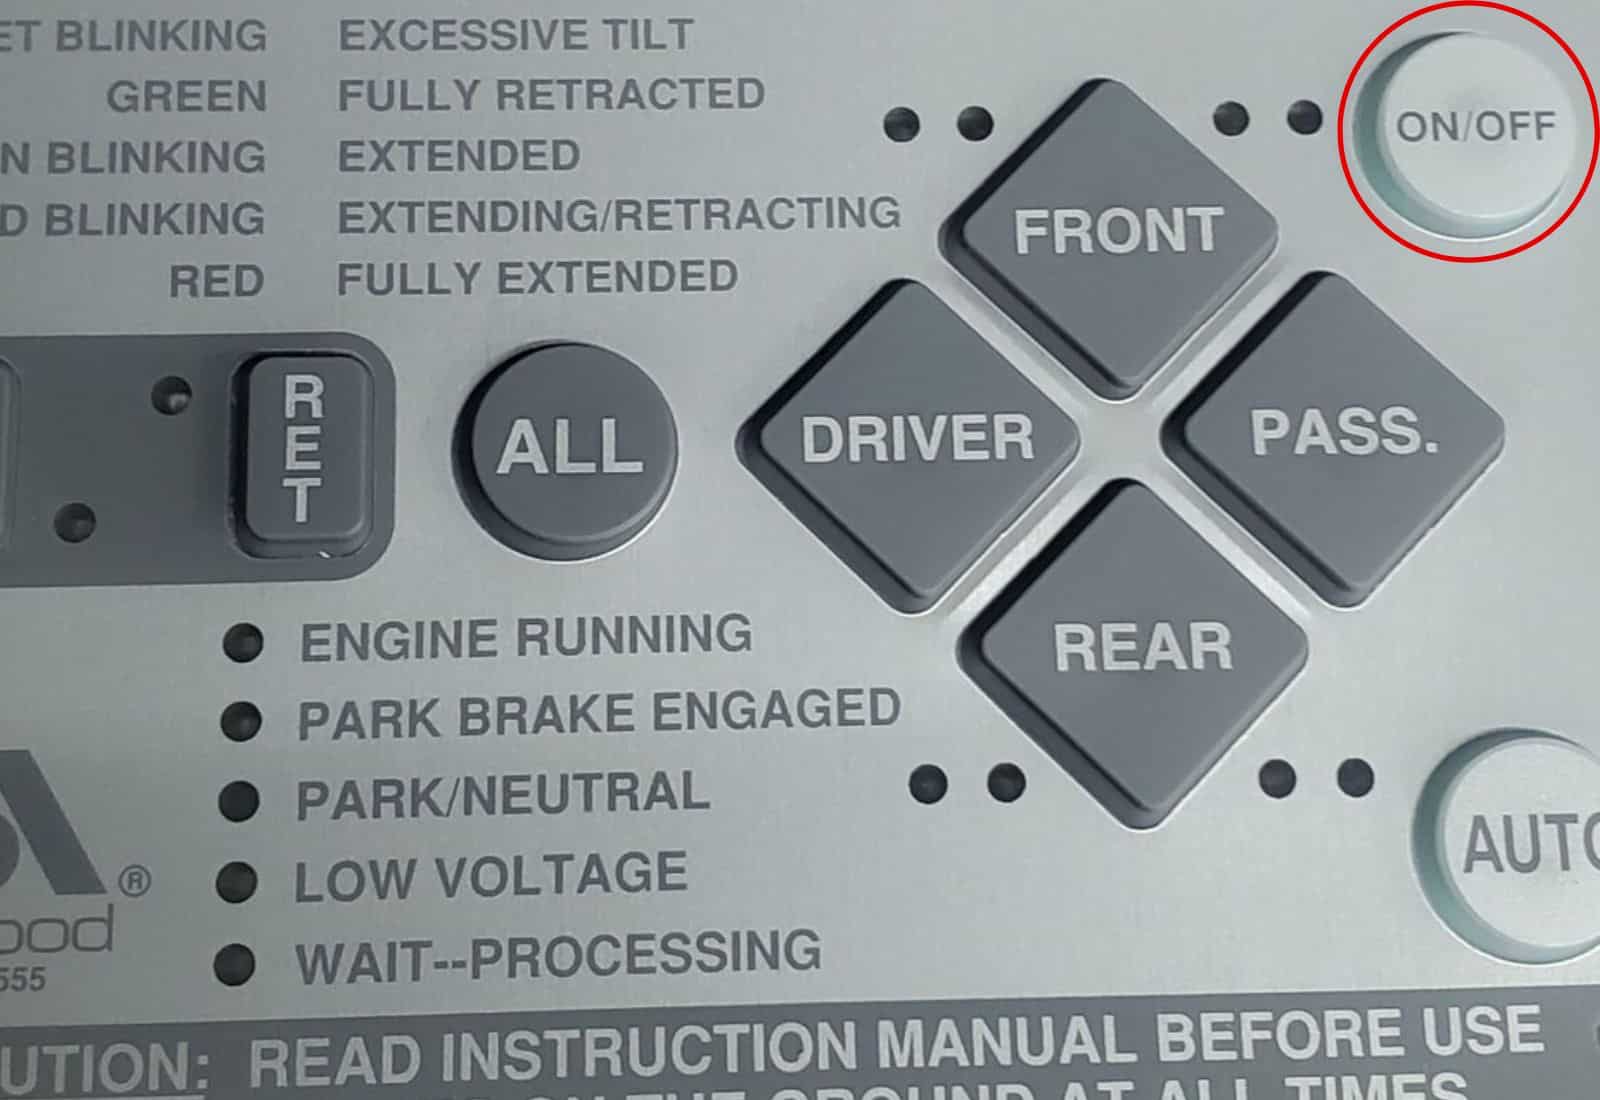
The on button controls whether or not the jacks are on or off while you complete your work. If the previous steps went well, then your device should be reset.
5. Test it Out
Now that you’ve reset your jacks, it’s time to test them out. You can complete any job you plan to do with your Atwood Levelegs after you’ve powered everything back on and cleared out all the jams.
Reset this jack system often if you use it frequently. This method is the best way to avoid jams that can cause permanent damage to your device.
Final Thoughts
Using Atwood Levelegs is the best way to complete regular maintenance on your RV so that you stay safe while you travel. RV owners must do standard maintenance often to keep their transportation and tip-top condition.
If you don’t perform regular RV maintenance, you’ll eventually encounter engine troubles, which can cause a stressful situation.
The most important part of resetting this device is clearing out any jams that may occur over time. If you use these jacks often, you’re more likely to have debris trapped in the device’s crevices.
