RV and motorhomes come with plenty of enormous perks for people who love traveling around. These vehicles pave the path for people to enjoy the sights of a climate-controlled environment. Everything installed in the RVs feels like you are carrying your home with you.
RV’s AC gives you the chills you need in hot and humid weather . When there is a drop in temperature, you can raise the heat. The most crucial device that controls the interior temperature of your RV is a thermostat.
With that being said, many people complain that their Airxcel Thermostat is running into issues. This is why we will be using this article to provide you with some common problems that you can get on Airxcel Thermostat, along with troubleshooting ways to fix these.
Airxcel Thermostat Troubleshooting Steps
1. Thermostat Not Heating Vehicle
The most common issue that people get on these devices is that their thermostat is not heating the vehicle. This can be pretty annoying to deal with, but there are several reasons why you can get the issue.
This is why it is recommended that you go through the troubleshooting steps carefully. This will ensure that you do not skip over any step accidentally. Additionally, finding and fixing your problem should be much easier.
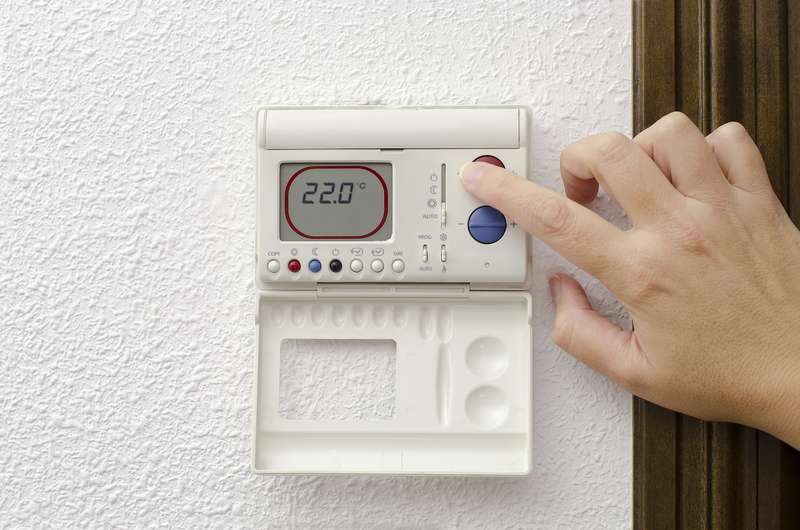
The first thing that you should check is the settings on your thermostat. No matter how obvious this step might seem, it is essential to take a check the settings. Most of the Airxcel Thermostats have control panels on them that you can use to configure the device.
This makes it extremely easy to function the system; however, any errors on the panel will also prevent your device from working.
Considering this, make sure that you check your thermostat carefully and configure its temperature accordingly. This should be set to a value higher than the room temperature. Furthermore, you should also check the fan settings on your device and increase them.
Sometimes, the thermostat is configured correctly, but its fan is switched off. This can also prevent the system from functioning. Going through the steps mentioned above should most likely help you in getting rid of the problem.
2. Turn The Thermostat Down Or Up 5 Degrees
If you encounter this problem during summer, decrease the temperature to 5-degrees less than the air temperature outside the RV. The opposite goes during the winter season. Raise the temperature to 5 degrees above the temperature outside.
When you are changing the thermostat’s temperature settings, you will hear a clicking sound. After some minutes, you’ll notice air leaving or entering the supply register vents, depending on your thermostat settings.
3. Air Not Blowing Out of Vents
Another issue that you can run into with your Airxcel Thermostat is that despite the smooth running of the device, there is no warm air coming out of the vents. This can be pretty bothersome to deal with. However, you should note that the problem can be clogged due to the vents.
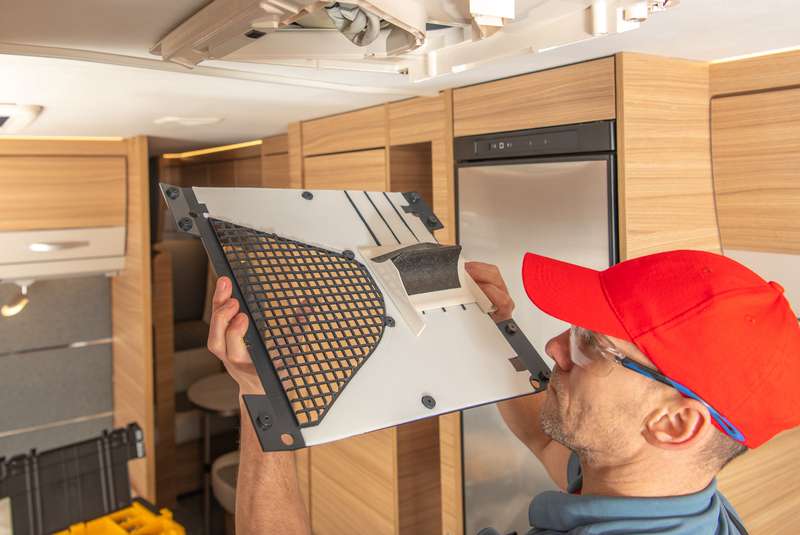
Considering this, you should note that it is usually recommended that you keep your vehicle maintained at all times. This includes cleaning it up frequently, so none of the devices get clogged with dust. The vents in your vehicle can be annoying to clean as the user cannot reach into them. Although, you can easily use a vacuum to remove most of the dust from them.
Aside from this, another option is that you contact a specialist. Many services will visit you and clean the vents in your vehicle. They will remove all the dust and materials stuck in the vents. It is usually recommended that you have these cleaned up at least once or twice a year, depending on how frequently you use the thermostat.
4. Check And Replace Thermostat Batteries
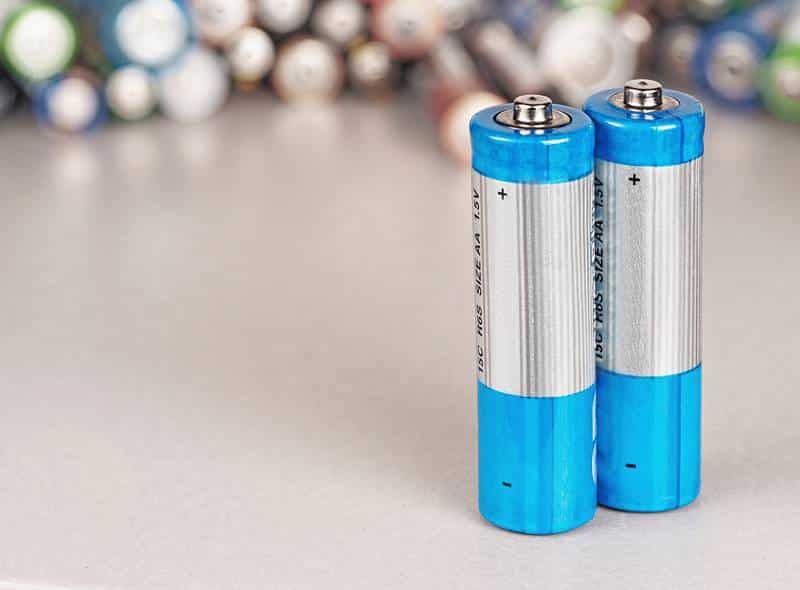
Nowadays, a number of modern RVs have set foot into the market, and they feature digital thermostats. You can replace the battery of the thermostat with a new one and resolve the issue.
In some cases, the problem doesn’t go away even when you have replaced the battery. For that, take a look at wiring, as it should be your next troubleshooting point.
Owners of digital thermostats can keep their thermostats from breaking down by replacing the batteries every year. It is also essential in extending the life of the thermostat. This is the best you could for the device that’s controlling the temperature of your RV.
5. Air Blast The Thermostat

In older models of RV, mechanical thermostats are installed. A tiny lever featured on the thermostat is majorly responsible for the temperature adjustment inside the RV. The most common problem associated with the mechanical thermostat is that dust gets accumulated inside the unit and results in the jamming of mechanical parts.
In order to deal with the malfunction of the unit, take hold of a can filled with compressed hair and use it to blow the unit clean.
6. Adjust The Heat Anticipator
Mechanical thermostats consist of an electrical resistor known as a ‘heat anticipator’. It has a vital role in setting the required room temperature. When the desired temperature is about to reach, the heat anticipator turns the furnace on or off.
The improper alignment of the heat anticipator can cause the furnace to short cycle and thus, prevent the adjustment of temperature to desired levels. Having said that, there is a market disc on the anticipator. To align the latter properly, place the calibration arm on the top of the disc.
You will see ‘longer’ written on one side of the disc for longer cycles. If your furnace is short cycled, get the arm closer to the ‘longer’ side on one mark. Similarly, move it one mark away if you are not receiving the desired temperature.
After making adjustments, keep your furnace running for two or three hours. If you feel that it needs to go through another round, you can repeat the process.
7. Check The Power And Wirings
Whenever you face any problem with the thermostat, look for the sources of power interruption. A blank digital display on the thermostat is a clear sign that there is something wrong with your battery. If your thermostat is battery-operated, you can replace the battery to resolve this issue.
If your thermostat is still not functioning, then there is a chance that its wirings might be loose. These can come off or sometimes also get damaged. Whatever the case might be, closely observing these should help you in identifying the problem with your thermostat.
If you notice any broken wires, get these replaced with new ones. If there is just a loose connection, you can restore it and see if it makes a difference.
As for any cables that had come off, simply connecting them back in tightly should fix your issue. Aside from this, the issue can also be from the backend.
You can use a voltmeter to take readings of the current, but this can be pretty dangerous. This is why it is better that you ask an electrician to help you with this process.
8. Clean Out Dust And Corrosion
It is very likely for the inside of the thermostat to get dirty over time. The proper functioning of the thermostat is possible only if there is good contact with the wiring with the terminals. Any debris inside the thermostat can prevent this contact and affect the working of the device.
There is a different cleaning mechanisms for a variety of thermostats. Some of these have anchor screws on the side that need to be unscrewed to remove the cover. Others need to be taken off the wall and get on with the cleaning.
After the inside of the thermostat is accessible to you, use a vacuum hose and get rid of as much dirt and dust as possible. It is a high chance that the coil inside the thermostat can also be caked with dirt. For cleaning that, use a soft brush.
The wires and terminals are the target spots for corrosion. You can clean them with the help of an electric contact cleaner.
9. Reset The Thermostat
It is a common observation that most electronic devices need a reset in case they stop working all of a sudden. Similarly, a digital thermostat can also be put back to work with a simple reset.
The thermostat has the job of sending signals to your HVAC system. It can be interrupted with a sudden shut-off resulting from a power outage. Therefore, a reset is a must after these shut-offs.
There are different methods of resetting the thermostat, depending on their models. The most common method is to install the battery backward for a few seconds. Then, use a pin or paper clip to push the recessed reset button. You can also cut the connection of the breaker to the thermostat for half a minute.
The problems related to the thermostat can get really perplexing, but if you know the troubleshooting tips, you can deal with these issues with utmost ease.

The problem I’m having is a new Unit not reading the ambient temp correctly. Shows 99 with AC set at 72. Therefore AC doesn’t ever shut off. Any suggestions are appreciated.
Any update to this? I’m having the exact same problem. Unplugged the trailer for reset and now just getting the two dash marks instead of a temp reading.
My Airxcel thermostat(2018 GD momentum 376th) is completely dead. Checked fuse and power source is all good. Where is the reset at on it?where would a circuit breaker be for it?
Following! Same problem. Completely dead.
I have 2 Airxcel digital thermostats and neither work correctly. Is there no reset ?