You are sleeping soundly in your RV when suddenly you’re awakened by a soggy feeling on your back. Then, you notice your bed soaked in your sweat. It turns out the air conditioning has stopped working for some time.
You tried basic troubleshooting, including checking if the thermostat was set up correctly or the circuit breaker tripped off, but to no avail. You called the manufacturer, and they told you the compressor is likely broken.
Being a non-tech-savvy person whose knowledge of air conditioning revolves around the remote control and thermostat, you have no idea where the compressor is or what it does. But your situation has made you realize how important it is for an RV owner to know a thing or two about their RV’s amenities.
After all, issues like an AC compressor malfunction do not discriminate based on technical know-how. In this article, we will walk you through replacing an AC compressor. And to help you make sense of it, we’ll explain how the compressor works and when to consider replacing it.
Why is a compressor essential?
An air conditioning system has four main parts: a compressor, a condenser, an expansion valve, and an evaporator. The compressor pumps the refrigerant into the system.
As the refrigerant moves through the condenser, it releases heat and cools down, turning from a gas back into liquid. The expansion valve regulates the flow of the refrigerant as it enters the evaporator.
Inside the evaporator, the refrigerant absorbs heat from the air, causing it to evaporate and cool the air. A fan blows the cooled air into the vehicle. Simultaneously, the refrigerant absorbs heat from the air and turns back into gas. It is then pumped back into the compressor, and the cycle repeats.
If the compressor fails, the refrigerant will not be heated and pressurized enough to transform from one state to another, which is crucial in heat absorption. In short, the fan will not have cool air to blow into your RV. That’s why your RV isn’t cooling even if there’s air coming out of the AC.
Different types of compressor
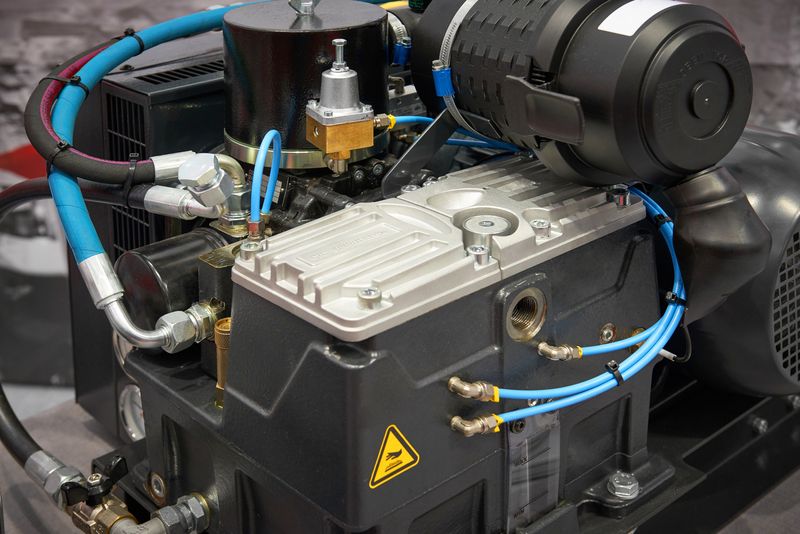
The AC compressor used in RVs come in different types, each with a unique way of pumping refrigerant into the AC system. Here are three:
- Rotary compressor – This compressor uses a cylindrical rotor that rotates within a stationary cylinder. It is typically smaller and more efficient than other compressors, making it a popular choice for use in RVs.
- Scroll compressors – This one uses two interleaved spiral-shaped components–a “fixed scroll” and an “orbiting scroll”–to compress the refrigerant. It is also relatively small and often used in smaller RVs or as a secondary compressor in larger units.
- Reciprocating compressor – To pressurize the refrigerant, this compressor uses a piston that moves back and forth within a cylinder. It is the most common type of compressor used in RVs and is often found in larger units. However, it is also the least efficient and tends to be louder.
When choosing an AC compressor, consider factors such as the size of your RV, the climate you will be traveling in, and your budget. Having the correct compressor can impact your AC’s overall performance and efficiency.
Signs that your RV compressor needs to be replaced

Like any other mechanical component, the AC compressor can suffer from wear and tear over time, and eventually, it will have to go. Here are some signs that you may need to replace your RV’s AC compressor:
- Loud, grinding noises – If your AC compressor is creating strange sounds as it operates, it could be a sign that the unit is failing or has already failed. These noises are usually caused by worn or damaged bearings, which can no longer support the weight of the compressor.
- Lack of cool air – If your RV’s AC system is no longer producing cool air, it could signal compressor malfunction. But before making such an assumption, check other likely causes first, such as a lack of refrigerant or a faulty thermostat.
- High energy bills – Have you noticed your bills increasing each month? This could mean the AC compressor is in bad shape. A faulty compressor can cause the unit to run for extended periods, resulting in higher energy consumption.
- Leaks – If you notice refrigerant or oil leaking from the AC compressor, it could be a sign that the unit is failing. These leaks can occur due to worn seals, damaged hoses, or internal component failure.
- Age – Like any other device, the AC compressor has a limited lifespan. If you’ve had your RV for years and never replaced the compressor, it may be time to consider doing so.
If you notice any of these signs, it is crucial to have your RV’s AC compressor inspected by a professional mechanic. They can diagnose the issue and recommend the appropriate action, whether a repair or a replacement.
While replacing an AC compressor can be a costly endeavor, it is a necessary investment to ensure that your RV’s climate control system is functioning correctly and efficiently.
How to replace the compressor?

Replacing an AC compressor in a recreational vehicle (RV) is a task that requires some mechanical skills and knowledge. It is a significant repair and should only be attempted if you are confident in your abilities or have the help of a mechanic.
Step #1: Prepare the necessary tools and supplies.

Before you start working on the air conditioning unit, you will need to gather a few tools and supplies. Some of the items you will need include:
- Screwdriver set
- Wrench set
- Pliers
- New compressor
- Compressor oil
- Refrigerant
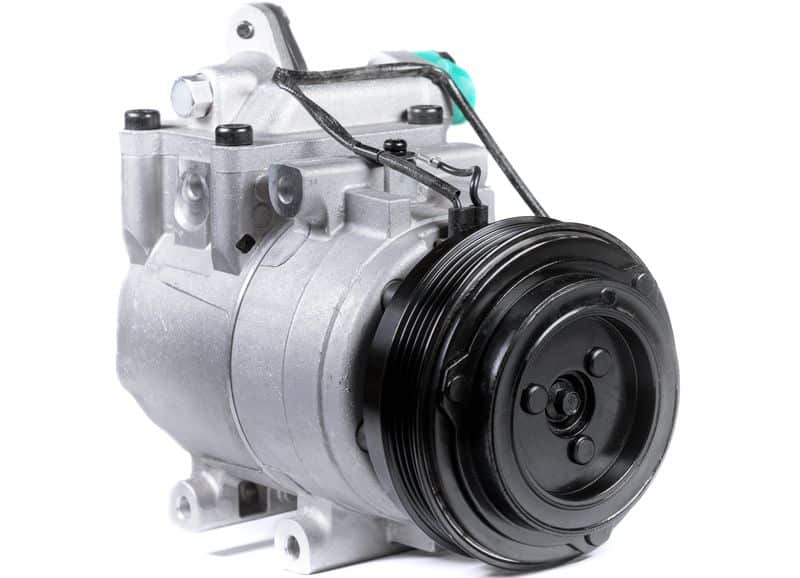
Step # 2: Find the compressor.

Next, you need to locate the AC compressor. In most RVs, the compressor is located under the hood, near the front of the vehicle. It will be a large, rectangular-shaped module with hoses and wires attached to it. Once you’ve found the AC compressor, you can start the replacement process.
Step # 3: Power down.

Disconnect the battery. Before you start working on the AC system (or any piece of equipment that runs on electricity), it is essential to disconnect the battery to prevent electrical accidents.
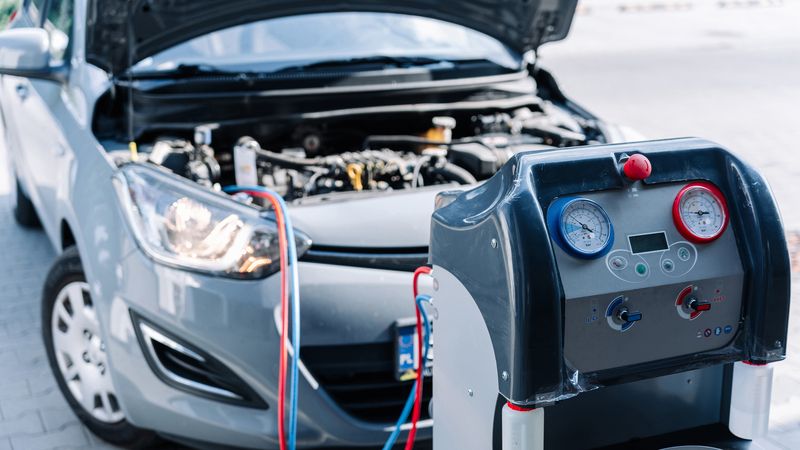
Step # 4: Recover the refrigerant.

The next step is to recover the refrigerant from the AC system. You will need to use the refrigerant recovery system to do this. Make sure to follow the manufacturer’s instructions when using the recovery system.
Step # 5: Disconnect the hoses and wires.
Once the refrigerant has been recovered, you can start disconnecting the hoses and wires from the AC compressor. Be careful not to damage the hoses or wires as it could lead to future problems, and replacing them will add to your expenses.
Step # 6: Remove the AC compressor.
Once the hoses and wires have been disconnected, you can remove the AC compressor. This will likely require the use of wrenches and some force. Be careful not to drop the compressor or damage any other components while removing it. So, it’s crucial to have someone assist you.
Step # 7: Install the new AC compressor.
With the old compressor removed, you can now install the new one. First, attach the hoses and wires to the new compressor, and make sure they are secure. Then, lift the compressor into place and bolt it down using the wrenches.
Step # 8: Charge the AC system with refrigerant.
Once the new compressor has been installed, you can start charging the AC system with refrigerant. You will need a manifold gauge set to do this. Follow the manufacturer’s instructions for charging the system with refrigerant.
Step # 9: Test the AC system.

After the AC system has been charged with refrigerant, you should test it to see if it works correctly. Turn on the air conditioning and make sure it is blowing cold air. If everything is working as it should, you have successfully replaced the AC compressor in your RV.
Safety precautions

Here are a few safety precautions when replacing the compressor in your RV’s air conditioning unit:
- Always wear protective gear like gloves and safety glasses when working on the air conditioning unit.
- Follow the manufacturer’s instructions for adding oil and refrigerant to the compressor to the letter. Using the wrong amount can cause severe problems with the unit.
- Be sure to tighten all fittings and connections to prevent leaks properly.
Disconnect the power to the RV before working on the air conditioning unit to prevent electrical shock.
Following these preventive measures protects both you and your RV. Any wrong more, and you can set in motion a chain of events that lead to your RV sustaining more damage. It’s crucial to be objective when making big decisions, such as replacing a vital component of the RV’s operating system.
