
North America is huge and teeming with magnificent sceneries. You don’t need to travel halfway around the planet to find pristine beaches, lush forests, and majestic canyons.
We have all of them here—the Great Smoky Mountain, Florida and California beaches, Grand Canyon National Park, you name it. But it will take forever to visit all of them.
No wonder many Americans choose to sell their house and buy a trailer or motorhome to spend their retirement traveling to as many of these places as possible.
However, you don’t have to wait until retirement to start traveling. You don’t even need to give up your job and buy a motorhome to indulge the travel-junky child in you. In your state alone, there are plenty of attractions to check out with your family from time to time.
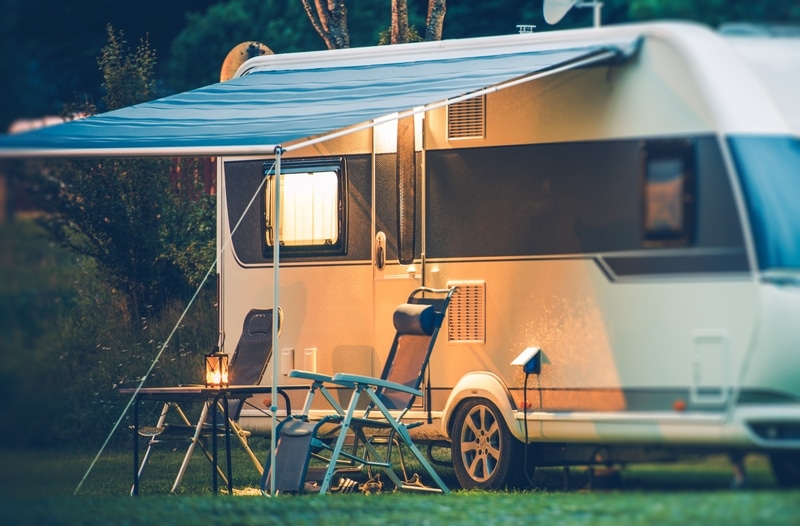
If you want to stay for a few days, there are campgrounds you can park at and set up a tent. Camping is more exciting than booking a hotel and hopping from one tourist spot to another.
A tent is still the most popular type of camping shelter. But that’s gradually changing, as recreational vehicles are starting to dominate campgrounds across the country. With more disposable income than ever, younger generations can afford RVs more easily.
Plus, RVs are also getting cheaper as the competition grows. And even if you can’t invest in an RV right now, there are more affordable options, such as a pop-up camper.
It’s a small, collapsible single-axle trailer that provides just enough sleeping and storage space.
Pros and cons of a pop-up camper
While a pop-up camper is a towable trailer, it’s much smaller and lighter than a standard travel trailer. Therefore, it appeals to select users, particularly those who rarely travel and camp out for just a day or two at a time.
Here are some pros and cons of owning a pop-up camper.
Pros
- Easy to tow – A pop-up camper is the lightest of all trailers, so you can use virtually any vehicle to tow it, even a standard sedan or SUV.
- Keeps you closer to nature – Unlike a trailer, a pop-up camper is partly a tent. The walls are made of canvas sheets, just slightly thicker than a tent. So, you can customize it to have a mesh door or window to let the breeze in while you sleep.
- Easy to store – A pop-up camper is as easy to keep as a tent, unlike a travel trailer that takes up a lot of space on your property when not in use. After using your pop-up camper, you can collapse it, tie the disassembled frames and cover on top of your vehicle, and go home.
- Easy to maintain – You can’t install equipment and fixtures in a pop-up camper. It also has no fragile component that needs round-the-clock protection. All you have to do to keep it in good working order for your next trip is to set it up carefully and clean it well after each use.
Cons
- Limited features – A pop-up camper is just a more sophisticated kind of tent. It doesn’t have any of the fancy amenities of a travel trailer. You can hardly call it a home away from home.
- Not ideal for long-term camping – Because it lacks the basic comforts most trailers and motorhomes have, you can only use it for short-term camping. If you wish to camp out longer, you should stay at a designated campground where supplies and bathrooms are available.
- Not too safe – As mentioned, a pop-up camper’s walls and roofs are made of canvas, which doesn’t offer much protection against wild animals, the elements, and intruders.
- Prone to damage – A pop-up camper’s cover is fragile. Like any other fabric, it can easily get damaged or ripped apart. Its seams will start to limber up and split after several uses.
How To Repair Pop-Up Camper Canvas Seam?
If you cut a piece of fabric or vinyl sheet, you must finish the edges to prevent them from fraying. There are several ways to do it, depending on what type of fabric you have.
Most pop-up campers are made of a canvas wall, a plain-woven mix of cotton and linen, and a vinyl roof. Canvas is the ideal material for pop-up campers because it’s breathable.
Like any other woven fabric, the edges of a canvas will unravel if not closed off. The most common method for this is to sew seams. This is also done when joining edges to create a strong linkage.
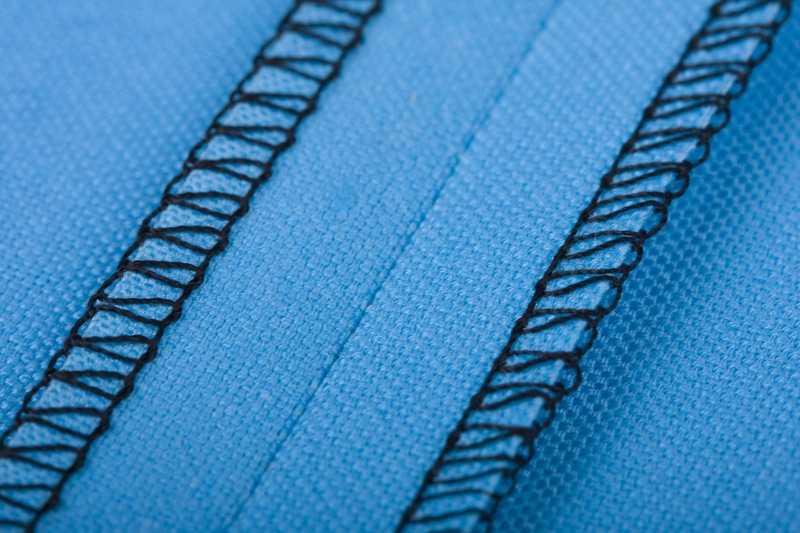
However, the seams of pop-up campers wear out over time. Before you know it, joints and edges are already ripped, and there’s a gaping hole in every corner of your camper.
The only way to fix the damaged pop-up camper canvas is to sew the edges together. But don’t expect to restore it to its original form because that requires you to use a manufacturer’s sewing machine. You can only use sewing tools available to you. Generally, you need the following tools:
- String (waxed or any large string that resembles the original thread on the seams)
- Large needles (straight or curved) or stitching awl
- Glue for fabric (Fabric Fusion)
- Fold-back clips
Before starting, learn basic sewing by watching tutorials on YouTube or reading articles online. There are different stitching techniques you can use, but what’s certain is they are the same regardless of what type of fabric you’re sewing and how large your needles are.
Another thing you should note is that the edges and joints must be covered with a vinyl or leather cap for added protection from fraying.
You will hem this cap on the canvas, so expect the seam to be thick and will take effort to pierce even with a large needle. Apply adhesive under the cap before placing it on the joint.
If you’re using regular straight needles, it would be best to sew from both sides of the seam.
You can do it one at a time—stitch along the other side after finishing one side—or simultaneously by using two separate needles going opposite directions. This will ensure the thread will hold longer than the original.
One last thing to note is that once you reach the end of the tear, don’t stop there. Instead, continue stitching at least two inches more. This will lock the section where the original threads snapped or are no longer connected.
How to use a stitching awl
Most people wouldn’t use a regular needle to stitch thick fabric, such as canvas. Even if it’s an oversized needle, they know it’s hard to push, and its size makes it difficult to use a thimble.
So instead, they use a stitching awl, which has a handle to push the needle more quickly, making it the perfect sewing tool for heavy fabric.
A stitching awl consists of several components. The most distinct is the wooden handle with two holes—a big one where the bobbin is placed and a small one where the thread goes to be pulled out.

Of course, this tool has a grooved needle that allows the string from the bobbin to slide into a tight hole, like the needle in a sewing machine. The bobbin has a tension post locked with a chuck that keeps pressure on the thread.
Unlike a regular needle that must be pushed all the way into the assembly and pulled out from the other end, the stitching awl only needs to be driven until the thread comes through.
It’s a combination of pushing thread with a needle and manually pushing a linear thread into a loop. The result is a locked stitch commonly seen in mechanically sewn garments.
Using a stitching awl is faster, but it takes getting used to. This is why you should learn different stitching methods before using them on your pop-up camper canvas seams.
Perhaps you might find a more efficient yet equally reliable method that doesn’t require double stitching or a stitching awl. Regardless, however, the important thing is you’ve gained new knowledge, which may come in handy down the road.
