Traveling in RVs is fun, no doubt. Not only is it convenient, but also cost-effective. Modern models pack many exciting features to make the journey even more comfortable for you.
However, they are complicated and have many systems that work together to ensure a comfortable travel experience. But how do you monitor all these systems? This is where a monitor panel comes in handy.
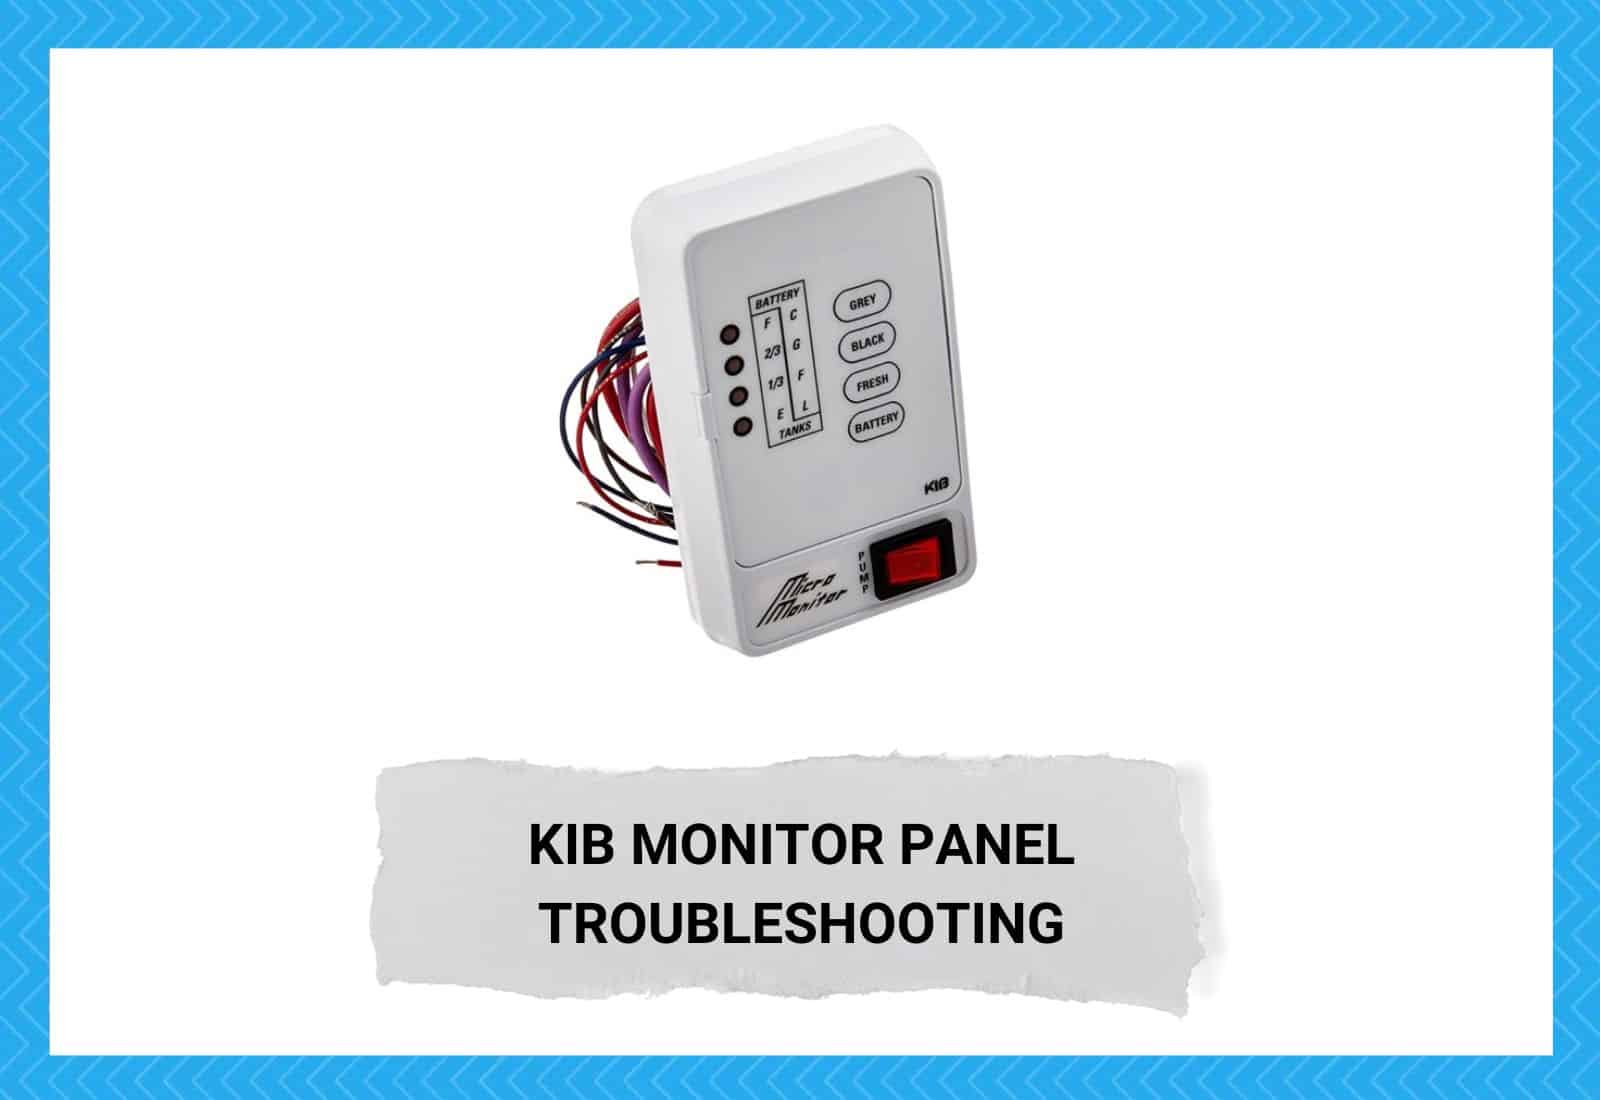
A monitor panel is a device used to keep an eye on several systems in a motorhome. Almost all modern RVs feature this panel, and it is usually installed in an easy-to-read place, such as the kitchen.
It acts as the information center in a motorhome and enables you to monitor different systems easily, be it battery levels, electrical systems, or propane levels.
However, monitor panels can develop many problems over time. Luckily, you can fix those problems with effective tips and tricks.
KIB Monitor Panel Troubleshooting
Below are some common problems associated with the KIB monitor panels, along with their simple solutions.
1. Check Wires
Most KIB monitor panel problems stem from faulty wiring, so begin by checking its wiring. The wires can go loose or get damaged over time, which may hinder the normal functioning of the monitor panel.
A visual inspection is enough in most cases. To check wires, you will need to disconnect the power and remove the panel from its mount.
Once done, examine all the wires for obvious signs of damage. If the wires are burnt or frayed, mark that section, so you won’t have to search for it later.
Depending on the damage level, you can repair or replace the faulty wire. If it’s slightly damaged, it can be fixed using a soldering iron.
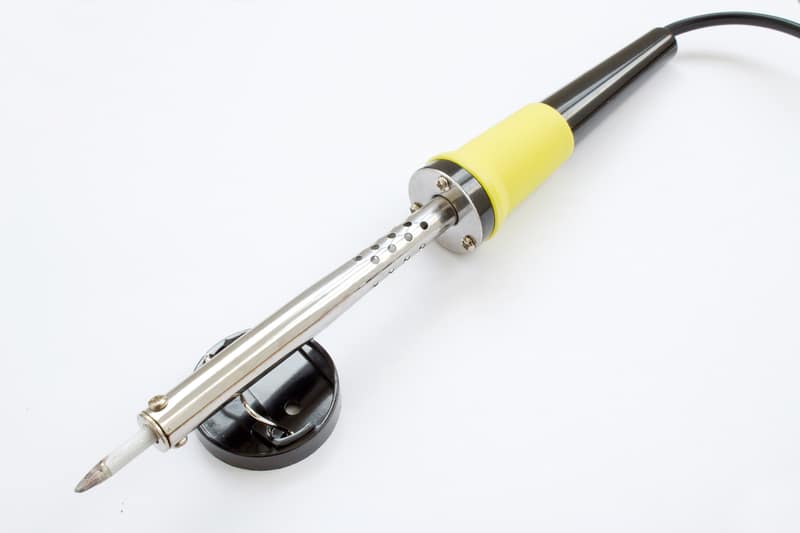
Repairing a Damaged Wire
Some people glue the damaged area instead of soldering it. However, keep in mind that not every glue is suitable to be used for this purpose. If you have a soldering iron at home, it would be better to use it as it joins the wires firmly by melting and putting a filler metal.
To solder a wire, make a jacket cut on the wire and cut it. It will require a bit of force to pull off but do not apply too much force, or you may end up damaging the wire.
Now, use the soldering stand to hold the wire in place and melt some solder onto it using the soldering gun. Keep the tip of the gun attached to the wire for a few seconds to ensure a firmer joint.
Push the ends of the wires towards each other to join them. The next step is to twist the wires. Be mindful that if you twist the wires tightly, solder won’t penetrate, and the wires will not be fixed properly.
Safety Measures
It is important to keep your safety in mind when using a soldering tool. The temperature of these tools depends on the model, but they are all extremely hot.
Their temperature can be anywhere between 390-900 F, so never touch the metal or tip of the soldering iron. It reaches high temperatures in no time and can burn your hands.
Regardless of its type, the dust and fumes produced by soldering iron are toxic. They can trigger an asthmatic reaction and cause irritation in the eyes. So, make sure to wear your safety glasses while working.
In addition to that, nose bleeds and lung irritation are also common health problems associated with soldering iron. Make sure that the area is properly ventilated, and do not forget to wash your hands after using it.
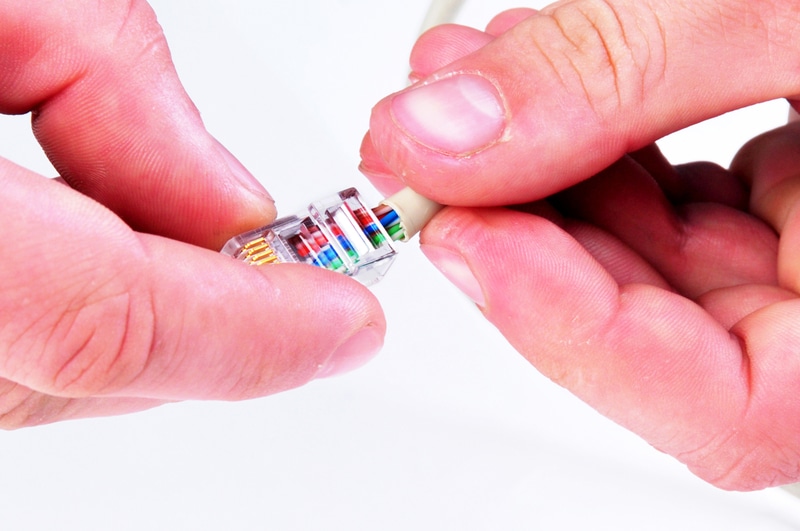
Fixing a Wire Without a Soldering Iron
If you do not have a soldering tool, the good news for you is that it is possible to fix a wire without using it. For this purpose, carefully remove the insulation of the wire using insulation stripping pliers.
Using a knife is not recommended, as it can damage the wire and interrupt the current transmission. The last thing you’d want is to cause additional damage to the wire while trying to fix it.
Now, you will need a wire connector to make a connection between the wires. Nowadays, these connectors are readily available all over the world. They are pretty sturdy and are designed to withstand high currents.
Simply insert the ends of the faulty wire into the connector and push it to establish a better connection. It would be better to twist the wires before inserting them.
2. Blown-Out Fuse
There have been many complaints regarding the fuse in the KIB monitor panel. For the uninformed, a fuse is a safety device used in many electrical appliances to protect them from power surges.
It is designed in such a way that it blows out when excess current flows through the circuit.
When a fuse goes bad, the KIB monitor panel usually stops working. So, if your panel is not turning on, there is a high likelihood that it has a blown-out fuse.
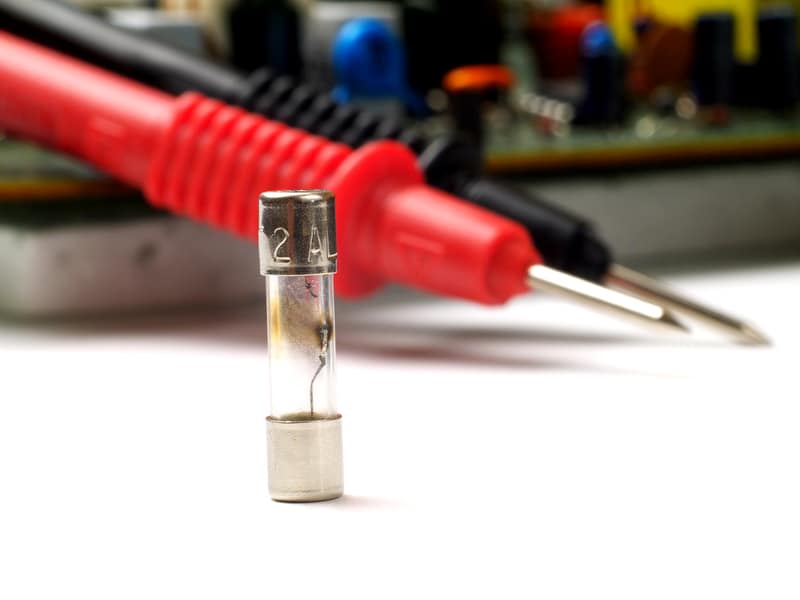
Testing the Fuse
Take the fuse out of the KIB monitor panel to check it. If the wire is melted, it indicates that the fuse has blown out and needs to be replaced. You can also use a voltmeter to test the fuse.
For this purpose, connect the leads of the voltmeter to the fuse. Most voltmeters make an audible beep sound to indicate that the fuse is working fine. Therefore, if you do not hear a beep sound, consider replacing the fuse.
Since a fuse is not designed to last a long time, it is recommended to always carry a few extra fuses so that you will have a backup whenever a fuse blows out.
However, make sure to buy the fuses with the exact same amperage. Fuses come in different amperage ratings. So, it would be a good idea to read the user manual of your KIB monitor panel first before purchasing.
Replacing a fuse is an easy process, and you do not need to seek help from a professional.
If you are running too many electrical appliances at the same time, the fuse is likely to blow out. The best way to prevent the fuse from blowing out is to simply not overload it.
3. Faulty Circuit Board
The circuit board of the KIB monitor panel can also go bad for some reason. Troubleshooting the board can be a challenging task as it is a complicated component.
Therefore, it would be better to call in an expert and let them deal with it. Furthermore, see if your KIB monitor panel is in the warranty period.
The Bottom Line
The KIB monitor panel is known for its durability and ease of use. However, users have reported many issues while using it. In most cases, the problem was with the wiring, fuse, and the circuit board of the panel.
For all these problems, you can refer to this troubleshooting guide to have a simple fix.

HOW ow do I contact KIB for technical service
New unit and never had toilet paper used in it. From day one black tank read 2/3 full. I’ve tried flushing tank and when is totally empty reads empty. After I add gallon of water and tank prep chemicals. Monitor always jumps to two-thirds full. Only putting a gallon of water in plus chemicals.