You’re driving your RV on a level, smooth road when suddenly you hear a loud, grinding sound from underneath the floor. You’ve been hearing this for a while, particularly whenever you hit the road, but this time, it’s loud enough to catch your attention and pull over.
As it turns out, the CV joints and axles in the drivetrain are sliding against each other. Upon further inspection, you discovered that the ball joints and control arms in the suspension system are doing the same.
This is the first time this has happened. And you don’t remember any particular incident that dislocated these components to the point they create more friction than usual. The only explanation is these joints and surfaces have run out of grease.
While structurally stable, they need lubrication to perform more quietly and efficiently. This can happen in any mechanical system with components driving and gliding against one another.
The importance of grease in your RV’s mechanical system
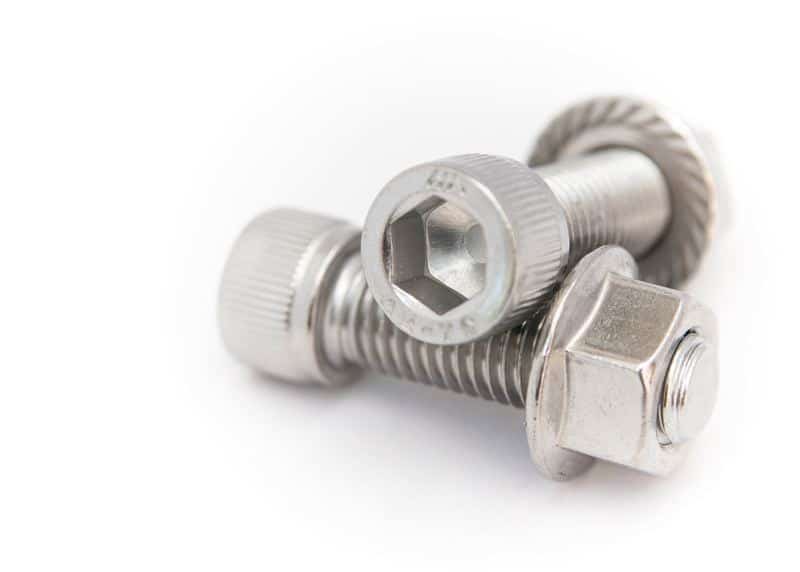
If you look under your RV, you’ll see a network of tubes, plates, and other metal pieces connected by shaft couplings, flanges, bolts, bearings, and rivets. Moving components, on the other hand, are joined by balls and sockets, hinges, and sliders. All these joints require constant lubrication to move with as little resistance as possible.
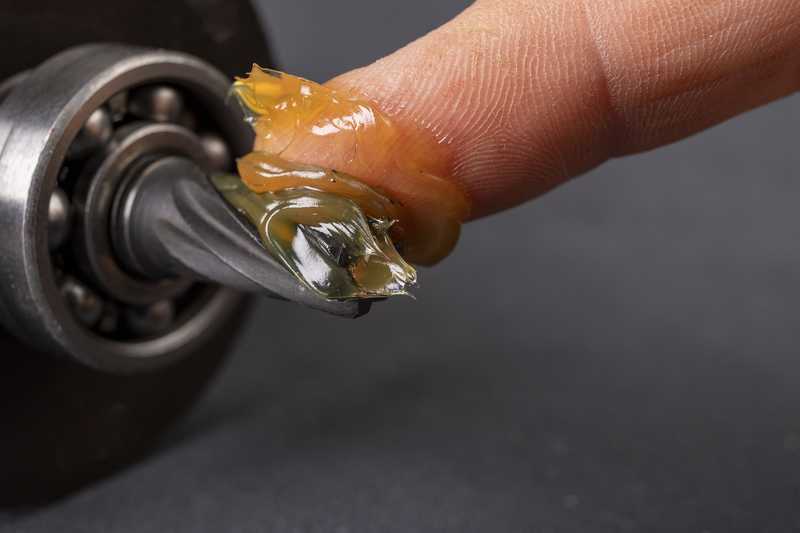
Ever wondered why mechanics always have a black, oily stain on their hands and clothes? That stain is grease and plays a critical role in lubricating joints in a mechanical system. Grease helps reduce friction, which is a leading cause of wear and tear in metals and affects your RV’s performance and fuel efficiency.
Grease also shields mechanical parts against corrosive compounds and prevents dust and debris from sticking to their surface. With contaminants dispelled, nothing can block and slow the movement of joints, rails, and bearing teeth. Ultimately, grease prolongs the life of your RV’s mechanical system.
What is a grease fitting?
More than 60 percent of your RV’s mechanical system is hard to access. You probably know a few joints, such as axles and suspensions, brakes, landing gear, and doors and hinges.
And the reason you know them is because they are visible and accessible. The rest is concealed under different assemblies. But these joins need greasing, too. That’s where the grease fittings come in.
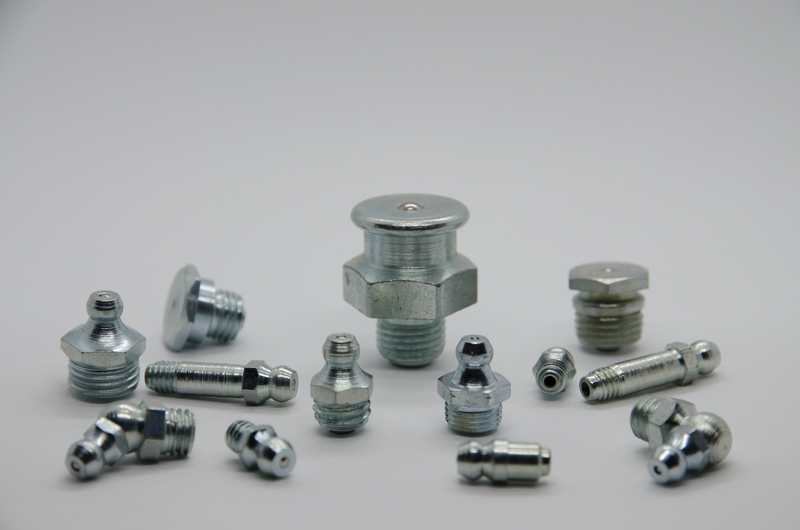
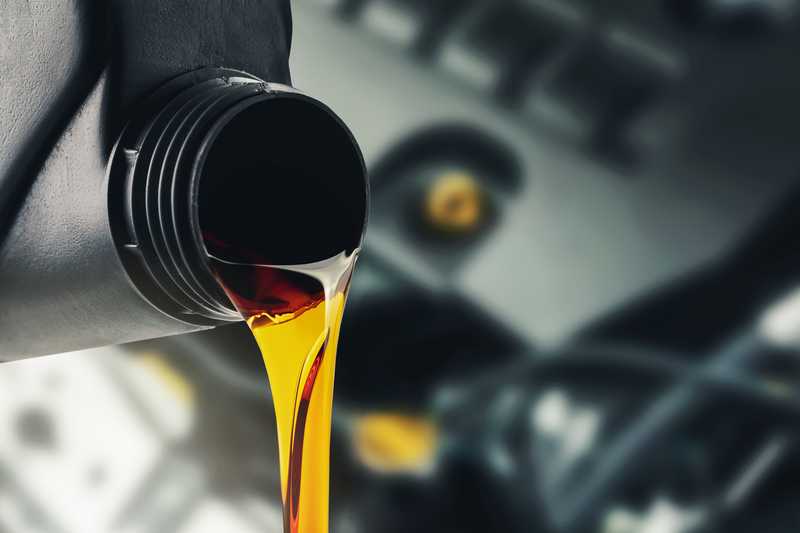
Also called grease nipples or Zerk fittings, these components in a mechanical system are where you feed the transmission oil that lubricates joints and connections. It’s a separate piece installed over a small opening to a joint.
As a result, you don’t need to directly apply transmission oil on an inaccessible crevice around the joint. Instead, you just have to pour or inject it through the grease fitting.
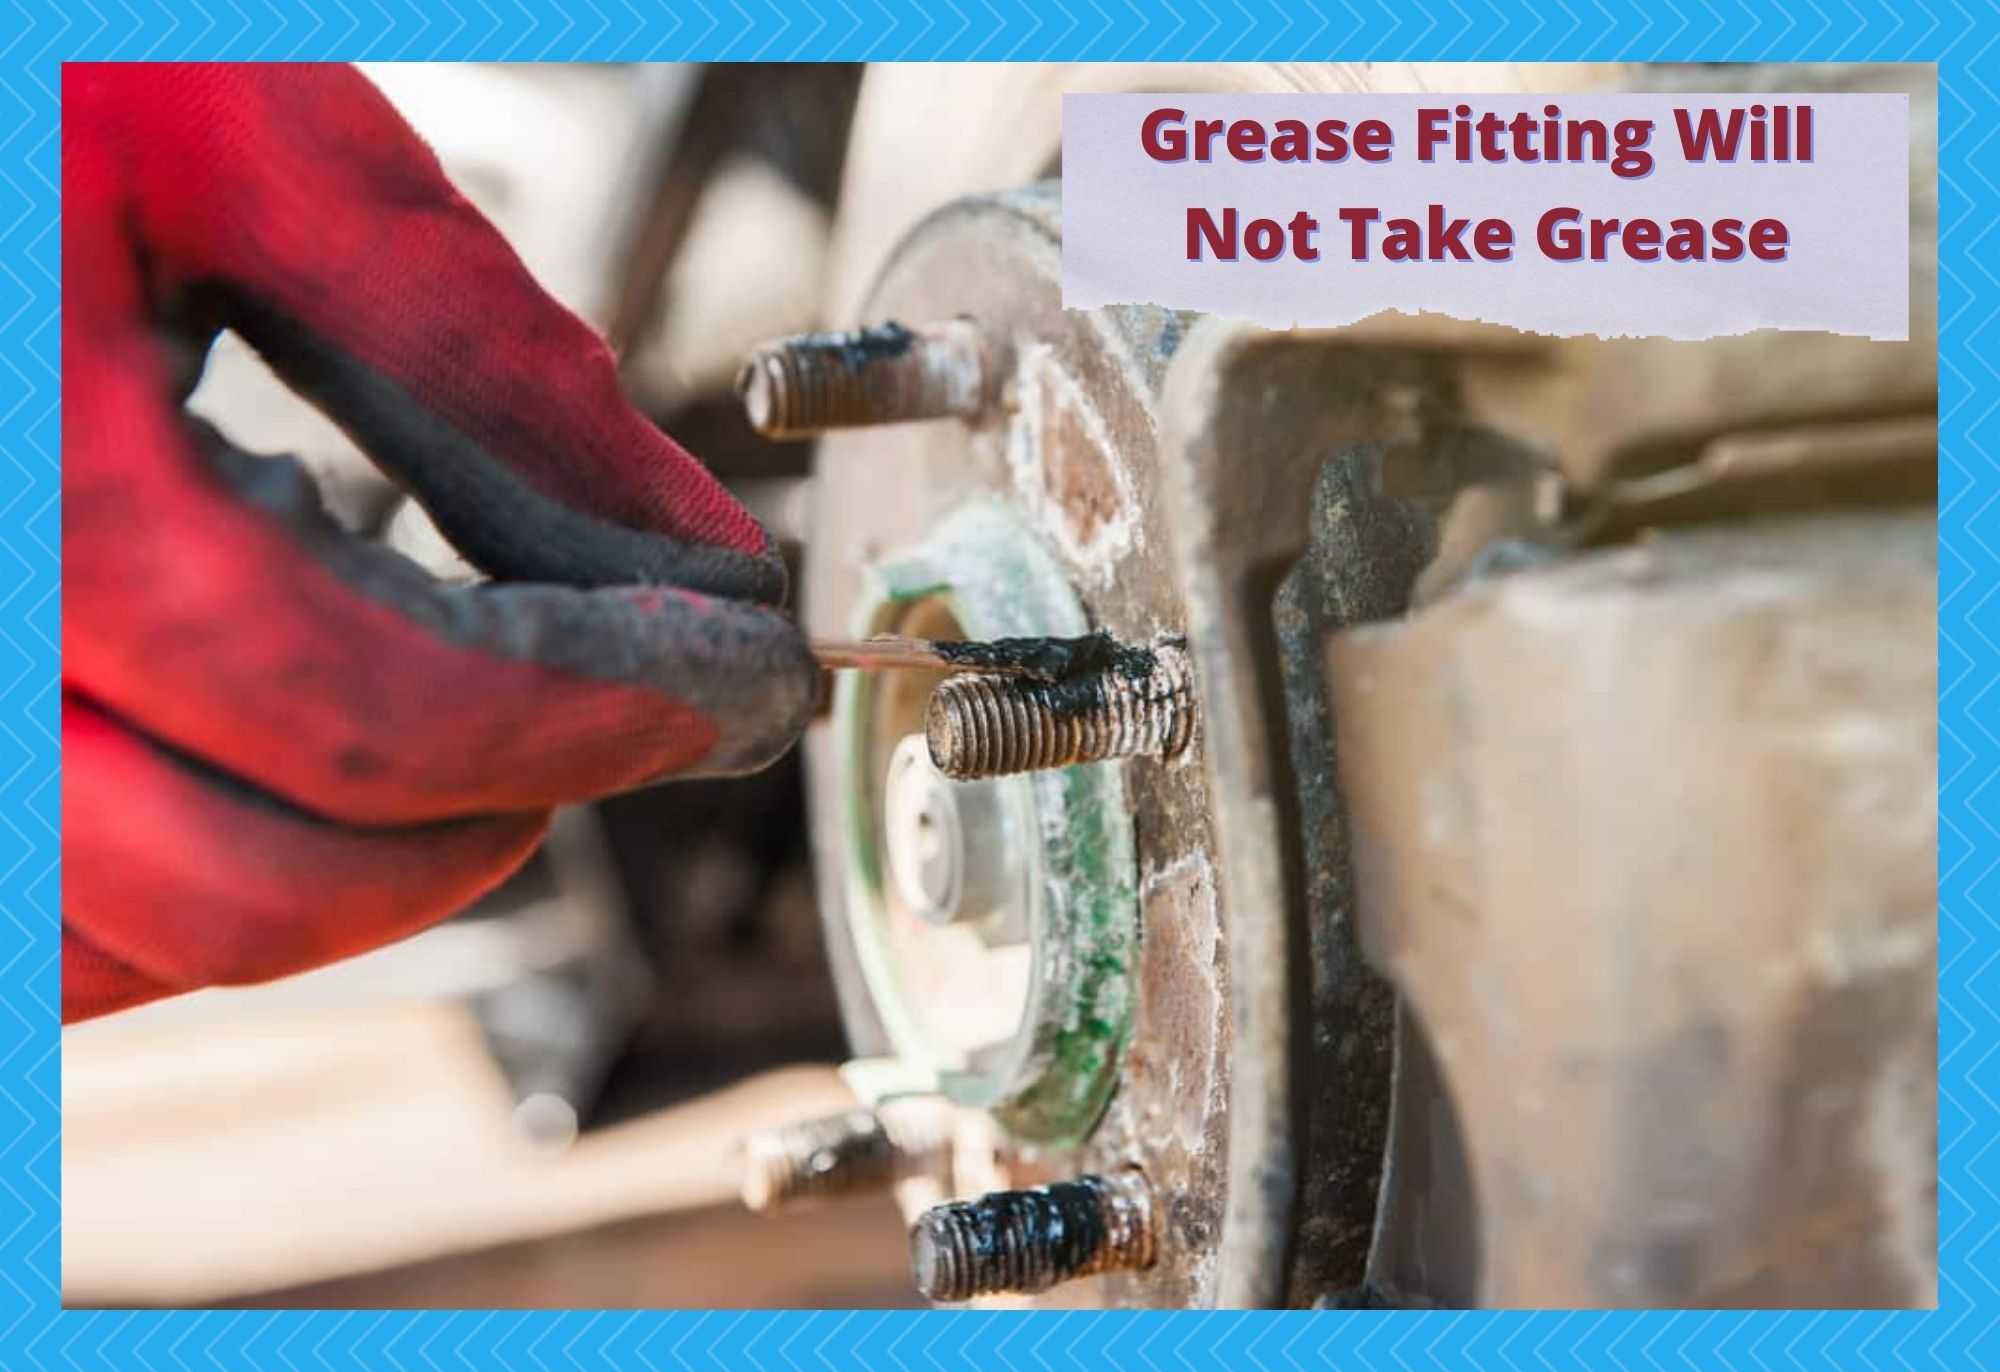
Why is your RV’s grease fitting not taking grease anymore?
Pumping transmission oil through a grease fitting should be a walk in the park. After all, it’s just a tiny device with a straight channel that leads to the joint. The transmission oil doesn’t travel through a long tube, like hospital drips. Instead, it goes directly into the joint through this piece of metal.
But there are instances when the grease fitting won’t take grease, and as trivial as it seems, it can be a serious problem. After all, you can only travel in your RV with your mechanical system well-lubed up.
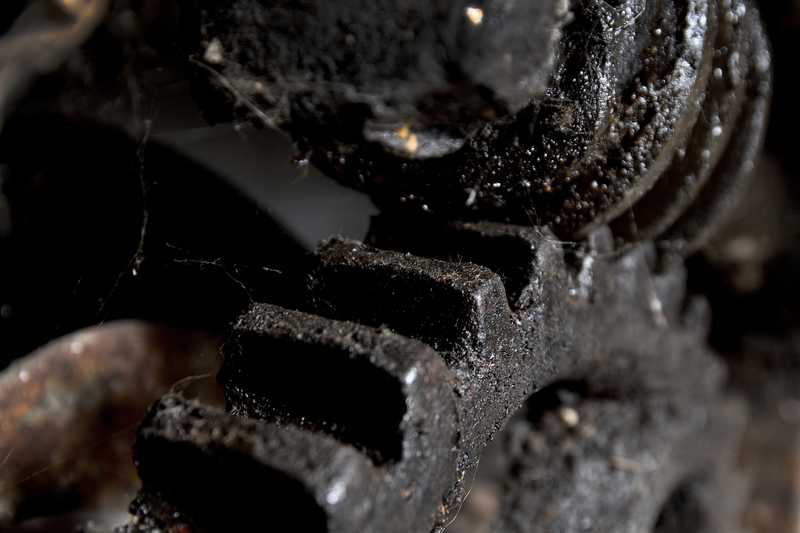
There are several possible reasons a grease fitting resists grease. One is a blockage. Over time, dust and debris can clog the grease fitting. They may be blown or washed off if the fitting is bone-dry, but remember that it is initially saturated with transmission oil, allowing dust to stick on its surface like glue.
It’s also possible that the grease fitting has been severely damaged, and the passage has been closed off, preventing the transmission oil from seeping through. In that case, replacing the grease fitting is the most practical course of action.
Fix A Grease Fitting That Won’t Take Grease
The thing about a grease fitting that won’t take grease is that you must act quickly to fix it. You can’t tell your family or whoever is joining you on your trip that you will keep driving even with the knuckles of your RV violently scraping against each other.
You need to fix it before driving off to reach your destination safely and sound. Those joints won’t produce grease by themselves. And the longer you wait, the more they get stuck. So here’s what you should do.
1. Clean the grease fitting and the joint as much as possible.
As mentioned, dust and debris may clog both the grease fitting and the joint, preventing the lube from permeating. Remove as much clog as possible to make way for the grease. This can be tricky because your only access to the fitting is a tiny hole through which only the pointy tip of a grease gun can fit.
However, grease fittings are removable, meaning you can remove them for cleaning. Extracting dirt from within the joint through the tiny opening is even more difficult.
Grease, like oil and fat, isn’t water soluble. So you can’t wash the grease fitting with water. The only substance that can make water mix with grease is soap, and you don’t have to go that far, either. Just wipe off the dust buildup with a dry cloth. You’ll pour in new lubricant anyway, so there’s no point in removing all of the old grease.
2. Apply PB Blaster to loosen up hardened grease and dirt.
If the dust buildup and hardened grease are hard to remove with essential tools, consider applying PB Blaster. This product breaks down substances wrapped around nuts and bolts until they are easier to clean off. It can even remove rust.
PB Blaster is generally considered a type of lubricant. But this isn’t the lubricant your RV’s mechanical system needs for greasing. So don’t make the mistake of using this product alone. It’s only for loosening up the stubborn clogs in all nooks and crannies. You still need to grease the joints with transmission oil.
Also, it takes a few minutes for this product to take effect. So, once you apply it, wait a few minutes before cleaning the grease fitting again. PB Blaster is also flammable, so only use it in a well-ventilated area and stay away from any potential sources of fire, including electronic devices.
3. Lubricate the grease fitting using a grease gun.
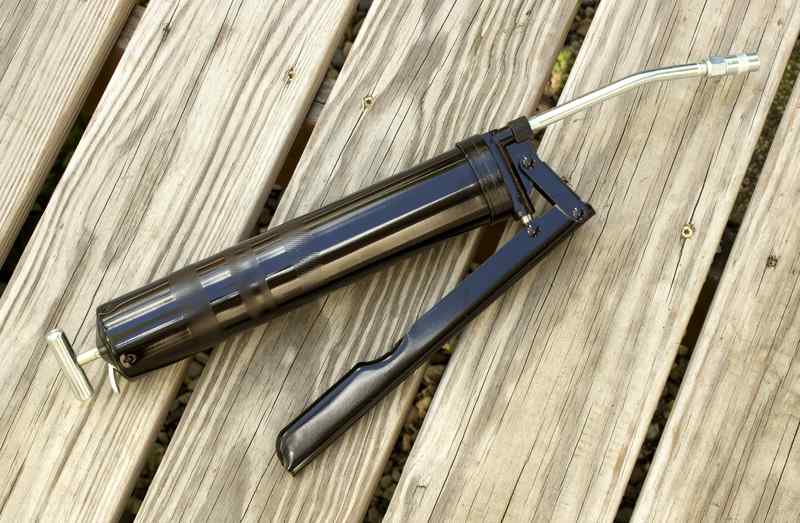
For easier and faster lubrication, use a grease gun. This tool has a reservoir of grease, a pump that pushes out the grease, and a hose that conveys the grease into the fitting. This is more efficient than other tools because the tip of the tube is attached to the grease fitting, and all you have to do is squeeze the trigger.
The grease gun works like a gun. It needs ammunition, except you’ll use transmission oil. Fill the grease gun with transmission oil, then connect the hose to the grease fitting.
Make sure it’s airtight to prevent the oil from spilling out and maintain the pressure within the hose. You need that pressure to push the transmission oil into the grease fitting and the joint.
The reservoir and hose must be free from air to eliminate resistance. So first, prime it by squeezing the trigger several times. Once it feels easy to push the grease through the hose, squeeze the trigger more.
4. Use a grease joint rejuvenator for good measure.
If you don’t have a grease gun or you want to ensure the entire assembly is lubed up, use a grease joint rejuvenator. Some call it grease hammer, and for an apparent reason. Unlike the grease gun that applies pressure into the reservoir by squeezing a trigger, this tool does the same by tapping a plunger with a hammer.
Install the grease fitting until it is airtight. Next, fill the grease joint rejuvenator with transmission oil and attach it to the grease fitting. Then, start tapping the plunger with a hammer.
Decide how hard you tap based on how much transmission oil is being pushed into the joint. The harder you tap, the more pressure you apply to the rejuvenator’s reservoir.
Grease fittings are relatively easy to come by. If your grease fittings seem impossible to fix, even with the methods above, consider replacing them. It’s safer and more convenient than forcing a broken fitting to deliver.
It might cost you a few bucks, depending on the type and size of grease fittings you need and for what particular joints in your RV, but it will pay off once you see your RV working smoothly again.
