Introduction
The internal water heater is, for many, what makes an RV home. A reliable supply of hot water allows for a much easier and cleaner living environment. It allows the ease of cleaning dishes and, more importantly, the capacity to have a shower.

Although this is a standard feature of every home, it is still considered a huge luxury in the RV industry. It requires an intercut and well-designed electrical and water system.
Therefore it is imperative to ensure that an RVs water heater is continually maintained to guarantee that hot water will always be available. Atwood water heaters are some of the most respected brands in the industry. This article has been written to illustrate exactly how to perform the essential maintenance of the water heater check valve.
What is The Check the Valve for
Many will be curious as to why they may have to check their water heater valve. However, there are several key scenarios where checking the Atwood water heater valve is critical.
Firstly, it is to ensure safety. Faulty valves can cause extensive leaks, which will ultimately lead to potentially severe damage to the surrounding area. Removing the valve will allow for extensive inspection to confirm that the Seattle and metal component is in good condition.
Critically removing and inspecting or replacing the valve is great practice for performing regular maintenance of the Atwood heater. In addition, it will allow the owner to identify potential blockages and faults that may be leading to compromised performance.
Performing regular and diligent maintenance is key as a preventative measure for reducing the chance of expensive repair and replacement costs should issues become severe. In addition, early identification of issues is the best way to prevent long-term damage.
Removing the valve to perform a fully detailed inspection will easily extend the lifespan of this critical RV appliance. Ensuring that it is continually maintained will ensure that there the water heaters will live as long as the RV. Although it may seem like a time-consuming process, it is the best course of action for a conscientious owner.
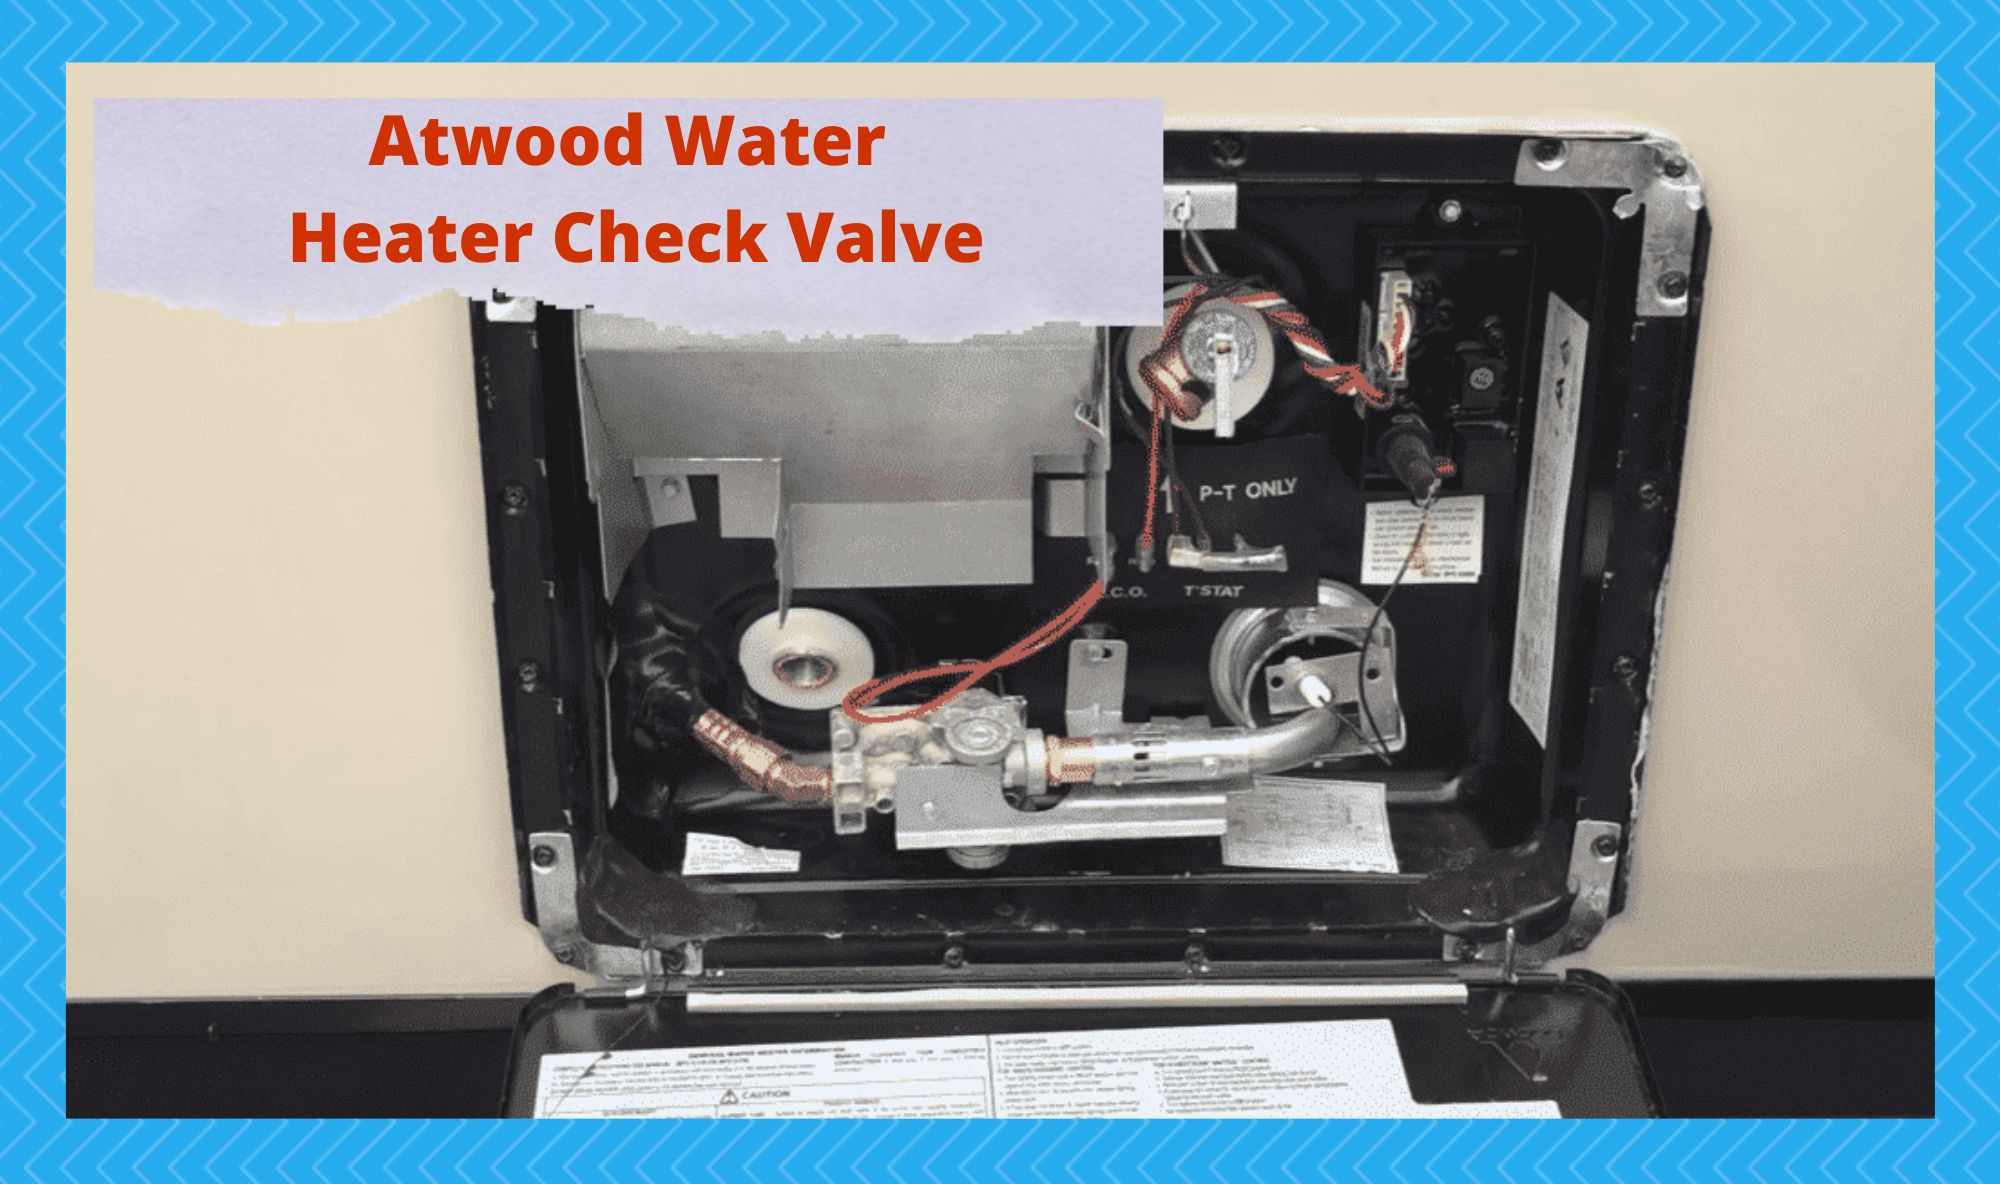
Atwood Water Heater Check Valve
There are several steps involved with removing the water heaters valve. These steps are relatively simple on their own, but they all must be followed exactly to ensure the highest degree of safety at all times.
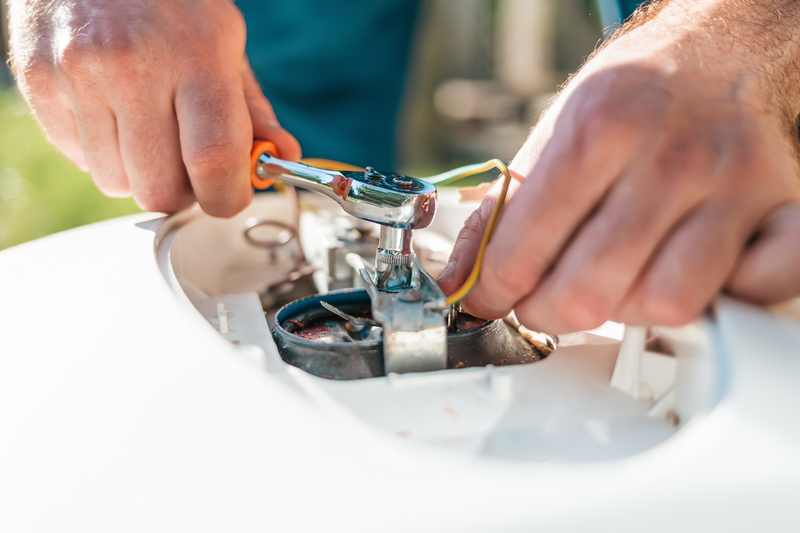
Step 1
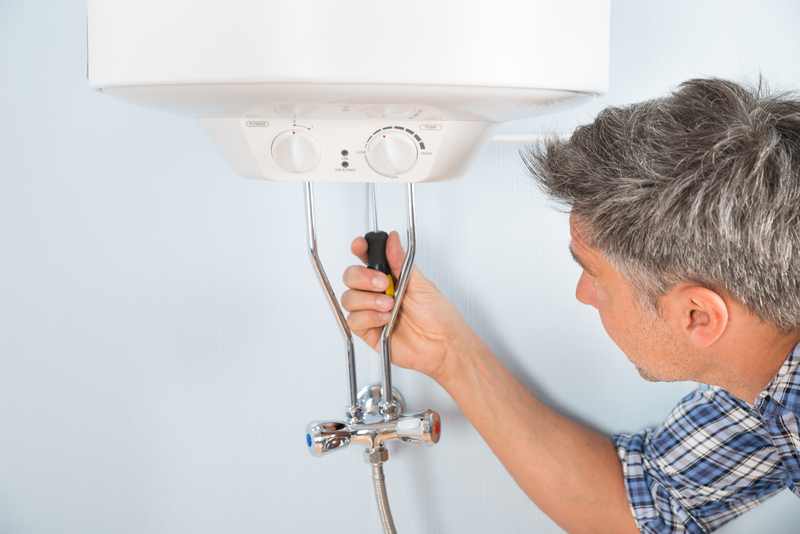
Ensure that the water heater is off. This is to prevent a current from passing through the device and causing a nasty electrical shock. Confirm that the device is off by using a multimeter to test for voltage on the exposed wires if you wish to be extra cautious.
Standard practice performed when dealing with electrical components includes disconnecting the negative terminal from the electrical system. This will confirm that there is no way an electrical current can shock the technician or damage the component.
Step 2
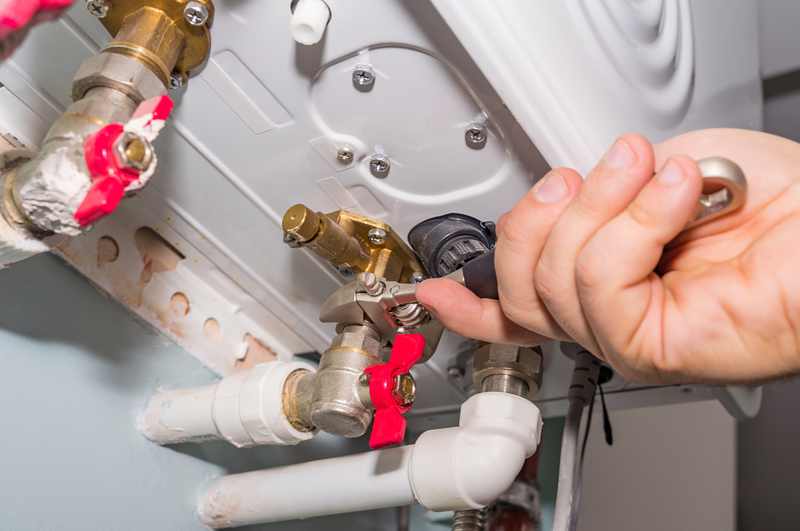
It is critical to identify the location of the valve. In the Atwood water heater’s case, it is near the bottom of the appliance near the inlet and outlets. Ensure that the surrounding area is in good condition and that there is no rust or water leakage viable.
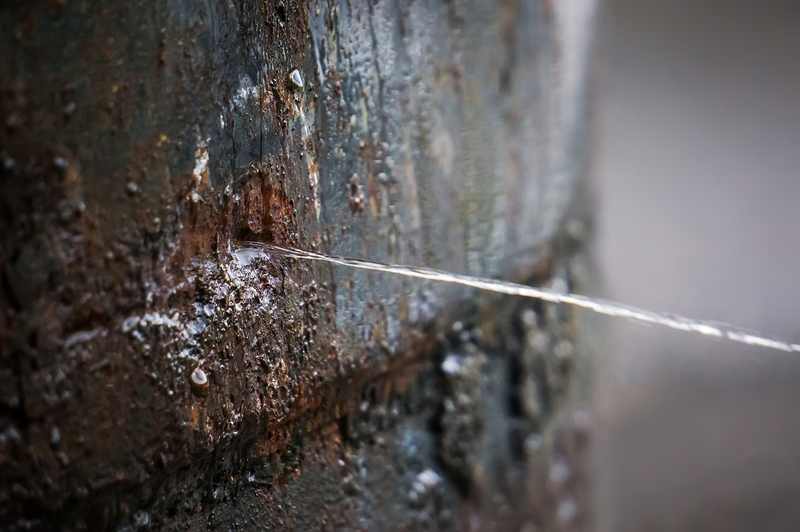
At this stage, if there is any water, then there might be a more serious leak that will need to be addressed immediately. The leak can easily seem through the RV and cause mold while compromising the structural integrity of the vehicle.
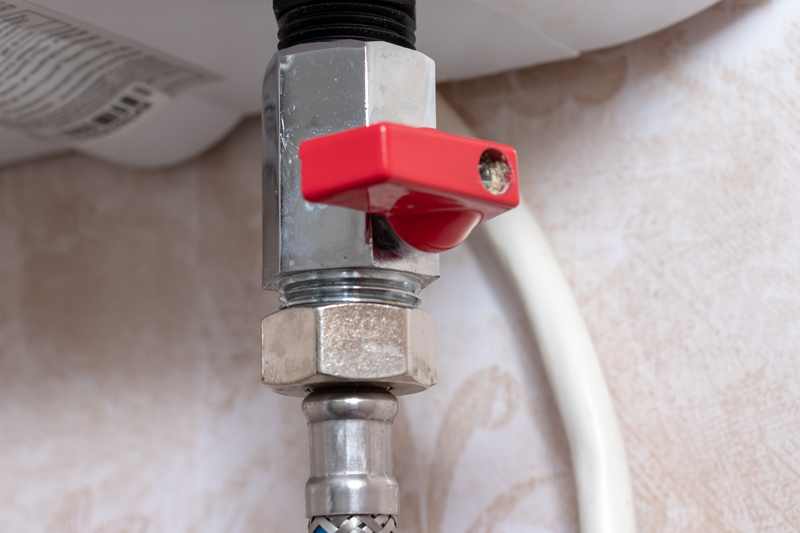
Step 3
It is now time to open the valve. To do so, use a 4mm wrench which can easily attach to the base of the valve to be spun counter-clockwise. Do this slowly and listen for air escaping from the valve as it depressurizes. Again, remember to perform this step slowly to ensure that the metal valve does not fly off and potentially harm the technician.
Step 4
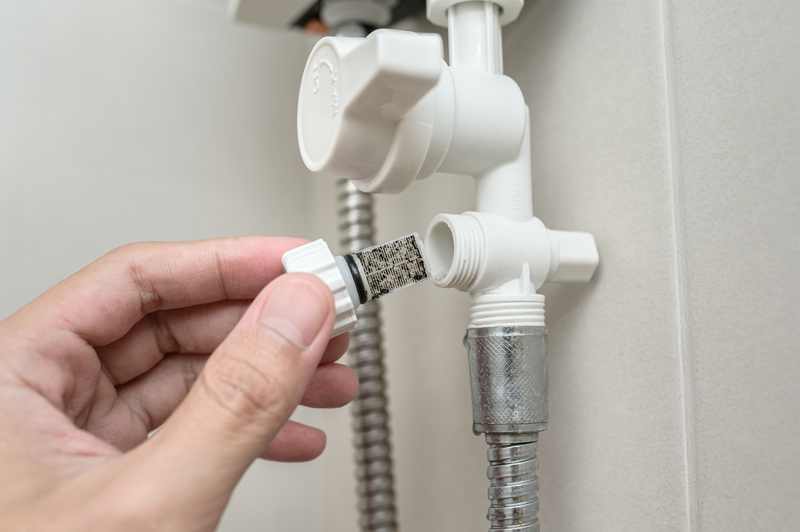
Inspect the interior of the valve for any obvious signs of foreign material, rust, and excess water. All of these will be signs that the heater requires some serious maintenance. Typically, it would be best to allow an expert to deal with these issues, as the pressurized heating system is very complicated and has to be assembled with care.
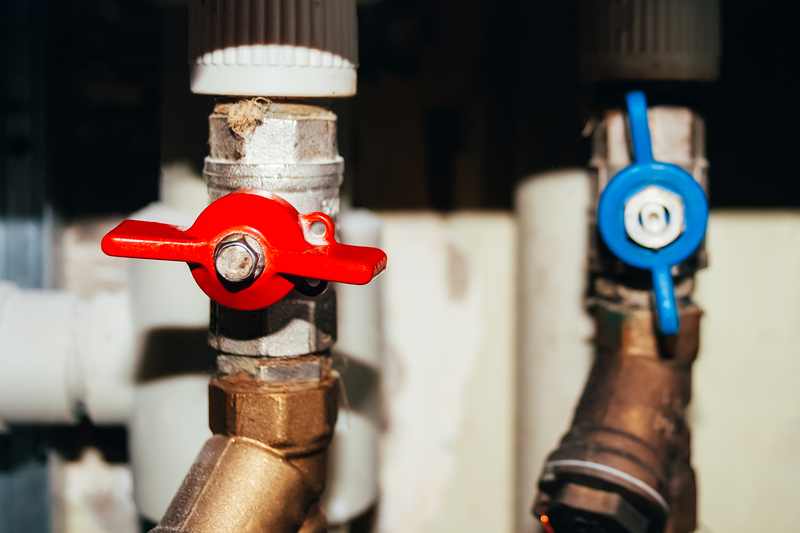
Step 5
Assuming everything is okay, then it is time to refit the valve. Turn the valve clockwise and tighten firmly, but not so tight that it would be difficult to remove in the future. Again make sure that there are no unnecessary leaks.
At this point, the battery can be reconnected, and the water heater should be turned back on. Allow it time to heat the water, around 30 minutes, and check that hot water is again flowing through the RVS plumbing system. This is the full reinstallation process.
If you notice any leaks or the valve won’t open or close properly, it may need to be replaced. A faulty valve can cause a variety of problems, including reduced water flow and even complete failure of the water heater. It’s important to address these issues as soon as possible to avoid further damage.
Conclusion
In conclusion, checking the water heater valve is an important part of routine maintenance that should be performed regularly to ensure the proper functioning of your water heater.
Although the process of inspection and removal is critical, it remains a deliberately simple process to follow to allow it to be inspected regularly. So as part of ownership, be sure to maintain this essential water heater as regularly as possible.
The faster problems are identified, the faster, the more easily they will be fixed. And, the more grateful you will be to deal with a smaller repair bill than an entire replacement cost.
