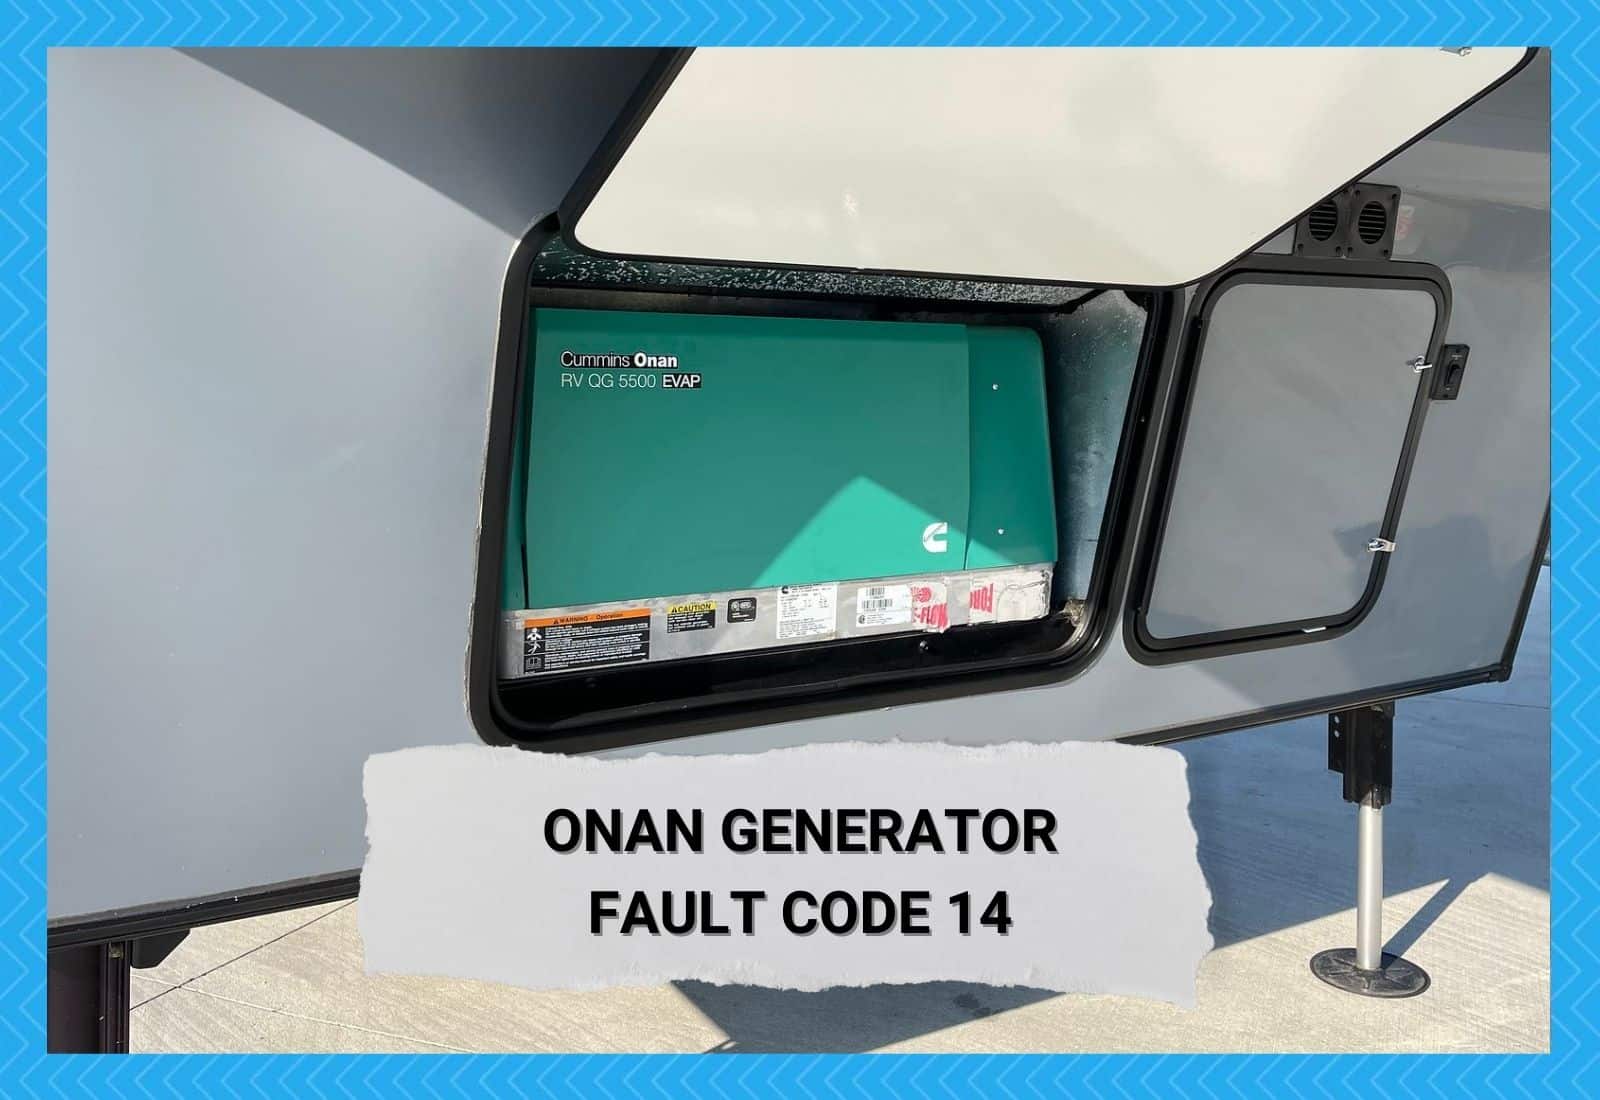
Onan is one of the most popular companies offering RV generators. These generators are extremely reliable and have silent operations, so you can create a power backup for electronic appliances in the motorhome or RV.
In addition, the generators are designed to work with LPV, diesel, gasoline, and CNG, making them a convenient choice. However, many people struggle with fault code 14, but it’s quite easy to fix.
How To Fix Onan Generator Fault Code 14?
Fault code 14 is caused when the generator is operated over frequency or is running too fast. For this reason, you’ve to consider the load, fuel, and various other factors.
1. Check the Load
The most common reason behind fault code 14 is that the generator is running over the suggested frequency. If you continue using the generator when the fault code appears on the control center, it can damage the generator or cause a sudden vehicle shutdown.
For this reason, we recommend that you turn off some electronic appliances to ease the load from the generator.
2. Check Fuel
The second step is that you’ve to check the amount of fuel in the generator. This is because the Onan generator is designed to run on the tank that’s more than 1/4th filled. So, if the fuel level is lower, we recommend that you replenish the fuel levels in the generator.
On the other hand, the same problem can occur by overfilling the generator tank. For this reason, it’s recommended that you fill the tank to 3/4th level to make sure it’s not too less or too much. In particular, the fuel level should be between full and add.
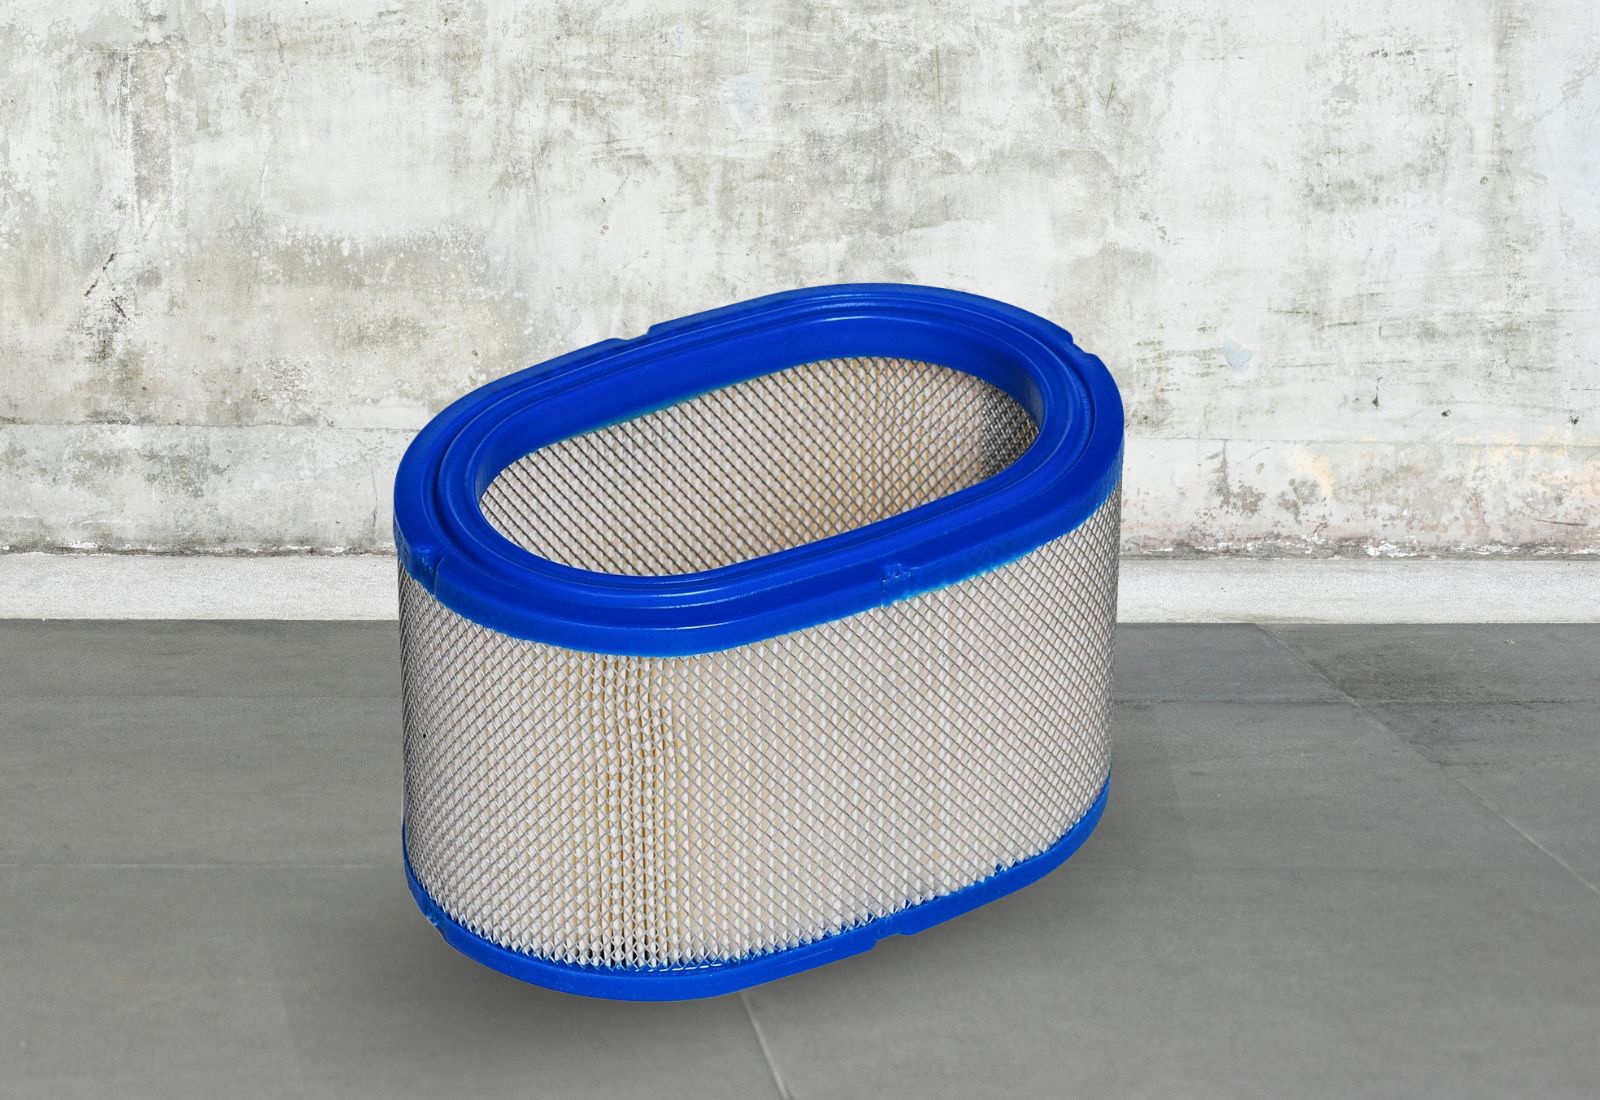
3. Air Filter
The air filters are designed to filter out the solid particles, such as mold, dust, and pollen in the air. This is important to consider, especially if you are operating the generator on diesel because it needs air to complete the combustion process within the engine.
So, if the air filters are clogged, the air won’t pass through, and the combustion process will be restricted.
The simplest solution is to replace the clogged filter with a new one because washing isn’t a reliable solution.
Keep in mind that air filters should be replaced every three to four months because the dirt and dust particles from the air can also lead to premature wearing and tearing of the internal components.
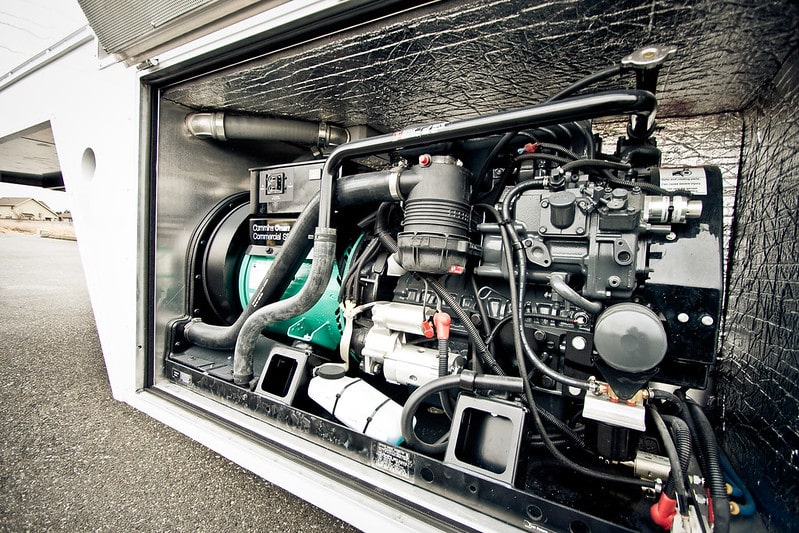
4. Check The Carburetor
A carburetor is one of the most common reasons behind an overworking generator. The carburetor is responsible for starting the generator because the fuel travels to it when the fuel valves are released.
However, when the carburetor gets clogged, it negatively impacts the fuel flow, causing fault code 14. The solution is to either clean the carburetor or replace it.
In most cases, the experts recommend replacing the carburetor because it’s affordable, and cleaning the carburetor can be challenging. The carburetor is installed on the back of the generator, usually behind the air filter assembly.
For this reason, we recommend that you locate the air filter assembly on the left side of the recoil and take off the cover by unscrewing the knob.
Once the air filter assembly comes off, take out the carburetor and install a new one. On the other hand, if you don’t have previous experience, you should hire an electrician to install a new carburetor, as there are various wiring connections that have to be completed.
The circuit board in the generator is designed to support and connect the electronic components with the help of conductive pathways. In addition, the circuit board is responsible for regulating the generator’s speed.
So, if the generator is showing the fault code, we recommend that you get the circuit board checked. If there are some damaged connections, you can use a solder gun to put the connections back into place.
On the other hand, if redoing the connections doesn’t work, we recommend that you replace the entire circuit board but you must hire an electrician for replacement.
Secondly, if there are connector pins that have to be plugged into a circuit board, it’s likely that they are damaged and should be replaced.
6. Governor
The governor is one of the most important parts of the generator as it’s responsible for controlling fuel flow into the generator’s engine – it is done to control the unit’s speed.
In particular, the governor ensures that the speed remains constant in every load condition that’s imposed on the generator. However, if the governor stops working, it won’t be able to measure the speed correctly, causing the generator to overwork.
For this reason, we recommend that you get the governor replaced or repaired, depending on the severity of the damage.
7. Wiring
A generator is an electronic appliance, which clearly indicates the importance of correct wiring. In particular, if the wires are chewed or damaged, the generator won’t be able to operate properly.
For this reason, you have to check the entire wiring system of the generator and replace the damaged wires. In addition, if the wires seem chewed, you have to look around the generator to make sure the birds or rats haven’t made a nest (it’s a common occurrence).
8. Air Intake
The air intake system in the generator is responsible to ensure that air reaches the engine. That’s because oxygen is important to complete the combustion process.
However, if the air intake system is leaking, the airflow will be restricted, causing functionality issues. For this reason, we recommend that you check the entire air intake system and fix the leaking parts.
9. Radiator
If your generator is still showing the fault code, you have to check the radiator because the low water levels can also cause this issue. That’s because insufficient water in the radiator will cause overheating of the engine.
So, when the generator keeps running for a long time at a high temperature, it not only shows the fault code but also causes a breakdown of internal parts. For this reason, it’s recommended that you keep an eye on the water level in the radiator and add more water.
10. Fuel Pipe
Another solution is to check the fuel pipe that connects the generator to the engine. This is because the fuel pipe is responsible for taking fuel to the generator’s carburetor and engine.
So, if there is a leak in these pipes, you have to get it fixed to ensure a seamless flow of fuel into the engine. On the other hand, if the fuel pipe is bent, it’s recommended that you replace it to optimize the fuel flow.
In addition to fixing the leak, you’ve to ensure that the fuel tank is properly cleaned and the built-up pressure is released. Once these issues are resolved, the generator will operate smoothly and at the right speed, preventing fault code 14.
11. Oil Pressure Switch
The oil pressure switch is responsible for showing the level of oil pressure in the engine. In case there is no oil, the pressure switch will alert the electrical circuit.
However, if the oil pressure switch stops working, the electrical circuit of the generator won’t get a signal about the oil pressure.
For this reason, we recommend that you check the oil pressure switch and replace it if it’s damaged. In addition to this, make sure that the connections with the oil pressure switch are tight.
The Bottom Line
There are multiple reasons behind fault code 14 on the Onan generator. We have already mentioned the solutions, but to prevent this code from occurring again, it’s recommended that you use the generator regularly to make sure the varnish doesn’t accumulate on the carburetor.
Even if you don’t use it regularly, turn it on after every few days to make it exercise as it keeps the system working properly.
