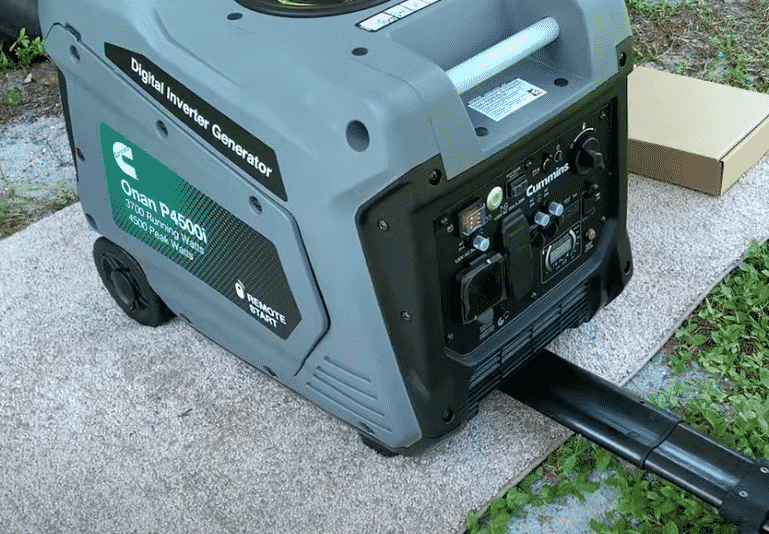
Generators are a great source of power when there is no electricity around. These devices can come in handy even while you are out on trips or camping. Onan is a famous company known for making generators to be used in RVs. These generators are high quality and provide a lot of power all while keeping their performance quiet. This makes it easy for the users to be comfortable while they are enjoying their camping trip.
However, these generators can sometimes end up running into some problems. One of these is that the Onan generator starts up but then shut down on its own. This might also happen to you, so here are a few ways you can get rid of this issue.
How To Fix Onan Generator Starts Then Shuts Down
- Check Fuel Supply
This problem usually indicates that the generator has run out of fuel. It is pretty obvious that your generator will not be able to provide any power while the tank on it is empty. Another reason for this can be that the fuel you had filled in it had been there for quite a lot of time.
Whatever the reason may be, it is suggested that you take a look at both the gas tank as well as the fuel supply and then refill it. If the fuel in it is full then you should check if it has gotten dirty or not. In case the fuel is in fact old and dirty then you will have to replace it with new fuel.
- Electrical Issue
Another common issue that might cause your generator to shut down right after it starts can be that it has some problem relating to its electric circuit. If there is an issue with the board of your generator then you might be able to hear a little sputtering sound before your generator dies. Although is the issue is an electrical one, then you will have to check it with another method.
This is because the generator does not give off any warning sounds when the problem is related to electricity. In order to find check if the error is an electrical one. Take a meter and then attach it directly to your generator. After this try to start up the device. Notice the colts you are receiving while it starts up. If they do not reach about 120 volts then this indicates that the problem is related to its electrical wiring or similar part.
Make sure that you find out which part is exactly causing the issue before you purchase a new part to replace the faulty one. It can be quite technical to deal with these parts, so if you do not have any prior knowledge about this. It is recommended that you contact a technician who can help you with this issue.
- Check Fuel Cap
If your generator runs for some time after turning on and then shutdowns. This might indicate a problem related to the fuel cap. In order to check this, lift up the fuel cap on your generator and then start it.
Observe it for some time and if it fixes the issue then that means there is a problem with your fuel cap. The fuel cap can not be fixed so you will need to purchase a new one and replace it to fix your problem. After you have successfully replaced the fuel cap on your generator, it should now work without shutting down on its own.
- Check Armature Coil
The armature coil on your generator can sometimes get old and faulty. This will cause it to not create enough spark in order to keep your device running smoothly. Notice the coil to confirm whether that is the problem.
Keep in mind that if the armature coil is indeed causing the problem then it needs time to cool down. While the coil is hot, it will have trouble trying to generate sparks. Wait for about 30 to 40 minutes for the coil to completely cool down.
Afterward, start your generator again to check if that fixed the problem you were getting. If this does not fix your issue then you get the faulty armature coil replaced with a new one. This is an easy part to find and then replace.
