Zep is a leading manufacturer and distributor of cleaning and maintenance products throughout North America and Europe.
They sell just about any household and industrial supplies you can think of, from lubricants and carpet cleaners to adhesives and sealants. However, their floor polish is the most tried and reviewed of all their bestsellers.
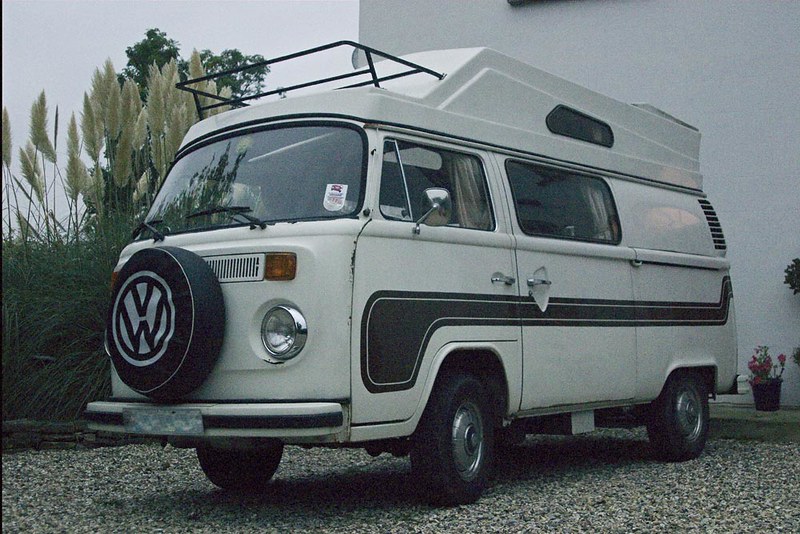
For some reason, Zep floor polish has piqued the interest of RV owners worldwide. While it’s clear that the product is for polishing floors, RV owners are using it to polish their campers.
Unfortunately, there’s no way to find out where the original idea came from, but the fact remains that it’s an effective RV polisher. Those who have tried Zep floor polish on their RV have these to say:
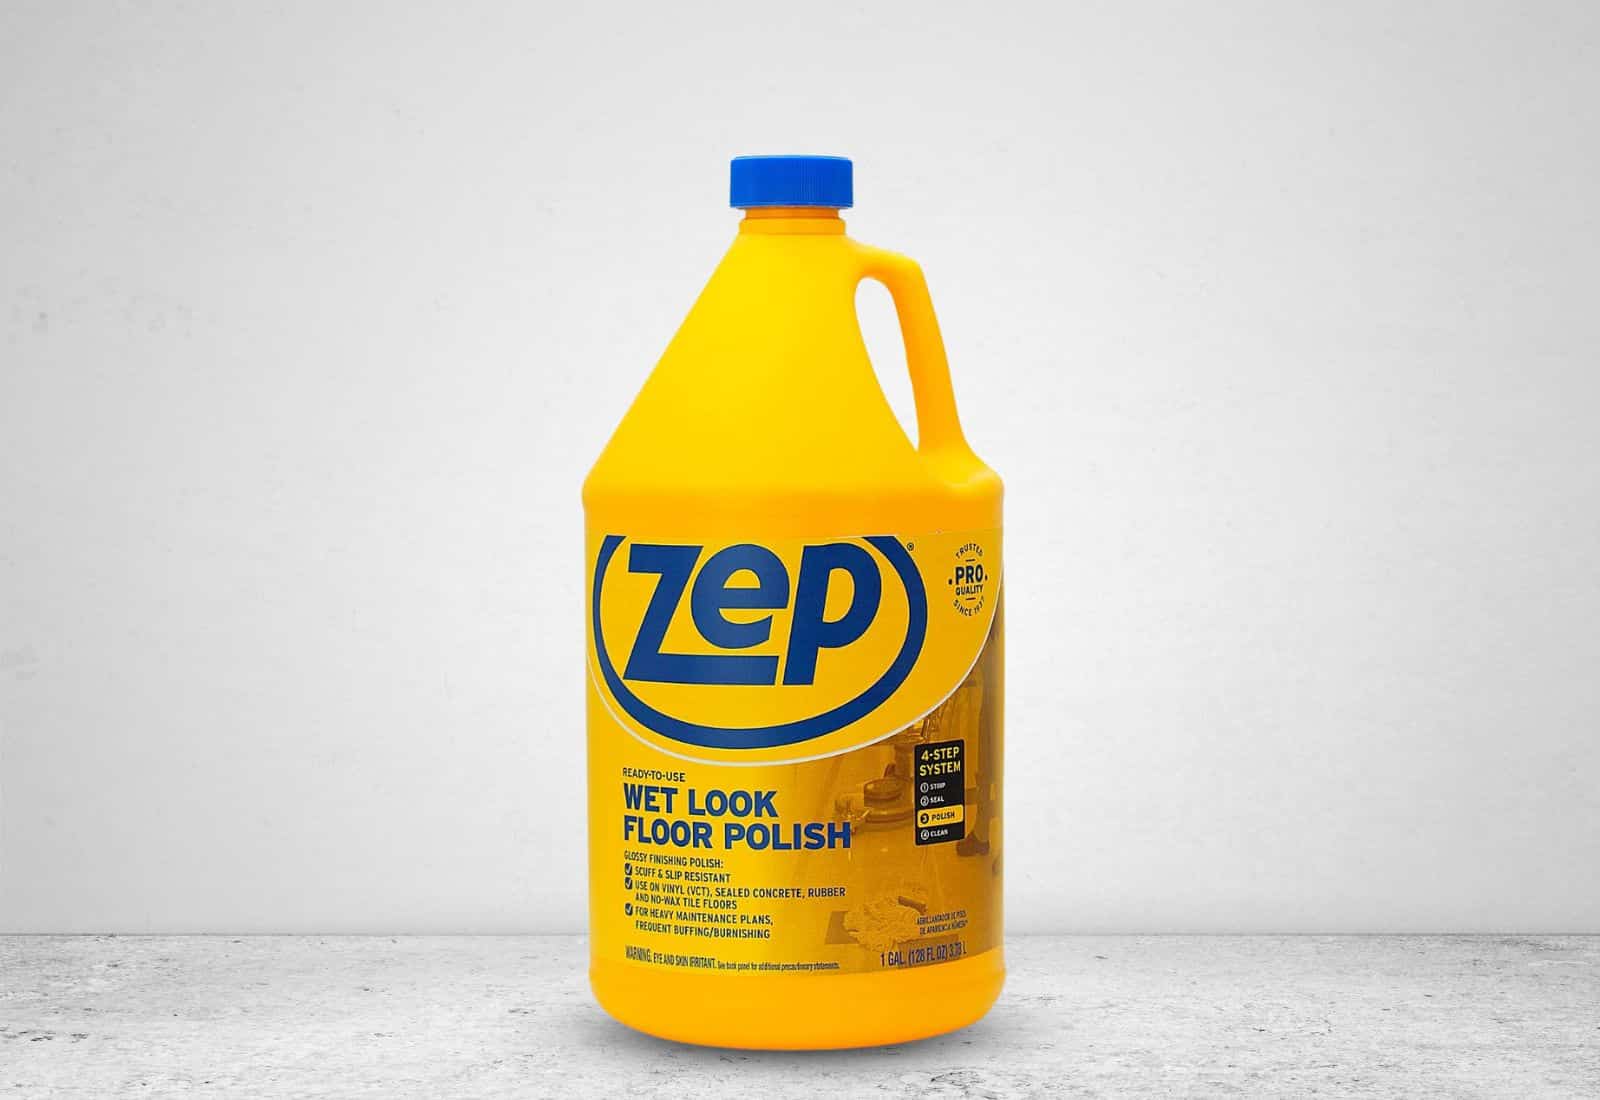
- “It works like wax.” If you scan the label of any Zep floor polish products, you’ll notice that it says high-speed burnishing brings out a brilliant shine. Burnishing is when you rub a surface with a piece of fabric after applying a polishing agent. But this claim pertains to the product’s efficacy as a floor polisher. How about the body of a vehicle such as an RV? Can it do an excellent job, too? As it turns out, it’s just as effective, according to those who have used it, although it’s harder to burnish a vertical surface than a horizontal one.
- “It’s easy to apply.” This may sound a bit far-fetched since you must apply several layers to get the desired results. However, RV users say Zep floor polish is easy to apply because it works on any surface, including decals. It also lasts just as long, if not longer, than wax. The best part is when you notice the sheen fading and want to polish it again, there’s no need to apply another four layers of polish to reinstate the wet look. Instead, you can simply apply one layer and burnish it thoroughly.
- “It’s cheap and accessible.” RV lacquer or wax may sound familiar, but it is not always available in any Home Depot near you because its market is relatively small. On the other hand, you will likely find Zep floor polish in every home product section of every grocery store across the country because it caters to a broader range of customers. In other words, you won’t have any trouble finding one if you decide to give your RV a glow-up. Also, you can get more for less with Zep floor polish since it’s under a more standard product class.
Zep Floor Polish On RV
If you’ve been traveling the country in your RV for a while, chances are your RV has seen better days and could use some sprucing up. Now that you know you can use Zep floor polish on RV to restore its brand-new look, you can get started anytime.
Use this simple step-by-step guide can to achieve your desired mirror finish on your RV before your next trip.
Step 1: Prepare the things you need.
Applying Zep floor polish on RV is easy and won’t require any particular procedure. What may need some effort, though, is the prep work, especially if your RV is heavily soiled and worn out.
It’s best to prepare all the items you need for the entire project before starting. Here’s a list of the things you’ll most likely need:
- microfiber rags
- scrubbies
- latex gloves
- cleaning agents (BFK and TSP)
- Zep floor polish
- long stick or tube/ladder
- pressure washer
Step 2: Wash your RV thoroughly
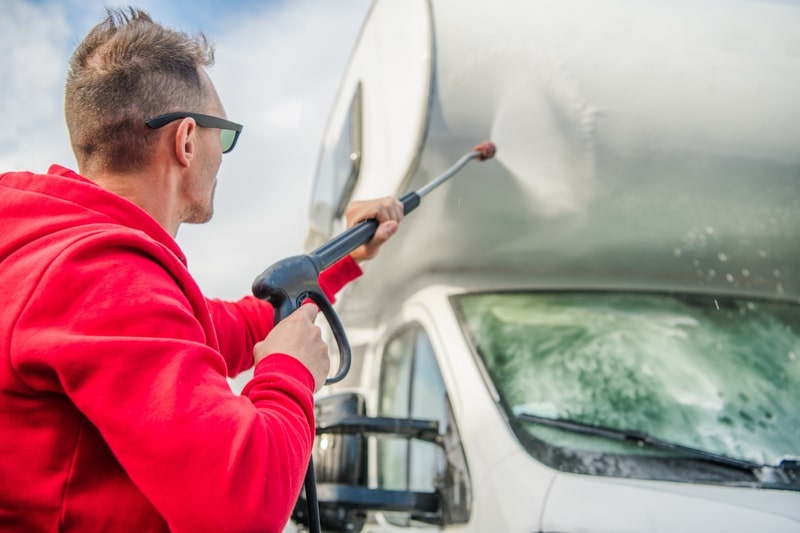
Inspect all sides of your RV, including the roof, for grime, stains, and rust. This way, you’ll know how much washing it would take to prep its surface for polishing.
Leftover soil, adhesives, or wax can cause the Zep floor polish to peel off or form blisters over time when coated over. Take note of areas you think would require more attention and clean them first. Work your way from the least accessible areas to the most accessible ones.
No matter the degree of soiling, wash your RV’s surface with a water-detergent solution. This will remove excess dust and wax. You can use a separate scrubby to scrub down your RV, but make sure you’ll use a different one for cleaning with BFK and TSP (details in the next step).
Then, hose down your RV thoroughly to wash off all the suds. Of course, this won’t be enough to eliminate all the foreign materials baked onto your RV’s surface, but it will take care of at least 70 percent of them.
Step 3: Get rid of stubborn stains.
Now that all the excess dirt is gone, it’s time to deal with stubborn stains, including rust and swirls. That’s where the Bar Keeper’s Friend (BKF) and trisodium phosphate (TSP) come in. The BFK is for the stains and other visible marks, while the TSP is for the residual wax.
Get your spare scrubby, dampen it, put some BKF on it, and scrub it on the stained areas of your RV. Once all the stains are gone, hose down the RV again to prep it for the next step.

Fill a bucket with two gallons of water and pour half a cup of TSP. Diluting it first in a cup of hot water before pouring it into the bucket can help mix it well. Then, give it a good stir and splash it all over your RV.
Like BKF, TSP is potent enough to cut through the toughest stains, including mold and suit, but it’s best to use it for rinsing off the residual wax, as it can dry up quickly. Once you’re done, let your RV dry completely before doing the next step.
Step 4: Apply the Zep floor polish
While this last step seems the easiest to do, it’s the most tedious, so you better get ready to be beaten up. Before opening the lid of your Zed floor polish, make sure to shake it well.
Then, pour some into a small dry container that you can comfortably hold up for hours. Yes, applying polish to your RV may take some time, depending on the size of your RV.
Dip a microfiber rag into the floor polish and squeeze out the excess until the last drop. Then, start wiping down your RV with it until you’ve covered the entire surface.
Let it dry for about 30 minutes, then wipe it with a dampened rag again. Doing this four times and afterwards, you will start to see the mirror finish emerge. And as mentioned, high-speed burnishing may help increase the shimmer but only do this on the last coat.
Additional Tips
As simple as it may seem, polishing your RV also takes caution since you’ll be using harsh chemicals, such as BKF and TSP. Even Zep floor polish can be hash if you apply it on the wrong material.
Therefore, it would be best to keep the following things in mind throughout the process to prevent accidents.
Only use clean, white rags to wipe down your RV. Colored rags may not work well with any of the cleaning agents you will use and start to bleed and stain your RV. Some dyes stick on surfaces and won’t come off even if you scrub them with BKF or TSP.
Be careful when using your pressure washer. Adjust the nozzle to pressure just enough to break off excess dirt. You don’t want to peel away your RV’s coating and expose the metal inside. Use an electric pressure washer between 1200 and 1900 psi to be safe.
BKF can damage porous surfaces, such as concrete and marble. Before starting your project, check what type of surface your RV is parked on. Don’t risk leaving corrosive marks on your driveway, and park your vehicle elsewhere.
Use latex gloves throughout the process. You don’t want to burn your hands when applying the cleaning agents. Also, the Zep floor polish can stick on your hand like glue as it dries.
Only apply Zep floor polish on the body of your RV. Avoid latches and window frames. You don’t need them to be shiny anyway.
Letting the polish sit on these areas for too long only leaves unsightly marks that are hard to wipe off when they’re already dry. It can also glue close your RV’s windows and door if you let it seep into crevices.
The first layer of the Zep floor polish will look dull and murky. Only in the fourth layer will your RV start to shine. So, just keep spreading the polish and only burnish on the fourth layer to save energy.
Wrap-Up: A New Look on Your Next Journey
Travel and make exciting memories in your newly polished RV. Don’t worry about getting it all muddy and murky again. You can wash it down when you get home.
And before you know it, you’ll find yourself polishing it again with Zep floor polish for your next journey. Make your life easier with this simple hack and pass on the knowledge to your kids.
