Trekking Pole Shock Load Calculator
Estimate downhill pole shock force from loaded hiker weight, slope, stride impact, pole angle, terrain, tip grip, shaft material, and pole construction before a demanding hike.
🏷Topic Labels
🥾Trail And Pole Presets
Pole Shock Load Snapshot
⚙Calculator Inputs
⚙Material And Spec Comparison Grid
📊Reference Tables
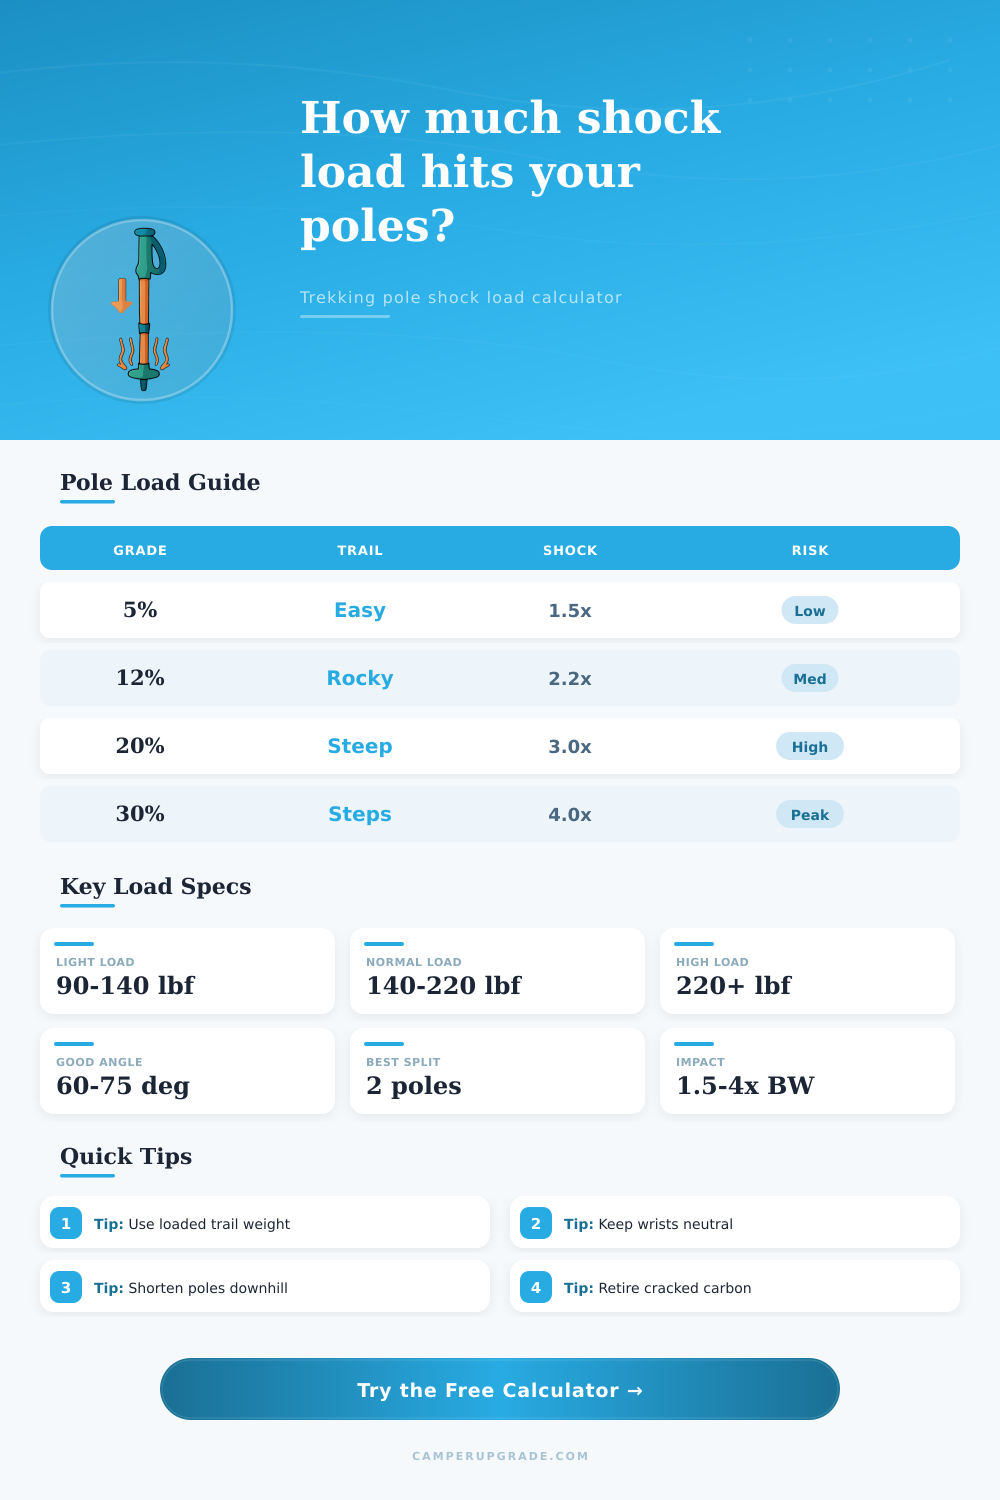
| Downhill Situation | Typical Grade | Shock Multiplier | Load Note |
|---|---|---|---|
| Rolling dirt trail | 3 to 8% | 1.3 to 1.7x body weight | Mostly balance support with occasional braking plants. |
| Moderate hiking descent | 8 to 15% | 1.7 to 2.4x body weight | Normal place for poles to reduce knee and ankle load. |
| Rocky alpine descent | 15 to 25% | 2.3 to 3.3x body weight | Short hard plants can spike one pole at a time. |
| Stone stairs or talus | 20 to 35% | 3.0 to 4.5x body weight | Step drops and awkward angles drive peak shock. |
| Fast loaded descent | 10 to 25% | 2.5 to 4.0x body weight | Pack mass and cadence raise both pole and wrist load. |
| Pole Material | Typical Strength Behavior | Best Use | Watch Point |
|---|---|---|---|
| 7075 aluminum | Moderate stiffness, ductile bending | Backpacking, rocky trails, heavy users | Bent sections can jam locks and reduce capacity. |
| Carbon fiber | High stiffness and low weight | Long mileage, fast hiking, careful users | Cracks, crush marks, and deep gouges are serious. |
| Hybrid carbon/aluminum | Light upper with tougher lower | Mixed alpine or travel poles | Joint fit and lower-section dents still matter. |
| Budget aluminum | Lower stiffness and less reserve | Casual trails and lower shock loads | Thin lowers may buckle if planted hard sideways. |
| Steel probe style | High toughness, heavier feel | Snow probing and rescue-adjacent utility | Weight and corrosion care are the tradeoffs. |
| Pole Angle From Ground | Axial Load Effect | Trail Feel | Setup Adjustment |
|---|---|---|---|
| 45 degrees | About 1.41x vertical hand load | Strong braking, high shaft compression | Shorten pole or plant closer to the foot. |
| 55 degrees | About 1.22x vertical hand load | Useful on steep descents with care | Watch wrist angle and tip hold. |
| 65 degrees | About 1.10x vertical hand load | Efficient downhill support | Good starting target for most hikers. |
| 75 degrees | About 1.04x vertical hand load | Upright support with lower shaft load | May feel less useful for braking. |
| 85 degrees | Near vertical hand load | Balance support more than braking | Check that the pole is not too short. |
| Tip Contact | Grip Effect | Shock Effect | Calculator Note |
|---|---|---|---|
| Carbide on dirt or rock | High bite on natural surfaces | Normal shock transmission | Best general reference for trail load estimates. |
| Rubber boot tip | Good on pavement, variable on wet rock | Slight damping | Slip risk can rise on mud or angled stone. |
| Snow basket | Better flotation, less punch-through | Softer peak on snow | Still watch hidden rock strikes below crust. |
| Mud basket | Reduces sinking in soft ground | Moderate damping | Deep suction can side-load the lower section. |
| Worn rounded tip | Lower bite and higher slip risk | Unpredictable spikes | Use a conservative margin until replaced. |
💡Load Calculation Tips
When you’re going down, trekking poles help absorbs the shock from your body weight. That puts a lot of stress on the pole, especially around the shaft. If one slips on a patch of slick rock and suddenly jolts into your wrist, there’s more at stake than being annoyed. The aluminum might bend, or the carbon fiber could snap.
Hiking poles is treated by most folks like crutches, they’re just something to lean on while hiking, but need to withstand impact of a solid plant without giving way. How much force travels through that slender shaft make all the difference between broken gear and a pleasant trip downhill.
How Trekking Poles Help on Downhill Trails
You don’t need to guess at how much reserve strength you have since the calculator does the math for you based off your individual trail conditions. It looks at things like the angle of your pole to the ground, the hill grade, and your total loaded weight. You might think that your bare body weight is all you need to worry about but then you neglect adding in the pack, camera gear, water, and the wet jacket. That’s a lot of pounds, especially when it comes to climbing a steep hill with a thirty pound pack which can realy increase that force. The number you input for total trail weight makes more difference different than just bare body weight by itself.
Mechanical stress also varies depending on the angle of the pole. If you drive a pole really straight up-and-down, near vertical, the force move directly downward through the shaft (compression). This is easy on your hardware and efficient for support. But if the terrain requires that you plant the pole more shallowly, so that the force goes in one direction rather than straight down, you create much greater axial stress from the same amount of support. As you can see from the reference table, angles less than sixty degrees result in load spiking. Even a moderate break in slope can double or triple the force. A gradual dirt trail; stone steps can do this too!
Poles also handle this stress through their material choice. Aluminum will bend, which provides a visual warning to the user before it fails. Carbon fiber is lighter and stiffer, but it can fail suddeny without any obvious bending. So if you’re hiking areas with frequent side loads like rocky trails, then your lower section in aluminum is generally safer as they’ll forgive the mistake. Ultralight poles with thin walls may be nice on a scale but provide less margin for error when you hit something hard. You get what you pay for with weight savings here, as they are less durabel during high-impact moments.
But it’s not just the equipment that matters; it’s how you use it. Using the strap correctly and keeping your wrists in a neutral position can absorbs some of the shock before it reaches the shaft of the pole. Having a loose hold will be like having a suspension system while a hard clenched fist will transfer all the vibration straight to the hardware. Also, shorten your poles on steeper areas to keep the angle more upright. This reduces the length or “lever arm,” forcing force straight up and down instead of out to the sides.
Hiking poles accumulate damage faster then hikers think: a hairline crack in carbon fiber or a small dent in an aluminum lower section can cut the capacity in half. Check your poles often for any signs of damage following rough landings. You should of plan to retire a hiking pole that’s been planted on granite one too many times or dropped from a car window. Wear and tear will eat away at safety margins fast.
This isn’t a competition to see who has the strongest poles, it’s an effort to match what we’re doing with our equipment. This tool helps you see how you compare to your equipments limits. If it shows you are at high risk, you should change how you use it or change your material, instead of struggling along just because it hurts. Just a little tweak in angle/length of your poles can save your gear (and your wrists) and let you get down the hill without having to worry about your stuff holding out. Knowing that you totally have confidence in your tools makes for the best hike, because now all you need to concentrate on is what lies down the path.