Going out hiking or camping can be enjoyable for a lot of people. They can relieve themselves from stress built up from their work.
Some people even take their friends and family with them that allows them to have an even better experience. Though you should note when more than a few people are going for a trip, you have to consider the storage.
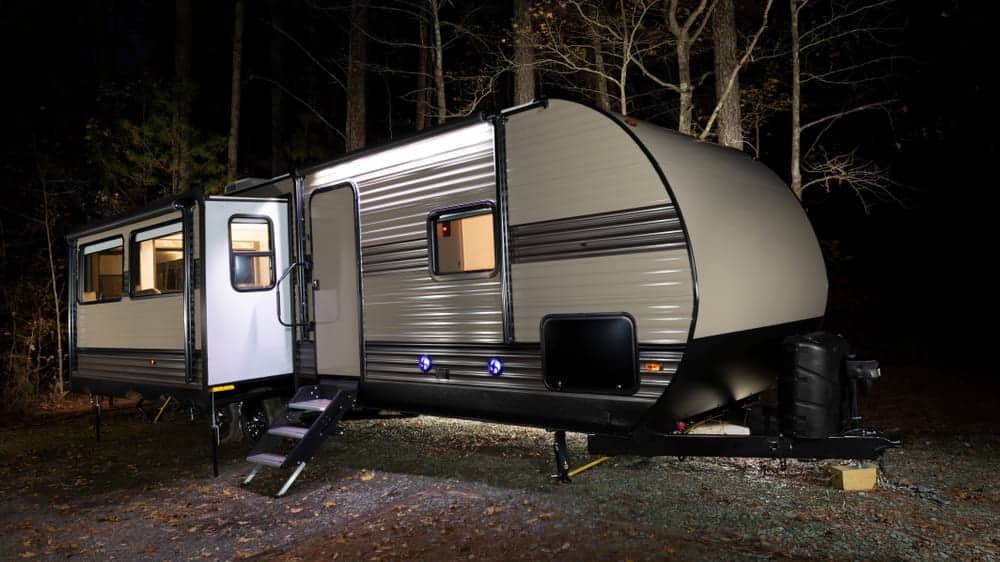
This is where people decide to get trailers for themselves which are equipped with tons more features. These vehicles are great for going out camping but some issues can be found.
One common problem that you can get is that your travel trailer furnace is blowing cold air. This can be annoying which is why we will be using this article to provide you with a few troubleshooting steps.
Travel Trailer Furnace Blowing Cold Air
- Check Dial
The first thing that you should do when you notice that the furnace is blowing cold air is the dial on it. These are used to control the temperature of air blowing out from the device.
You can move it and set a custom instruction that will then be followed by the furnace. Considering this, if the dial on your device is set to a temperature that is lower than the room temperature then cold air will blow out.
You might have forgotten to change the input from the dial or in some cases people can accidentally change it. There are mostly two types of dials which include an analog one and a digital one. You can easily adjust the controls and raise the temperature on it. This should help you in getting warm air from the system.
- Check Connection
Sometimes the problem can be from your electrical wiring and connections. Even if the batteries on your vehicle are running low then these can cause the furnace to give problems. This is why you should check all your connections to confirm that is not the case. It can be dangerous to check on your own so it is advised that you contact a specialist instead.
They will fix your problem as well as pointing it out for you. Though, people who want to check the connection on their own can proceed by taking off their furnace. Make sure that the internal batteries on it have been replaced with new ones or the old ones still have power. You can then use a voltmeter to take readings of your connection. Check the values for current and identify if they are fluctuating.
If there is no current coming then your fuse has most likely died. Though, if the current coming is low then you can try replacing the outlet. If all your other sockets are working fine then replace your current one with a new one. You can keep using the new connection until you get the wiring in your prior one replaced.
For changing the fuse, you only have to open up the socket which requires a few bolts to be unscrewed. You can then take out the burnt one and place your new one in. Just confirm the voltage ratings for these to ensure you do not get any future problems. Once done, you can then close off your connection and start using it again. Checking the current one more time can help you in confirming if the socket is now working fine.
- Clean Sensors
The sensors on travel trailer furnaces are sensitive which makes them give wrong readings if there is any dust on them.
Though, you can easily fix this by cleaning up the furnace and removing all of the dirt that is on the device. Keep in mind that you will have to use a small ping to take out the dust from the sensors. Do not apply much force because this can damage your device instead.
Once all the dust has been cleared up, you can try to start your furnace again. The sensors should now take readings of the temperature correctly and provide you with air according to your input. Sometimes the sensors can even die out and will require you to get a replacement. You can contact the company in this case and they should be able to provide you with a solution for this.
