Trail Mile Split Pace Calculator
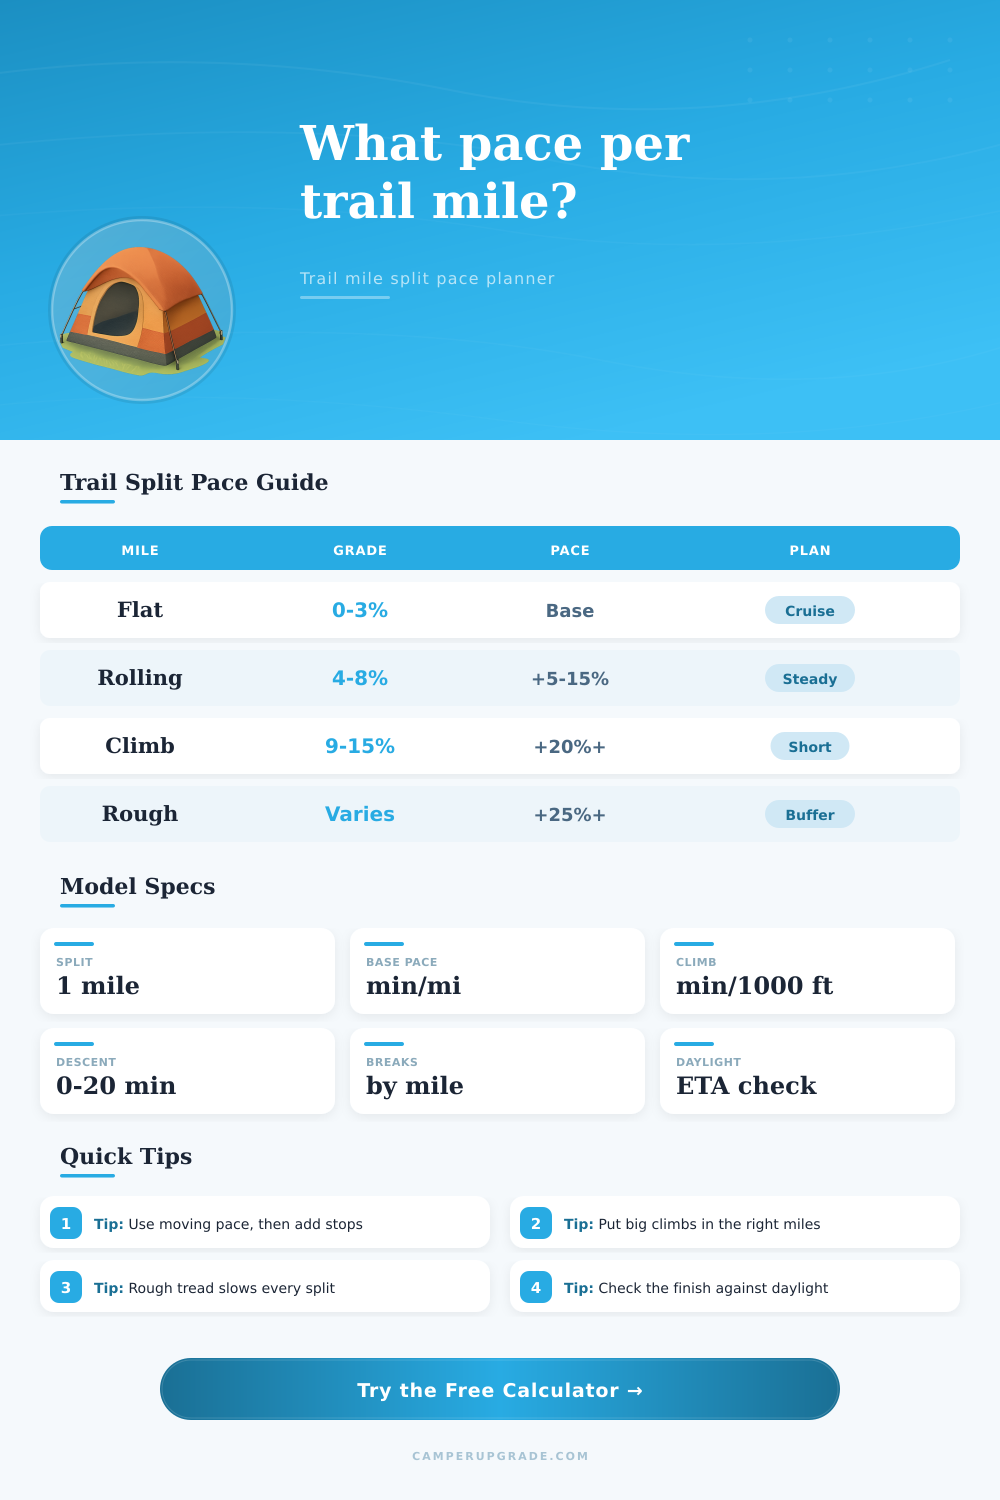
Plan each trail mile with route distance, climb distribution, descent control, terrain, pack load, breaks, start time, daylight, and a split-by-split ETA table.
1.Route presets
2.Pace and route inputs
3.Breaks, ETA, and safety buffer
Planning note: This model estimates trail timing from simplified route inputs. Verify actual trail conditions, closures, weather, daylight, water access, and the pace of the slowest hiker before committing.
Your split pacing plan
4.Split-by-split table
| Split | Distance | Gain | Loss | Grade feel | Moving pace | Stop time | Elapsed split | ETA |
|---|---|---|---|---|---|---|---|---|
| Run the calculator to generate trail mile splits. | ||||||||
5.Pacing model quick checks
6.Reference tables
| Terrain setting | Multiplier | Best use | Split impact |
|---|---|---|---|
| Smooth path or road | 0.94x | Rail trails, paved paths, firm roads | Faster than baseline when navigation is simple. |
| Maintained dirt trail | 1.00x | Well-built park and forest trails | Matches the base pace you enter. |
| Normal singletrack | 1.08x | Typical hiking trail with roots and turns | Adds a modest penalty to every split. |
| Rocky roots and steps | 1.18x | Stair climbs, rocky tread, wet roots | Slows both climbing and descending splits. |
| Loose sand, mud, snow | 1.30x | Unstable footing and soft surfaces | Can turn easy miles into steady work. |
| Faint or off trail | 1.44x | Brush, route finding, talus, no tread | Requires large time and daylight buffers. |
| Elevation profile | How gain is placed | Best match | Pacing note |
|---|---|---|---|
| Even gain | Gain and loss spread across all splits | Rolling trail without one major climb | Good for broad estimates when no profile is known. |
| Most climb early | Hardest uphill splits appear near the start | Trailhead-to-ridge routes | Plan slower early splits and faster later miles. |
| Most climb late | Late splits receive the heavier climb load | Return climb or climb-out route | Protect daylight and energy for the finish. |
| Summit climb | Gain before midpoint, loss after midpoint | Classic summit out-and-back | The turnaround often separates climb pace from descent pace. |
| Canyon | Loss first, gain on the way out | Rim-to-creek hikes | Never allow fast early downhill splits to hide the hard return. |
| Ridge rollers | More gain and loss around the middle | Traverse with repeated knobs | Middle splits may be harder than total grade suggests. |
| Planning situation | Base pace input | Break setting | Buffer idea |
|---|---|---|---|
| Solo day hike | Known moving pace | Short breaks every 2-3 miles | 30-45 minutes for nav and weather. |
| Family hike | Slowest hiker pace | Frequent small breaks | Use at least 60 minutes for snack drift. |
| Backpack day | Loaded pack pace | Longer water and snack stops | Add extra margin for climbs late in the day. |
| Sunset hike | Conservative moving pace | Limit long stops | Keep a firm daylight reserve before dark. |
7.Split planning tips
Calculate your mile split for the hike so you know if you’re going to finish in light of day or have to walk with a headlamp. Average pace times total distance are most common time estimates, but they don’t work because progress is affected by fatigue, breaks, and terrain. It’s all about how climb is spread out and guesses regarding conditions and stops. When the road get steeper, it’s not the number of miles that count; it’s elevation gained. It doesn’t feel like eight miles with a thousand feet of gain, but it does if all that gain are jammed into two steep segment.
By plugging in your distance, overall gain, and climb profile, the calculator figure out the math for you. And it determines which splits is going to slow you down, which matters because the early miles sets the tone for the day. Then you can plan ahead rather than finding out too late that the day’s hard part was done first, burning both time and energy along the way.
Plan Your Hike Time
Breaks are something people tend to undervalue when they calculate things. Taking a minute here and there for map checking, photos, or other stuff on the water adds up over the course of a day. This become valuable recovery time that prevents drag later. In the tool, you can specify your intended stopping cadence and duration, and it will include that information in cumulative ETA. Doing so help counteract tendency of moving pace to underestimate actualy elapsed time noticeably.
It’s easy to underestimate what terrain and load do for the baseline. On a maintained trail with a firm tread, you’ll be able to hold your flat pace over more miles. Add in loose sand or roots, or carry a heavier pack, and even on the same grade, each split will push slowerer. The reference tables on this page shows how varying pack and tread settings shifts the multiplier to apply to each mile. What may seem like a reasonable route on paper becomes much harder when those factors enters the mix.
This is a safety decision. Daylight margin is what turns a timing exercise into a safety decision. Now you can see if your plan puts you with plenty of time to spare until dark. Or now you might realize adding the slower splits and breaks has eaten up all your extra daylight. Both outcomes serves as a helpful planning tool. The former will show you have time to dawdle at a viewpoint. The latter shows you need to either start earlier or trim down the route prior to leaving trailhead.
Splitting it like that makes you plan. You have to look at the day not as an average but a series of choices: Where does it land? Where do I stop along the way? How much time do I have left when all is said and done? And that image is what prevents a long day on trail from becoming a race against dark (one you didn’t plan for).
You should of planned better.