Tent Inner Mesh Area Calculator
Estimate inner tent mesh panels, fabric length, allowance, and finished netting weight from real shelter dimensions.
Mesh estimate
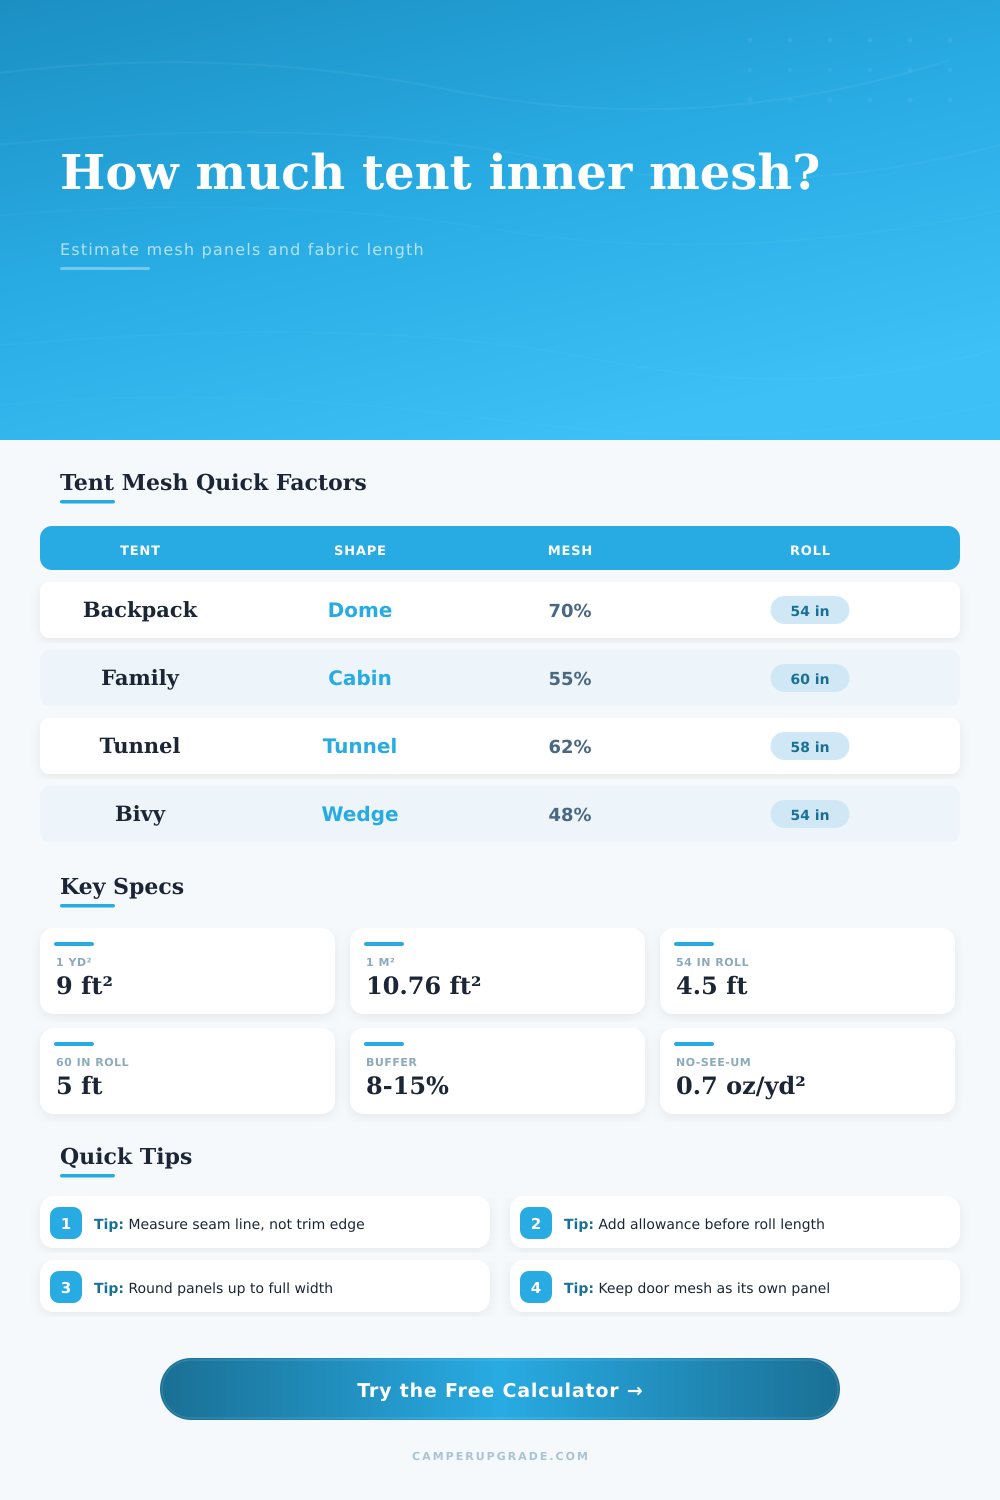
| Tent inner style | Shape factor used | Best use | What it changes |
|---|---|---|---|
| Dome or arched tent | 0.88 roof curve, 0.82 end curve | Backpacking and 3-season domes | Reduces rectangular wall area for curved mesh |
| Cabin or near-vertical walls | 0.96 roof, 0.94 ends | Family sleepers and screen rooms | Keeps tall wall panels close to full rectangles |
| Tunnel tent pod | 0.91 roof arc, 0.86 ends | Hoop tents and tunnel inners | Models long curved side roof transitions |
| Wedge or bivy inner | 0.72 roof, 0.65 ends | Low bug bivies and tapered shelters | Reduces mesh for sloped low-volume panels |
| Pyramid or teepee inner | 0.84 roof, 0.78 ends | Half nests and center-pole inserts | Accounts for triangular sloping faces |
| Roll width | Usable width | Area per linear yard | Area per linear meter |
|---|---|---|---|
| 48 in mesh | 4.0 ft | 12.0 sq ft | 1.22 sq m |
| 54 in mesh | 4.5 ft | 13.5 sq ft | 1.37 sq m |
| 58 in mesh | 4.83 ft | 14.5 sq ft | 1.47 sq m |
| 60 in mesh | 5.0 ft | 15.0 sq ft | 1.52 sq m |
| 72 in mesh | 6.0 ft | 18.0 sq ft | 1.83 sq m |
| Common inner | Footprint | Typical mesh area | 54 in roll length |
|---|---|---|---|
| Solo dome inner | 7.2 ft × 3.2 ft | 32-40 sq ft | 2.4-3.0 yd |
| Two-person trail inner | 7.5 ft × 4.5 ft | 48-62 sq ft | 3.6-4.6 yd |
| Four-person cabin inner | 8 ft × 8 ft | 78-105 sq ft | 5.8-7.8 yd |
| Screen room insert | 10 ft × 10 ft | 145-190 sq ft | 10.8-14.1 yd |
| Cot bug tent | 7 ft × 2.7 ft | 28-36 sq ft | 2.1-2.7 yd |
| Allowance item | Typical add-on | Where it appears | When to increase |
|---|---|---|---|
| Seam allowance | 0.375-0.75 in per edge | Panel cutting perimeter | French seams or bound edges |
| Cutting allowance | 5-10% | Total mesh area | Simple rectangular panels |
| Curved panel buffer | 10-15% | Total mesh area | Dome roofs and arched doors |
| Repair reserve | 15-20% | Total mesh area | Old tents, patches, prototypes |
Ever frantically searched for a tear in the bug screen on your tent while camping somewhere super mosquito-y? It’s not just an annoyance; it make your tent a bug buffet. Whether it’s sewing a homemade inner net or patching a ripped out panel, shape of the mesh section is more important then which color fabric you choose.
The vast majority of campers assume their roof is flat when it isn’t; this misjudgment lead to wasted material and ugly seams. It’s not just a matter of geometry; it takes into account how fabric behave in relation to poles. For example, a typical dome tent has a roof that curve upwards, which means its true surface area are greater than what you get from measuring the dimensions of its floor. Multiply length times width times height and you won’t end up with sufficient fabric. That’s where shape factors comes into play. They compensate for tent style. Low-profile bivys and steep pyramids curve differently, and the calculator account for that, translating those shapes into workable square footage. Don’t worry about the trigonometry behind the arc; simply believe that thing takes care of it.
Important Things to Know When Fixing Your Tent Net
The other factor which many are surprised by is the weight of the material. For example, heavy monofilament screens blocks out bigger insects and feel solid, but lightweight no-see-um nylon block nothing and is really flimsy in the breeze. So this comes down to choosing your mesh material based on whether durability outweigh ounces.
Do you have an ultralight pack and every gram matter? Then choose the thinner, more delicate nets that requires careful handling. On the flip side, do you only occasionally take it camping or have a family tent for the backyard? Go ahead and get heavier material, since you could of afford to carry some extra weight for the peace of mind.
A common failure point is the seam allowance. Many folks calculate the exact finished size of the panel and cut it out, then realize they has no fabric left to stitch. This means adding some extra all the way around so that there is enough fabric to sew a solid hem while still maintaining the size of the opening. It is easy to forget unless the needle meets its limit; the calculator has these buffers built in (it’s insurance against cutting gone wrong). Plan on 1/2″-more-per-edge as your waste (think of it like insurance) and know that when the panels are sewn into place, they’ll snugly fit the tent body as intended. If planning on using webbing to bind the seams, allow even more width across each.
The width of the roll determine the number of times you sew. For example, your tent wall need to be 60″ high. But your only available option is 54″ wide mesh. You’ll have to join two rolls. Joining = more sewing time + more seams = more potential weak points. Whenever possible, check if rotating the pattern help remove extra seams or if you can get a wider roll. See the reference table below on how varying fabric width affects usable width. Wider may be more costly initially, but you won’t be making a patchwork quilt within your cozy sleep quarters.
Think about door panels. The mesh on them gets rubbed by zippers, stuffed into bags, and beaten up by the sun in hiking conditions. Why cut it out of same scrap as a wall panel? Cut the mesh as a separate piece so that its weaves runs in one direction consistently (and you have a new patch if zipper blows out). Doors are most abused pieces of your shelter so treat ’em right in your pattern layout.
Building or repairing a tent inner requires both practical thinking and exactness. Ideally, there should be a sufficient amount of netting for good airflow and bug prevention without buying too much fabric that will be thrown away. Measure your seams carefully, account for seam allowances now, and select a mesh weight that matches how you will use this gear. Get it right and you’ll sleep soundly (rather than swatting at mosquitoes) and save time outdoors.