Tarp Pitch Height Calculator
Estimate ridge height, high-edge pole height, roof angle, side clearance, sag allowance, and guyline setback for A-frame, lean-to, diamond, plow, and pyramid tarp pitches.
🏕Tarp Pitch Presets
📐Pitch Geometry Inputs
This changes which tarp dimension becomes the active sloping panel.
Use the long edge, ridgeline length, or diagonal span for diamond pitches.
A-frame pitches use half this width from ridge to low edge.
Lower for storm protection, higher for airflow and entry space.
Angle is measured from level ground up the tarp face.
Negative favors a lower windward side; positive favors porch space.
Adds height for cord sag, fabric stretch, knots, and soft anchors.
Extra height for water weight, silnylon stretch, or wet snow sag.
Add positive height when the low edge is uphill from the ridge.
Distance from pole tip, trekking pole handle, truck rack, or tree knot to actual tarp fabric.
Controls recommended guyline stake distance from the high point.
Adds a practical adjustment note and guyline reserve.
Used to flag pitches that are too low for sitting, cooking, or entry.
Compare the calculated pole setting with trekking poles, paddles, trees, or vehicle racks.
This calculator estimates geometry for a centered tarp and assumes firm stakes, equal fabric tension, and a measured site. Always recheck height after loading the shelter with wind, rain, or snow.
Tarp Pitch Height Results
🧭Live Pitch Spec Grid
📊Pitch Angle Reference
| Roof angle | Height character | Weather behavior | Best use |
|---|---|---|---|
| 20° to 25° | Low and sleek | Strong wind profile, less entry room | Bivy storm pitch or low A-frame |
| 26° to 32° | Moderate ridge | Good rain runoff with useful side coverage | Overnight A-frame shelter |
| 33° to 40° | Taller shelter | More splash exposure but better ventilation | Three-season tarp camp |
| 41° to 50° | High open face | Good shade and view, weaker side protection | Lean-to, porch, kitchen tarp |
| Over 50° | Very steep wall | Fast shedding, smaller useful footprint | Snow shed or quick day shade |
⛺Pitch Style Geometry Table
| Pitch style | Active panel run | Height reference | Calculator note |
|---|---|---|---|
| A-frame ridge | Half tarp width | Ridge above two low edges | Most direct for hammock and ground sleeper tarps. |
| Low storm A-frame | Half width plus 5% | Lower ridge with more fabric wrap | Adds a little run for tight storm staking. |
| Lean-to | Full tarp width | High edge above low edge | One open side, more headroom, less wrap. |
| Diamond tarp | Short diagonal panel | Diagonal ridge or two high corners | Useful over hammocks and narrow beds. |
| Plow point | Long diagonal wedge | Single high point over ground corners | Good wind shedding with one tall anchor. |
| Half pyramid | Width times 0.72 | Offset pole height | Compact footprint with a steeper high side. |
| Flat shade canopy | Width times 0.35 | High side fall for drainage | Small fall instead of a steep roof face. |
📏Common Tarp Size Height Examples
| Tarp size | A-frame 30°, 18 in edge | A-frame 35°, 18 in edge | Lean-to 40°, 24 in edge |
|---|---|---|---|
| 7 ft x 9 ft | 39 in ridge | 43 in ridge | 78 in high edge |
| 8 ft x 10 ft | 42 in ridge | 46 in ridge | 86 in high edge |
| 10 ft x 10 ft | 48 in ridge | 54 in ridge | 101 in high edge |
| 10 ft x 12 ft | 48 in ridge | 54 in ridge | 101 in high edge |
| 12 ft x 12 ft | 54 in ridge | 60 in ridge | 117 in high edge |
🌧Weather Adjustment Table
| Condition | Height adjustment | Guyline setback | Pitch read |
|---|---|---|---|
| Calm forest camp | 0 to 1 in sag buffer | Compact or normal | Prioritize entry comfort and airflow. |
| Normal campsite breeze | 1 to 3 in sag buffer | Normal setback | Balanced three-season setup. |
| Gusty open campsite | 2 to 4 in sag buffer | Wide setback | Lower windward edge and stake wider. |
| Driven rain storm pitch | 2 to 5 in sag buffer | Storm setback | Use lower edges and steeper runoff. |
| Wet snow shedding | 4 to 8 in sag buffer | Wide or storm | Steeper angle and frequent clearing matter. |
🛠Stake And Pole Setup Reference
| Setup part | Typical range | Calculator role | Field check |
|---|---|---|---|
| Trekking pole shelter | 42 to 54 in | Compare against pole setting result | Tip, handle, and basket change real tarp height. |
| Camp tarp pole | 60 to 84 in | Useful for lean-to and porch pitches | Stake base or foot cap so the pole cannot kick out. |
| Tree ridgeline | 48 to 78 in | Anchor height should exceed ridge result | Soft bark and knots can settle after tensioning. |
| Guyline setback | 0.75x to 1.25x height | Sets stake distance from high point | Wider angles resist uplift better in gusts. |
| Low edge clearance | 8 to 30 in | Starting edge height for the model | Recheck splash, doors, and sleeping bag clearance. |
💡Tarp Height Tips
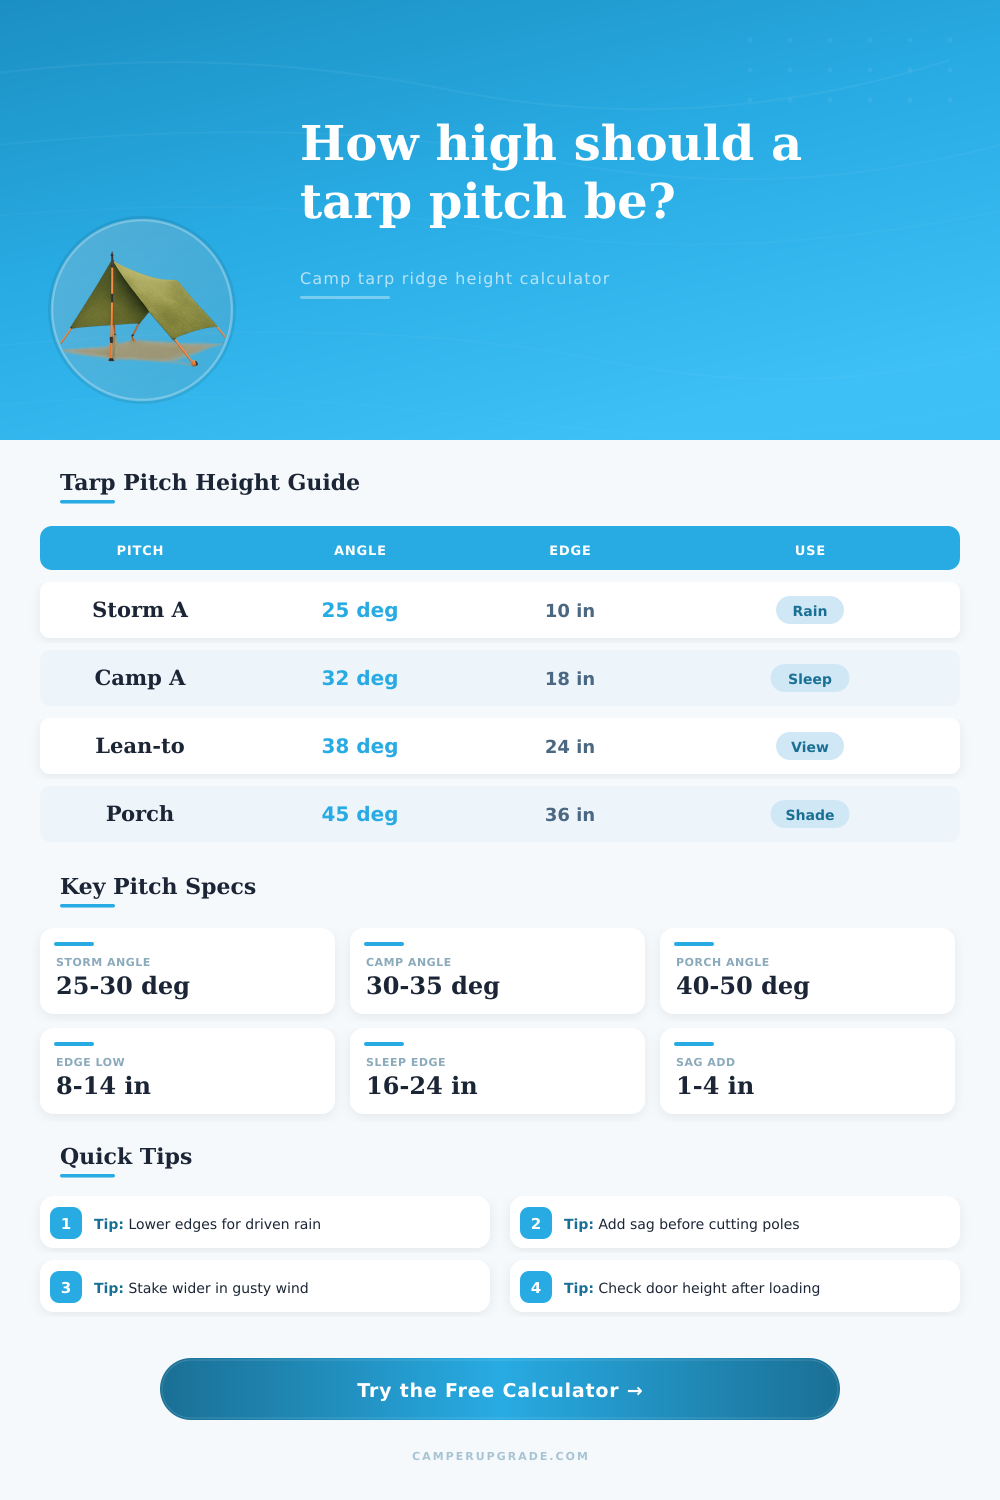
The reason that tarps don’t work out isn’t due to faulty material but because they’re set up wrong for the conditions: the angle is wrong, the height is wrong, etc. By learning about interaction of ridge height, roof slope, and edge clearance, you’ll know what setup will work in any situation. Adjusting certain inputs lets you control how the shelter reacts when loaded.
For example, roof angle at the same time controls both the wind profile and how fast it sheds water. Steeper means faster water run-off, but also reduces your usable footprint. Shallow face catches more gusts, but sheds water slower then. Edge clearance make entry/exit easier and dictates how much water splash you are willing to tolerate. Ridge height becomes a number rather than a guess once you account for sag allowance (for knots & stretch) and added drop for a wet tarp.
How to Set Up Your Tarp Correctly
With many tarps, most folks just set their ridgeline then guess on the edges hoping the wind cooperates and everything is flat. Instead, use the calculator to plan everything correctly before you start.
You should of guessed again. The tarp calculator above do all of the math if you know the target angle, the tarp size, plus how much extra you want to allow for the ridge, sides, guys, etc. Then it spits out 4 numbers: How high should the ridge be from the fabric line? Where do I set my poles with room for knot and tip? What is the approximate footprint? And how far apart are the stakes for guys? That will let you know if your trekking poles can clears, if the shelter is going to feel cramped when you sit up, and if the guy lines are angled enough to stay up in a breeze.
After the first night of wind or rain; that’s when it gets real. Knots tighten, fabric stretches, and the ridge dip down a bit. But those margins (that aren’t optional) has already been baked into your inputs, allowances for sags and rain… Which are required margins and not decorative ones.
Those are just space to allow for building out before sinking the first stake or cutting a pole. Some pitches highlight one aspect more different than another. A diamond pitched over a hammock use its shorter diagonal panel, so it will yield less ridge height than an A-frame setup. However, you’ll get a wider open face and more headroom in exchange. A lean-to has fewer sides but more headroom; a low storm A-frame has tight edges against the ground with a smallish wind profile. Run the calculator switching styles and watch the ridge height and active panel length adjust accordingly.
Another wrinkle is ground slope and ridge offset. You need extra height for clearance if the low edge is uphill of the ridge. Shift the ridge over by a few inches and increase porch area on the high side and decrease it on the low. Small changes in input field make a big difference between a lopsided load and a comfy ride.
A quick look at the tables found on the page reveals useful guidelines for guy line setback, edge height and angle in various conditions. But these tables aren’t hard-and-fast; they’re where-to-start tables. If your roof is pitched at 48 degrees, don’t pitch it with just 42 inches of pole because that’s too low. Also, if wind shifts are predicted, don’t stake out those guys at 45 degrees to the angle. The math will surprise you.
Small adjustments, such as widening the stake set back by an inch, steepening the angle by three degrees, or increasing the sag allowance by two more inches, can transform a flappy tarp into a silent and waterproof one. The calculator reveals those moddern trade-offs beforehand so that you don’t drive any stakes in until it’s ready.
Actually, it works based off math.