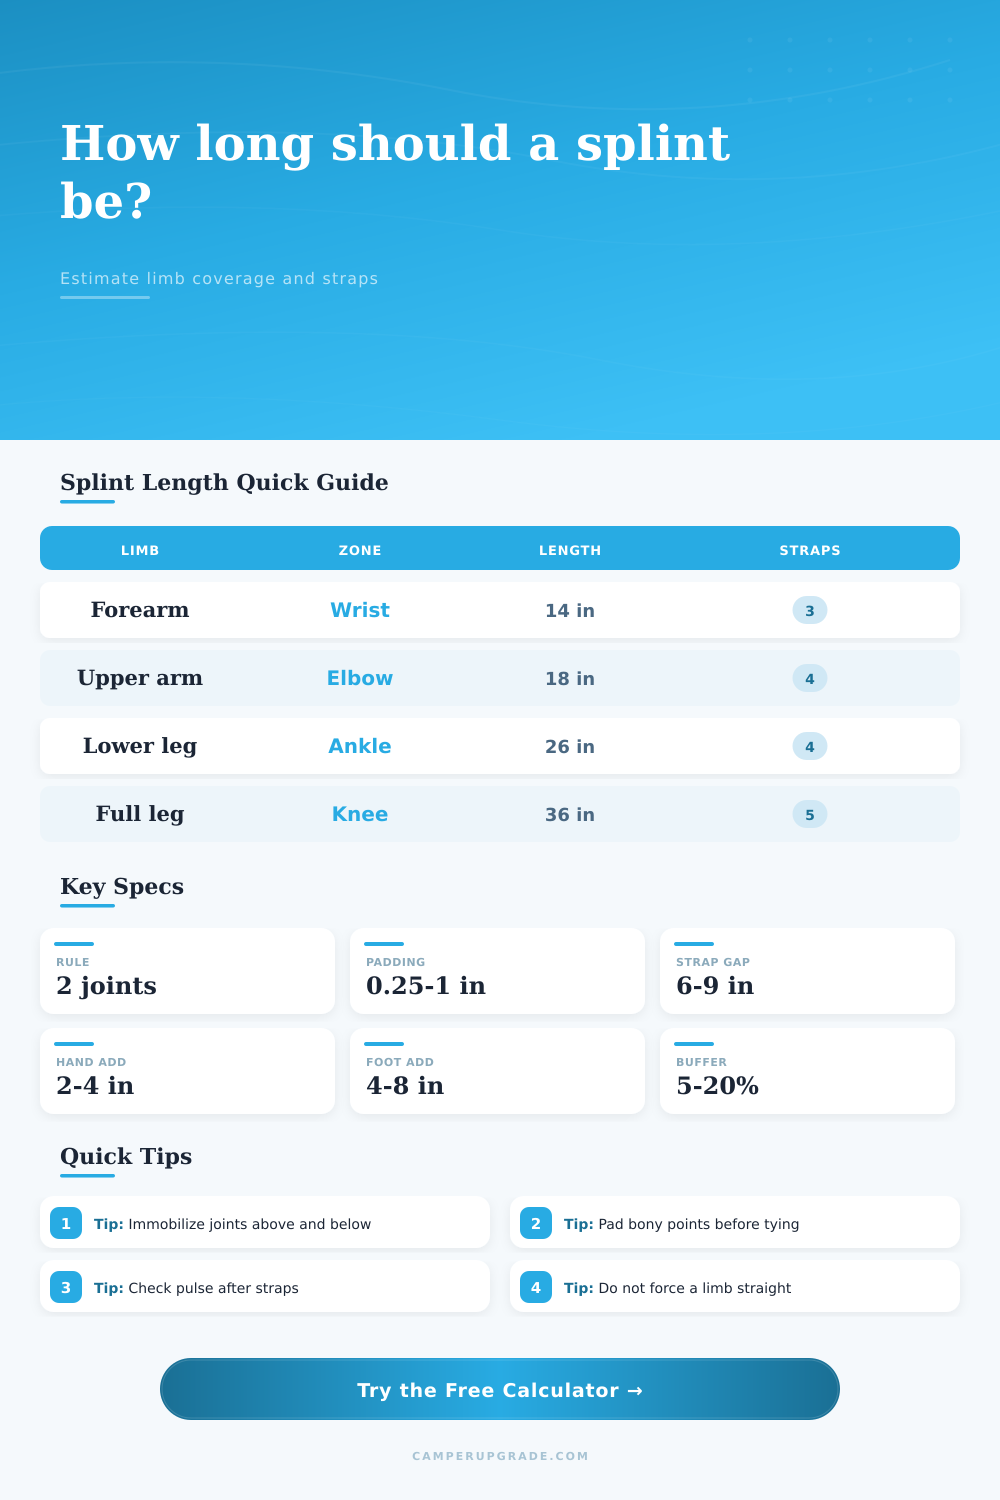
Splint Length by Limb Calculator
Estimate the splint cut length, padded length, strap count, and limb coverage for forearm, arm, leg, ankle, hand, and foot emergency-kit planning.
| Limb area | Typical adult field length | Primary coverage goal | Common tie points |
|---|---|---|---|
| Finger | 4 to 8 in / 10 to 20 cm | Finger joint above and below | Above injury, below injury, buddy wrap |
| Hand and wrist | 10 to 16 in / 25 to 41 cm | Palm, wrist, lower forearm | Palm, wrist, forearm |
| Forearm or wrist | 12 to 18 in / 30 to 46 cm | Wrist and elbow control | Hand, forearm, above wrist, below elbow |
| Upper arm or elbow | 16 to 24 in / 41 to 61 cm | Shoulder-side and forearm-side support | Upper arm, forearm, sling support |
| Lower leg or ankle | 24 to 34 in / 61 to 86 cm | Knee to foot or ankle immobilization | Above ankle, below knee, foot, calf |
| Knee | 28 to 40 in / 71 to 102 cm | Thigh and calf support | Thigh, above knee, below knee, calf |
| Full leg | 36 to 54 in / 91 to 137 cm | Hip-side to foot-side long support | Thigh, knee, calf, ankle, foot |
| Scenario | Above margin | Below margin | Extra extension |
|---|---|---|---|
| Finger or toe | 1 to 2 in / 3 to 5 cm | 1 to 2 in / 3 to 5 cm | 0.5 to 1 in / 1 to 3 cm past tip |
| Wrist or hand | 3 to 5 in / 8 to 13 cm | 2 to 4 in / 5 to 10 cm | 2 to 4 in / 5 to 10 cm past palm |
| Elbow or forearm | 4 to 6 in / 10 to 15 cm | 4 to 6 in / 10 to 15 cm | Use sling if arm must be supported |
| Ankle or lower leg | 6 to 10 in / 15 to 25 cm | 4 to 8 in / 10 to 20 cm | 4 to 8 in / 10 to 20 cm under foot |
| Knee or full leg | 8 to 14 in / 20 to 36 cm | 8 to 14 in / 20 to 36 cm | Foot plate helps limit rotation |
| Splint length | Typical straps | Spacing target | Placement notes |
|---|---|---|---|
| 4 to 10 in / 10 to 25 cm | 2 to 3 | 2 to 4 in / 5 to 10 cm | Small joints need gentle, narrow ties. |
| 10 to 18 in / 25 to 46 cm | 3 to 4 | 5 to 7 in / 13 to 18 cm | Avoid tying directly over the injured point. |
| 18 to 30 in / 46 to 76 cm | 4 to 5 | 6 to 8 in / 15 to 20 cm | Use wide cloth to reduce pressure points. |
| 30 to 54 in / 76 to 137 cm | 5 to 7 | 7 to 9 in / 18 to 23 cm | Support long limbs before tightening ties. |
| Preset | Measured span | Margins plus extension | Material match |
|---|---|---|---|
| Adult forearm | 7 in / 18 cm | 4 in above, 4 in below, 3 in hand | Moldable foam aluminum splint |
| Upper arm | 8 in / 20 cm | 5 in above, 5 in below, sling support | Padded board or moldable splint |
| Adult ankle | 10 in / 25 cm | 8 in above, 5 in below, 6 in foot | Trekking poles, board, or pad |
| Knee support | 12 in / 30 cm | 10 in above, 10 in below, no forced bend | Board, poles, or rolled pad |
| Full leg | 18 in / 46 cm | 14 in above, 12 in below, 8 in foot | Long board or paired poles |
When you get hurt, your brain floods with adrenaline, and immediately begins scanning for anything stiff enough to hold a bone in place. There’s probably a folded towel around somewhere; maybe a stick or magazine. The issue is rarely the material. The question is, how much do I realy need? If a broken bone segment bend in a splint that is too short, it simply won’t work. And if it’s too long, it is hard to manage and secure in a good position. This makes it difficult to drag through thick brush.
Whether you succeed at providing stable immobilization depend on getting the length correct, or else you’re left with a chaotic tangle of fabric and limbs. That is where joint control comes into play as the principle here. So you don’t splint the actual break. You splint the joints above and below the break. So if you break your forearm then just wrapping a rigid piece of plastic around the middle of it doesn’t help. That allows the two ends of the bone fragment to pivot on each other at the elbow and wrist. You need to cover the hinges.
How to Measure the Right Size for a Splint
So now all you have to do is figure out what area of your body was injured and plug that into the calculator and it will tell you how long to cut the thing based on your particular injury zone. I’m not sure why, but most field guides list a basic approximate range of an adult arm or leg without taking into account how much padding you have on them. That’s a crucial omission. As anyone who has bundled up a limb with heavy clothing, blankets, or foam padding to help protect bony spots like the elbow or ankle know: all that fabric increases the circumference of your limbs and can also alter the effective size of your straps. By allowing you to enter in how thick your padding is, the tool makes sure the final length you’re estimating will take into account how much space the padding takes up. Otherwise, you could easily cut a board too short because you only measured the outside surface rather than the full space, including the padding, where your joint sits.
But then there’s also the matter of what kind of material you’re using, and that will determine the approach to the cut. With something like a moldable aluminum splint, you can cut precisely to length and, if necessary, even shape it to the curve of the limb. With something like cardboard, you’ll have to layer it or otherwise make folds in order for it to hold up at all, so it tends to have to be wider (and sometimes longer) than other materials in order to get the same level of leverage from a given splint. And then there’s trekking poles. Those are a fixed-diameter piece of metal that’s super-strong, but you can’t fold one. You just have to live with its inherent straightness. This means you need to do extra work bridging the gap from the pole to the flesh with padding. That’s where this calculator gets interesting because it lets you play out those trade-offs, adjust the coverage class and number of straps based on material properties.
Triage also extends to strap spacing. Novice responders often tie each one directly over the injured area. It hurts. It limits blood flow to the exact spot the injury has restricted. It also does nothing to use healthy bone as a support. Those who’ve done this before spread their ties, putting some above and below the break, using good bone to help hold things in place. With this tool, you can determine how many to bring with you so you’re all kitted up before the patient even arrives. If I know I’m going to have to make a full leg splint, then knowing ahead of time I’ll need five straps saves me from scrambling around my bag trying to find a spare belt or extra roll of gauze.
In the end, that’s what field medicine is all about, working with imperfect tools on an ever changing set of variables. In the dark. Under stress. So there will always be things you can’t measure perfectly. But knowing what good immobilization should look like help you know where you’re aiming. It helps you shift focus away from panic and towards process. Pad the pressure points. Check the pulse. Secure the span across the joints. The calculator tells you how much geometry is needed to make that plan work, so you can spend less time trying to measure and more time ensuring the patient is safe. A well-sized splint is only part of the solution, but it is the part that keeps the injury from getting any worse until help can arrive.