Slackline Tension By Length Calculator
Estimate loaded slackline tension from span length, measured sag, rider weight, webbing type, pretension, dynamic bounce factor, rigging efficiency, and anchor rating.
🪢Slackline Setup Presets
Your Slackline Tension Snapshot
⚙Length, Sag, Rider, And Rigging Inputs
🏷Topic Labels
🧵Material And Spec Comparison Grid
📊Slackline Reference Tables
| Sag ratio | Line angle | Tension for 180 lb rider | Setup meaning |
|---|---|---|---|
| 12% of span | 13.5 deg | 386 lb per side | Very soft learning line; easier on anchors. |
| 10% of span | 11.3 deg | 459 lb per side | Comfortable lowline feel for casual walking. |
| 8% of span | 9.1 deg | 573 lb per side | Moderately tight line with clear anchor load. |
| 6% of span | 6.8 deg | 766 lb per side | Firm line; tension rises quickly. |
| 4% of span | 4.6 deg | 1,129 lb per side | Tight setup; inspect every rated component. |
| 3% of span | 3.4 deg | 1,504 lb per side | Very tight; small sag changes matter a lot. |
| Span length | Soft 10% sag | Firm 6% sag | Tight 4% sag |
|---|---|---|---|
| 25 ft / 7.6 m | 30 in / 76 cm | 18 in / 46 cm | 12 in / 30 cm |
| 40 ft / 12.2 m | 48 in / 122 cm | 29 in / 73 cm | 19 in / 49 cm |
| 60 ft / 18.3 m | 72 in / 183 cm | 43 in / 110 cm | 29 in / 73 cm |
| 80 ft / 24.4 m | 96 in / 244 cm | 58 in / 146 cm | 38 in / 98 cm |
| 100 ft / 30.5 m | 120 in / 305 cm | 72 in / 183 cm | 48 in / 122 cm |
| 150 ft / 45.7 m | 180 in / 457 cm | 108 in / 274 cm | 72 in / 183 cm |
| Material type | Typical MBS reference | Typical stretch feel | Best planning use |
|---|---|---|---|
| 1 in flat nylon | 4,000 lb / 17.8 kN | High stretch, soft bounce | Short park lines and beginner balance practice. |
| 1 in tubular nylon | 4,000 lb / 17.8 kN | High stretch, rounder hand feel | Primitive lowlines and soft training setups. |
| 2 in polyester kit | 6,000 lb / 26.7 kN | Moderate stretch, wide footing | Common backyard and campground ratchet kits. |
| 1 in low-stretch polyester | 9,000 lb / 40.0 kN | Low stretch, efficient tension | Longer spans where sag control matters. |
| 2 in reinforced trickline | 10,000 lb / 44.5 kN | Springy under dynamic loading | Only with rated anchors, pads, and spotters. |
| UHMWPE low-stretch line | 8,000 lb / 35.6 kN | Very low stretch, sharp force transfer | Specialized use with conservative shock margins. |
| Margin check | Effective rating / peak tension | Interpretation | Next step |
|---|---|---|---|
| Under 2x | Very low margin | Peak estimate is close to rated capacity. | Increase sag, reduce span, or upgrade rated gear. |
| 2x to 3x | Low margin | May be acceptable only for controlled screening. | Use more conservative inputs and inspect components. |
| 3x to 5x | Moderate margin | Useful planning zone for simple lowline checks. | Confirm all hardware ratings and tree protection. |
| 5x to 7x | Good margin | More comfortable buffer for recreational walking. | Still follow product labels and local setup rules. |
| Over 7x | Conservative margin | Numerical margin is strong for the chosen inputs. | Continue checking abrasion, knots, and anchor health. |
💡Slackline Calculation Tips
The rope is stiff beneath your grip and you grab it to keep balanced as you take that first wobbly step onto the slackline… it’s tense! And while that tension holds you up, it also works hard, a force that will surprise many beginners when it pull on the trees. But there are no complicated equations of physics involved in understanding this force.
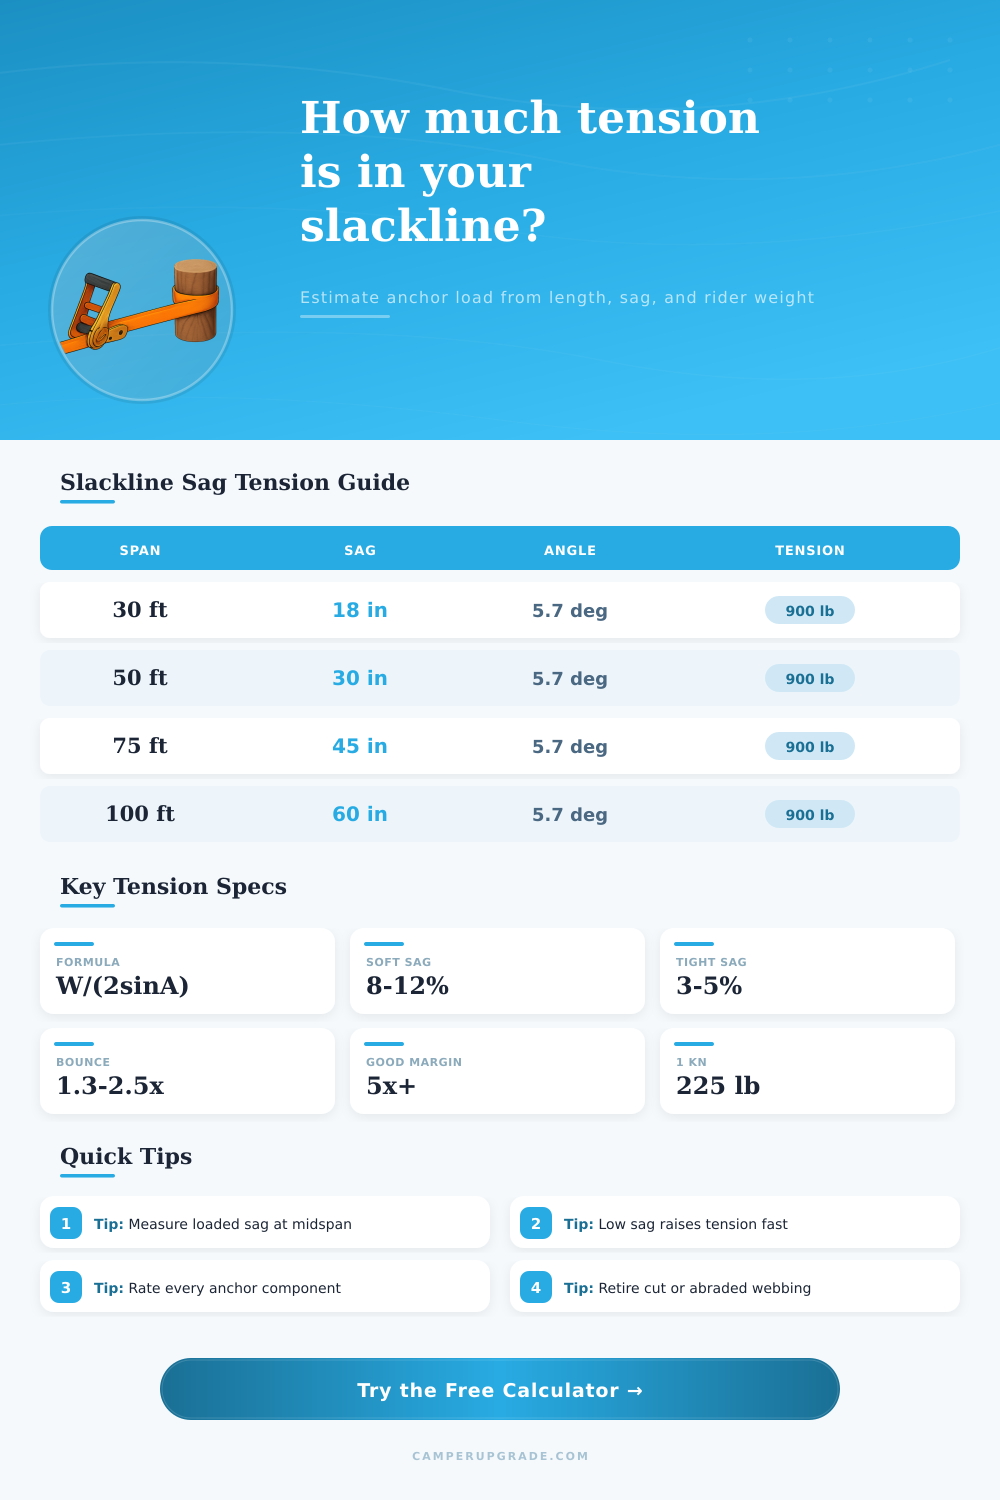
The tradeoff between load and sag is easy to see: your weight acts like two diagonal forces pulling on both ends of the line you are standing in the middle of. The flatter the angle those vectors make with the ground, the harder they pulls. A tiny change in sag can double tension on the trees. It’s why knowing your numbers before you start rigging is important.
Why You Should Use the Slackline Calculator
Typically folks just eyeball things: “I think I got it about right by feel, I cranked this ratchet till my line looked right, and crossed my fingers hoping for the best.” Bad idea. First, different webbing materials stretch differently (polyester holds tighter, nylon much more) under load. Second, visual sag isn’t necessarily what load feels like, so even if you’ve done it on one kind of webbing before, your ratchet may be off on another type. That’s why we built the calculator above, now all you have to do is enter your span and your desired sag, and it’ll do the rest.
Enter in your rider weight plus any dynamic factor. For example, use a 1.3 multiplier if you’re doing a walking practice run, or 2.5 if you are jumping and bouncing around a lot on a trickline session. Those multipliers take into account that the shock load on your line is higher then your static body weight when you catch a violent wobble, or land a jump.
Span length establishes the baseline, but sag is what controls tension; it’s the main variable here. The amount of force generated by a given stretch depends on a lot more than span length; for example, a three percent sag on a hundred-foot line produce huge force. The tool comes with a handy reference table illustrating this: as the angle decreases below ten degrees, tension becomes astronomical. It’s easy to assume something measured in inches won’t matter but when you lower your line by only a couple inches (with same span), you’ll drastically increase anchor load.
This matters especially for tree protection, natural anchors such as stumps and young trees require exact knowledge of how much pull they’re experiencing. That last number also depends on the type of webbing used. Regular two inch polyester webbing will be pretty consistent (and strong), while providing a decent mix between stability and stretch for the more general application of walking. A line made from UHMWPE has almost no stretch and feels absolutely rigid compared to any other line, which is ideal when using longlines but not so much when somebody falls dynamicly. It will immediately transfer all force to hardware. Choosing the right line for this tool lets it calculate the working load margin correctly.
It does this by comparing the maximum tension against the minimum break strength of both your line and your anchor components. A 5:1 safety margin is commonly considered a benchmark for recreational equipment, and while it’s definitely numerical, it also speaks to confidence. In theory, you’re protected by five times what should of ever happen when your system is under stress, assuming no unknown variable such as some sharp edge on the tree bark wears out your knot. That extra cushion protects you from any wear and tear or other unseen variables.
Identifying your limiting factor Always go with the weakest link in your system. This could mean an old sling or cheap carabiner, or even the tree if there is rot. The strong link will not save the weak one.
Inspect for abrasion on the webbing at each connection point before rigging. Your knots should be tight and dressed properly as well. Look for any abrasion on the webbing where it’s rubbing against branches. Check your trees for health and stability, no matter how good the math is (it’s actualy pretty darn good), the calculator has no vision into the condition of your gear. Rig smartly with the data, not in place of careful inspection.
So respect the forces at play and know the numbers. Know the tension (and keep that tension in perspective). Your lines will feel safer underfoot…and they’ll stay up longer to.