Shoulder Strap Load Offset Calculator
Estimate how pack weight, side offset, strap spacing, shoulder pad size, hip-belt transfer, and strap angle change shoulder force split, twisting moment, pad pressure, and comfort risk.
🎒Carry Setup Presets
⚙Strap Offset Inputs
🧵Strap Material Spec Grid
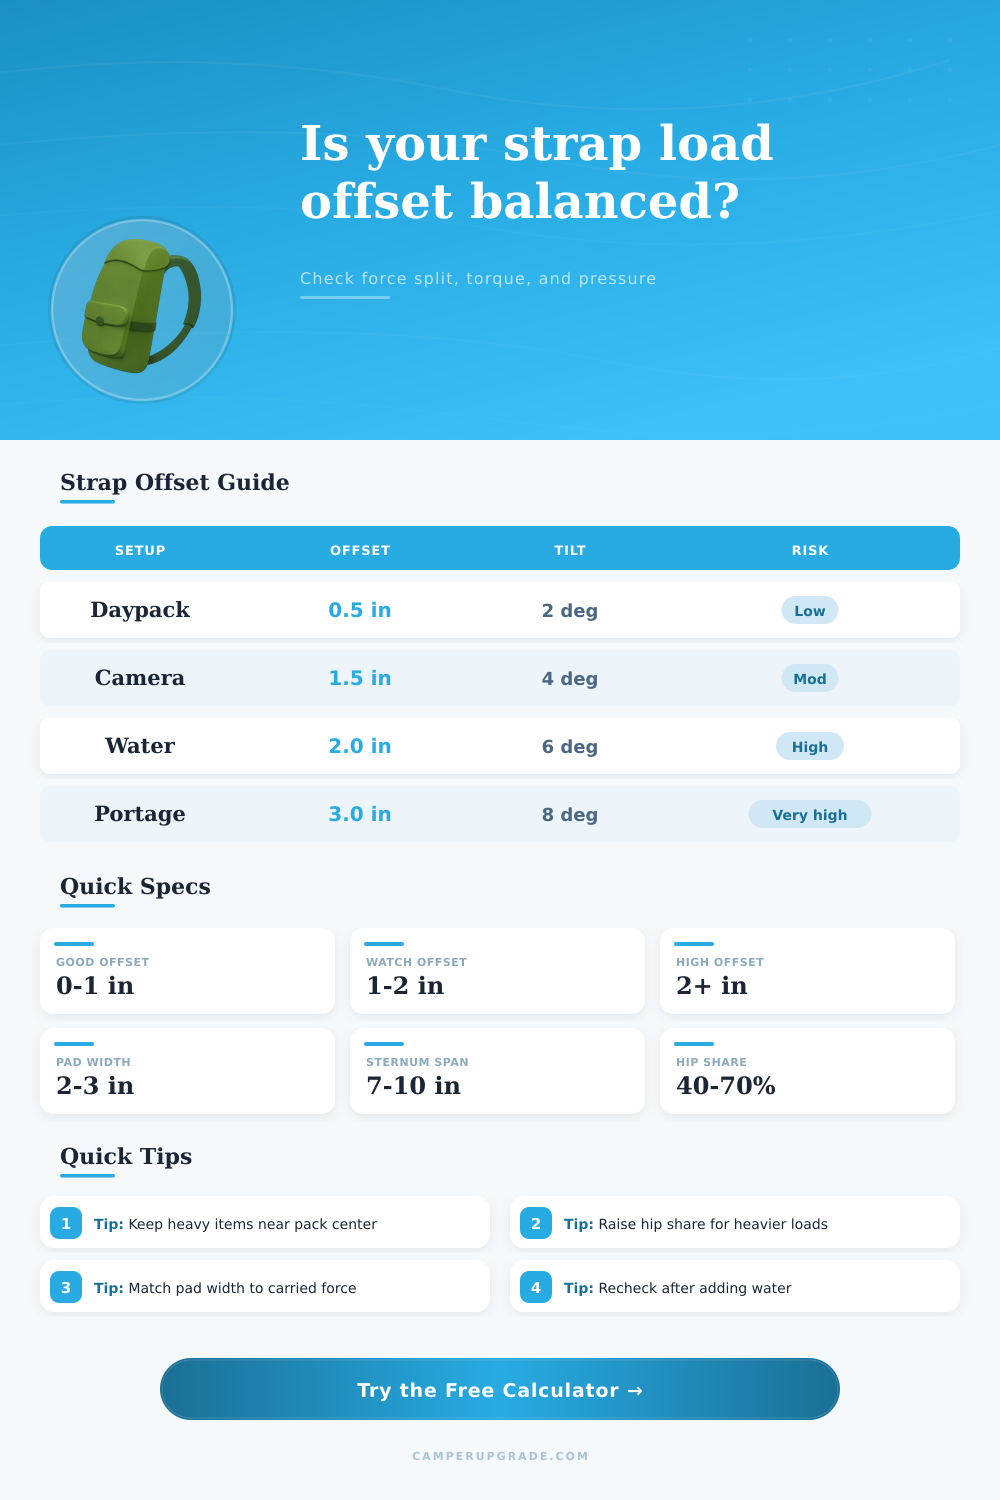
📋Offset Risk Reference
| Measured offset | Typical cause | Force effect | Calculator response |
|---|---|---|---|
| 0 to 0.5 in / 0 to 1.3 cm | Balanced pack body and centered dense items | Usually below 12% strap force difference | Risk stays low unless pads are very narrow. |
| 0.5 to 1.5 in / 1.3 to 3.8 cm | Small side pocket, camera clip, or uneven food bag | Noticeable shoulder preference on long walks | Watch loaded shoulder force and pressure. |
| 1.5 to 2.5 in / 3.8 to 6.4 cm | Full bottle on one side or off-center tool roll | Strong imbalance and higher twist correction | Move dense items inward or increase hip share. |
| 2.5 in+ / 6.4 cm+ | One-sided sling, heavy outside pouch, or tilted carrier | High torque with shoulder and neck compensation | Repack, add counterweight, or change carry style. |
📐Strap Geometry Benchmarks
| Geometry item | Common range | Why it matters | Calculator cue |
|---|---|---|---|
| Shoulder strap spacing | 6 to 10 in / 15 to 25 cm | Wider spacing gives offset torque more leverage to split force. | Measure centerline to centerline where straps bear load. |
| Strap angle from vertical | 5 to 20 degrees | Angles raise tension because only part of the strap force supports weight. | Use a higher angle when straps pull outward or forward. |
| Loaded pad width | 1.5 to 3.5 in / 4 to 9 cm | Wider pads lower pressure if they actually contact the shoulder. | Enter the compressed contact width, not decorative width. |
| Loaded pad length | 5 to 11 in / 13 to 28 cm | Longer contact spreads force but only when the pad follows shoulder curve. | Short contact length makes pressure climb fast. |
| Hip-belt transfer | 0 to 70% | Every transferred pound leaves less load for the shoulder straps. | Increase this value only when the waist belt is truly carrying weight. |
| Carry load | Shoulder share | Offset watch point | Pressure cue |
|---|---|---|---|
| 10 lb / 4.5 kg | Low day carry | 1.5 in offset may still feel mild | Narrow straps are usually the main issue. |
| 25 lb / 11.3 kg | Normal trail pack | 1 in offset can become noticeable | Pad area starts to matter over long miles. |
| 45 lb / 20.4 kg | Heavy resupply or family gear | Keep offset close to centerline | Hip share and pad fit are critical. |
| 70 lb / 31.8 kg | Portage or expedition load | Side offset should be treated as high risk | Use wide contact and strong waist support. |
| Pressure range | Feel | Likely cause | Adjustment |
|---|---|---|---|
| Under 1.0 psi | Generally comfortable | Wide pad, low shoulder force, centered load | Maintain current geometry. |
| 1.0 to 1.8 psi | Noticeable after longer wear | Moderate load or modest pad area | Shift weight to hips or widen contact. |
| 1.8 to 2.8 psi | Hot spots are likely | Narrow pad, high shoulder share, or strap angle | Reduce shoulder load and check pad placement. |
| Above 2.8 psi | High discomfort risk | Heavy force on small contact patch | Repack and change support before long use. |
🧪Preset Comparison Examples
| Preset | Load pattern | Main offset driver | Best number to watch |
|---|---|---|---|
| Full bladder lean | Water rides high and slightly to one side | Offset plus pack tilt after drinking unevenly | Force imbalance percent. |
| Camera sling side load | One shoulder carries a dense accessory | Shoulder-only carry with no hip transfer | Loaded shoulder pad pressure. |
| Canoe portage pack | Heavy load with wide contact support | Large weight but better pad spread | Offset torque and hip share. |
| Heavy resupply carry | Dense food bag can drift from center | Load magnitude magnifies small offsets | Loaded shoulder force. |
💡Strap Load Offset Tips
This calculator estimates static strap loading for planning and comparison. Fit, posture, terrain, fatigue, shoulder shape, pad foam, and walking motion can change real comfort.
Question 1: What cause physical discomfort when using a pack positioned off-center? Answer: When a person’s pack is positioned off center, they will feel physical discomfort in there body due to the imbalance that are created by the off center pack. Because the pack is off center, one shoulder must be stronger than the other shoulder in order to balance the weights of the pack.
As a result, the stronger shoulder will burn after prolonged period of using such an off center pack. In addition, the neck may begin to tighten on the opposite side of the shoulder from which the majority of the load are placed upon the hiker; the bodys attempt to balance the twist that is created by the off center pack. Many people will feel discomfort from using an off center pack, but may not be aware of the reason for that discomfort: the load offset of the pack.
How to Make Your Backpack Comfortable
Question 2: What are the variables within the calculator and what purpose does each of those variable serve within the comfort of a backpack? The first variable in the calculator is the total load that the backpack is to carry. In addition to the total load, the hiker will input the percentage of the total load that the hip belt is to be transferred to the hips, the distance of the offset of the load from the center of the body, the distance between the straps of the backpack, and the dimensions of the padding that will be placed upon the body.
Each of these variables will allow the calculator to determine the tension of the straps that the load will be created by, the twisting moment that will result from the load, and the total pressure that will be placed upon the body as a result of the current setup of the backpack. By calculating each of these factors, the calculator will help the backpack user to understand which of those variables is causing the most physical damage to they body. Question 3: What is the effect of hip belt transfer?
Hip belt transfer is a variable that many individual dont consider when packing their backpack. However, if the percentage of the total load that is transferred to the hips is increased, the load that the shoulders must support will decrease. The reduction in the load that the shoulders must support will have an impact upon both the average amount of pressure placed upon the shoulders by the pack, as well as the imbalance of that pressure.
Thus, a backpack that transfers 50% of the load to the hips will feel different than a pack that only transfers 20% of the load to the hips. The impact of this variable can be made visible to the pack user with the calculator to allow individuals to avoid having to guess at the mathematical coefficient that determine the impact of this variable. Question 4: How do the pad width and contact length impact the comfort of the load?
The width of the pad that the backpack creates will impact the comfort of the load that is placed upon the backpack’s straps. A narrow strap will apply more pressure to the shoulders than a wide strap; the force is applied in a narrow area of the shoulder. While the pad may be wide in size, if the pad is not curved in a manner that permits it to even match the curvature of the hikers shoulder, it will not effectively distribute the even distribution of the load of the pack upon the body.
Thus, the material factor in the calculator accounts for any differences in the area of contact between the straps of a pack and the area of the body that it contact. The material factor will help to determine the pressure of each of the straps in the pack; if a person selects a strap that is narrow and stiff, the indicated pressure upon the shoulder will increase. An increased indicated pressure for that strap indicates that the strap is increasing the amount of pressure that it places upon the hikers shoulder.
Question 5: How does the load offset change during the trip with the use of a pack? The load offset may change during the trip with the use of a back pack in a variety of way. For instance, if water is added to one side pocket of the pack, the load offset will shift.
In addition, if water is removed from a water bladder that is within the pack, it is possible that the load offset will shift as well. Furthermore, if the gear that is within the pack is moved to reach an item in the pack, the load offset may change. The hiker can enter the angle of the load offset into the calculator to account for these shifting loads; increasing the angle at which the pack leans will increase the effective load offset of the pack.
Thus, a side pocket that feels even with a standing position may begin to cause discomfort in the shoulder after several hour of hiking on a hill or mountainside. Question 6: What is the impact of the sternum strap tension? An individual’s tension of the sternum strap will also impact the comfort in which the individual feel while utilizing their pack.
If the sternum strap is too light in its tensioning of the load, it may increase the potential for the formation of side compression on the hiker. In contrast, if the tensioning of the strap is too heavy, the side pull of the backpack will increase. Indicated tensioning of the sternum strap should be sufficient to provide stability to the load to the body, but heavy tensioning should be avoided in order to prevent the development of pressure points on the chest of the hiker.
Question 7: What cannot be measured with the calculator? Aside from the variables that are measured within the calculator, there are other variables that the calculator cannot account for. For instance, the calculator does not measure the shape of the hikers shoulders, the fit of the pack at the sternum, the terrain that the hiker is to travel upon, or the level of fatigue that the hiker may feel after long periods of hiking.
Each of these variables may impact the way that the hiker feels the load of the pack after standing or hiking for several hours. Thus, while the calculator includes variables and allows the individual to determine the impact that each of those variables may have upon the hiker, those number should only be considered estimates of those impacts to the body. Question 8: What variables can be adjusted with the backpack to increase comfort?
Aside from the load that is placed into the backpack, there are other variables that an individual can adjust in order to increase their comfort while utilizing their backpack. For instance, the individual can shift the items that is within the pack to move the center of mass closer to their center of the body. In addition to shifting the items within the pack, the individual can also adjust the percentage of the total load that is placed upon the hips; increasing this percentage will decrease the load placed upon the shoulders.
Variables that the hiker can adjust should not include adjusting the tension of each of the straps that distribute the load of the pack onto the individual’s body. Question 9: What is the goal for adjusting these backpack variables? The goal in adjusting each of the variables within the pack is to ensure that the backpack feel balanced upon each of the hikers shoulders simultaneously.
When a backpack is balanced upon each shoulder, each of the listed variable will be within the lowest possible range within each indicated variable. By ensuring that the backpack is even upon each shoulder, the strain upon the body is minimized during long hike.