Mosquito Net Mesh Area Calculator
Estimate the mesh yardage, cut size, seam allowance, reinforcement patches, trim length, and packed net weight for camper screens, doors, vents, and sleep-zone bug nets.
Fast camper presets
Project dimensions and materials
Material and specification grid
Reference tables
| Preset project | Typical opening | Suggested mesh | Allowance focus |
|---|---|---|---|
| Sliding van door | 46-52 in wide x 68-76 in high | Fine polyester or standard polyester | Overlap at magnets, bottom tuck, curved upper track |
| Rear hatch curtain | 48-60 in wide x 42-60 in high | Standard polyester mesh | Wide hem or weighted bottom edge |
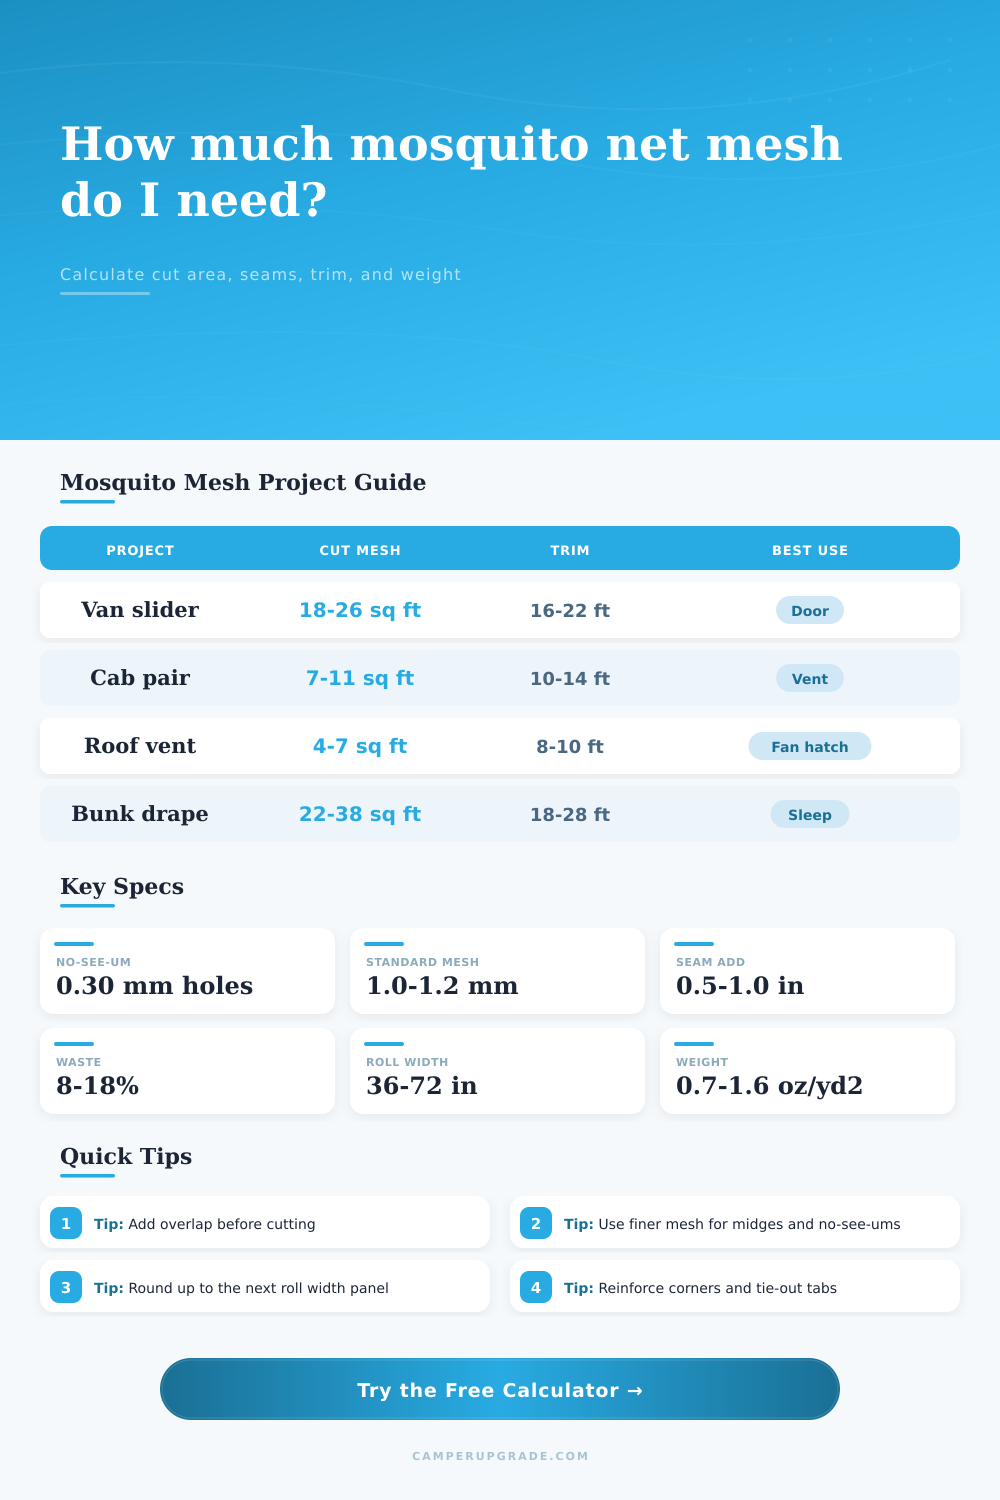
| Cab window pair | 18-24 in wide x 16-22 in high each | No-see-um or standard mesh | Elastic channel or sleeve stretch |
| Roof vent cover | 14-20 in square | Fine polyester no-see-um | Fan clearance and removable fasteners |
| Bunk drape | 24-36 in wide x 60-78 in drop | Ultralight nylon mesh | Loose drop and entry overlap |
| Mesh type | Planning weight | Airflow feel | Best camper use |
|---|---|---|---|
| Fine polyester no-see-um | 1.10 oz per sq yd | Medium-low | Biting midges, lake camps, humid evenings |
| Standard polyester mosquito mesh | 0.90 oz per sq yd | High | Doors, hatches, large vent panels |
| Ultralight nylon mesh | 0.70 oz per sq yd | Medium | Bunk nets and soft hanging drapes |
| Pet-resistant screen | 1.60 oz per sq yd | Medium | Low doors, cargo hatches, dog platforms |
| Vent shade mesh | 1.35 oz per sq yd | Medium-low | Sun-exposed windows and privacy panels |
| Edge finish | Extra length model | Hardware notes | When to choose it |
|---|---|---|---|
| Full binding | Full perimeter plus 10% | Bias tape, grosgrain, or folded fabric strip | Durable removable screens |
| Zipper side | One long side plus perimeter hems | Use coil zipper and zipper stops | Entry panels and bunk openings |
| Magnet overlap | Two vertical sides plus overlap | Magnet tape or sewn-in disc magnets | Hands-free van door screens |
| Hem only | Perimeter stitch path | Lightest finish, less abrasion protection | Interior vent covers and low-stress panels |
| Roll width | Best panel orientation | Buying shortcut | Watch point |
|---|---|---|---|
| 36 in | Windows, vents, narrow bunk sides | Buy length equal to tallest cut panel | Large doors often need seamed panels |
| 48 in | Compact van doors and hatch curtains | Good compromise for small builds | Check overlap before assuming one panel |
| 54-60 in | Sliding doors and wider rear hatches | Often avoids a center seam | May need shipping tube storage |
| 72 in | Awning walls and large drapes | Efficient for wide screen rooms | More awkward to cut inside a small van |
Build tips
First, keep this in mind: camper windows are not usually rectangular, and stiffly rolled-up mosquito netting can’t bends around rounded corners. Most do-it-yourselfers’ problems with making screens stem from trying to fit something (the netting) into a shape (fiberglass campers) for which it wasn’t designed. You purchase just the right amount of material, trim it down, and realize it won’t stretch across after forgetting about the overlapping magnets OR seam allowance.
Once you input your measurements into the calculator, it’ll figure out the numbers for you, but knowing what those extra few inches cover will help you avoid getting frustrated at sewing machine. The first step is to measure the real world coverage area, not just the apparent clear hole in the wall. Depending on whether you use magnetic closures or zippers, the netting has to be long enough to accommodate hardware as well. That’s why overlap matters.
Tips for Making Camper Screens
Fifteen percent is a buffer for the additional fabric used for binding tape and double stitched hems, plus a little allowance because of how tightly mesh shrinks up once all sewn together. You don’t want the screen to be skin-tight, but if you don’t leave some margin, your net will feel stretched out and stressed. Before summer realy hits, those are the spots it’ll rip away from. With the tool, the overall area take into account this buffer so you’re not wasting money ordering fabric only to discover it was too snug to close properly.
Selecting mesh also determines the physical weight of the project, and that impacts not only its feel in the wind, but how it hangs. No-see-um mesh is fine and blocks out tiny biting insects, but it’s hot and doesn’t let much air through. Regular polyester mosquito screen lets air flow through freely, though if you’re camping around water, insects can come up through the small holes as well. Ultralight nylon is good for bunk nets; it rolls up small but tears if a dog want to jump on it.
You’ll pick what kind of fabric you want and the calculator figures out its packed weight so you know roughly how much you’re carrying. If the door screen are heavy, it takes up room in storage compartments. The light bunk drape fits in a stuff sack. Weight determines whether you compromise on portability or durability.
Another down-to-earth limitation that catches new builders out is roll width. The majority of mesh is available as pre-cut rolls in a few stock sizes such as thirty-six, fifty-four, and seventy-two inches wide. To fit these, you might have to join a couple together if the one doesn’t span your van’s door. This means more seams, and seams can be trouble spots for failure. You enter the roll width into the tool, and it shows you the actual length of material required for purchase.
It also takes into account ‘waste’, any leftover bits resulting from angled hatch cutouts, or curving around corners. For this reason, I suggest a twelve percent waste margin when building for the first time, since synthetic fabrics are slippery and cutting errors aren’t uncommon! The little things, such as the screens, add up.
The small details like reinforcement patches make all the difference on how long a screen lasts. Wherever there’s a tie out point, a magnet tab, or the end of a zipper, those areas concentrate stress on the woven fibers. If a tear starts there, it can spread through the whole panel unless those areas is reinforced with additional webbing or fabric. The calculator has a count of these reinforcements so that you don’t forget about the small patches necessary at high-stress junctions.
It is a small thing. But it matters as you pull that zipper open and closed each night in the humid air. Please note that on the page, there are some reference tables breaking down average preset options such as roof vents or van sliders. This helps you gauge whether your measurements align with standard camper dimensions. This allows you to use these tables as a sanity check for what you input, do your measurements line up?
If they’re way off, double check your tape measure before you go out and start buying supplies. All in all, getting it fitted right makes a cozy car into a home with air flow. You will focus less on biting insects and have more time listening to the hush at nighttime. That peace of mind should of been reason enough to take a few moments to make sure each inch is measured correctly. That way, when darkness falls and you pull the zipper closed, the fit is true and the night stays cool within.