Camping enthusiasts stay on their trips for a lot more time than usual people. Due to this, they have to be prepared in advance and take all the right equipment with them. While this might be easy for a single person or two.
When you decide to take your friends and family with you, it can start getting difficult to store all the storage. This is where recreational vehicles come in that give you enough place to store all of your luggage.
Aside from this, you are also provided with numerous features that will help you out while you are out on your trip. This makes the adventure even more enjoyable.
How to Replace Self Contained Receptacle
If you are already an RV owner then you should already know the importance of keeping these vehicles cleaned. You have to regularly maintain them to ensure there are no problems with the device. Even then you will notice that there are some issues that you can run into when going on a trip.
Many of these are related to electrical units which can be dangerous to fix on your own. Considering this, you should contact someone who knows about these connections to avoid any further damages. Though, when you are out on your trip, there will be no access to these experts.
Related Video:
Keeping this in mind, the user will usually have to replace the outlet on their vehicle on their own. This is where the question ‘How to replace the self-contained receptacle comes in. The process for it is really easy but the user must prepare themselves beforehand to avoid any serious issues.
- Start by shutting off the main power of your vehicle. This can be done by excessing the power circuit for your motorhome or recreational vehicle that supplies current to the entire system.
- Once the current has been cut out completely, it is recommended that you test it again by plugging a voltmeter into the outlet. Taking a reading to see if any current is still flowing through your connections.
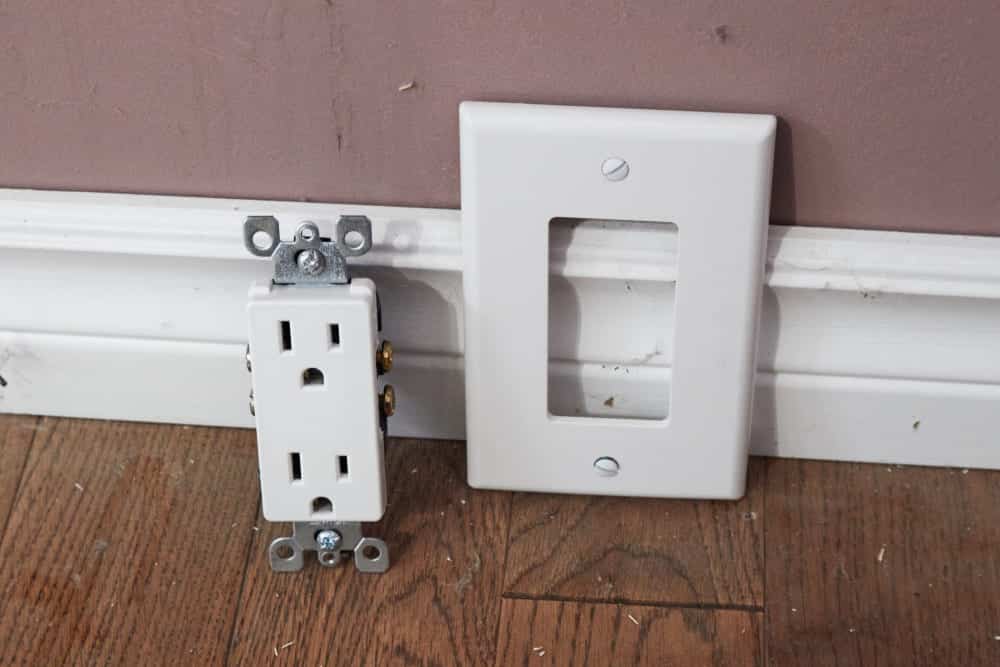
- If not then you can proceed to open up the outlet. Usually, some of these have a small plastic plate that needs to be removed at first. You can then unscrew the bolts in the connection to completely take them off.
- You will notice that the outlet uses screws in it that are used to attach the wiring as well. Take these off to completely remove your older outlet.
- Check the condition of the wires to see if they need any replacement. If not then you can simply proceed to install your new outlet.
- When attaching this, make sure that you insert the wiring in your outlet in the correct ports. There should be mainly three colored wires that you can insert. The green wire is inserted in the greet screw. The white one in the grey and finally the black wire should be installed in the brass screw.
- Finally, before closing off the lid, cover your wires with electrical wires to prevent them from sparking and you should now be done with the replacement process.
