
How Do RV Slide-Outs Work?
An RV slide-out gives an RV much more room inside. A slide-out extends the RV’s sidewall for more interior living space.
A slide-out has a very straight forward operation; you just push a button and the slide-out will extend on mechanical rails. Most RV slide-outs work on a DC motor with electricity from the house batteries. If the slide-out isn’t working, don’t force it, have an RV repairman look at it.
Only Use the Slide-Outs When Your RV is Parked
Never extend a slide-out when you are driving, that is very dangerous. Always make sure every slide-out is pulled in before you hit the road.
Standing or sitting in the slide-out when it’s pulled in can throw off the alignment, and cause problems with it’s functioning.
When you park the RV, be there is enough room to extend the slide-out. If you park too close to a tree or another obstruction, you could hit it when you extend the slide-out.
Don’t leave anything on the floor where the slide-out will pull in, such as shoes, laundry or anything; it could be caught under the slide-out and jam the mechanism.
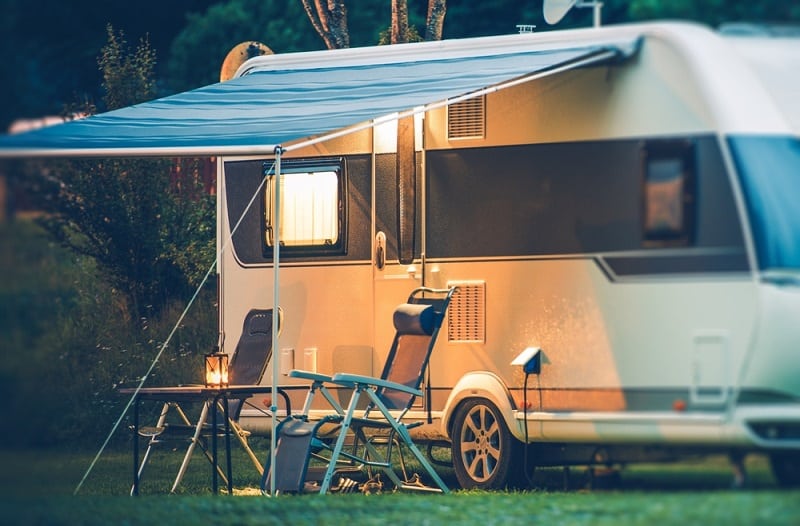
How Do RV Awnings Work?
RV awnings come in two basic types; manual and automatic. An automatic awning is easy; you simply push a button, and an electric motor makes it go out. Some automatic awnings even have a wind sensor, to pull it in if it gets too windy.
A manual awning is more complicated; you should have your RV dealership or rental company show you how to operate it.
Steps to Deploy a Manual RV Awning
Once again, have someone familiar with your awning go through the steps with you. These are just basic steps and may vary between different brands and styles.
There will be a large knob on both awning arms. Loosen them, but don’t unscrew them all the way. When you’re driving, make these knobs are tight so that they won’t fall off.
Release the locks on both of the support arms. In order to release these locks, press the support tabs on the awning. You will hear a click when they’re properly released.
Find the ratchet on the front end of the awning. Use the awning rod to switch this to the open position; it will be marked open and close.
Roll the awning with your awning rod. There is a strap on the awning that you hook with the awning rod. Pull the strap out to open the awning.
The inner awning arms should be pushed to the top of the outer arms. When the inner awning arms are in position, there will be a click that locks them.
Tighten the knobs that you untightened in the first step. Press the arms down to tighten the fabric, and re-tighten the knobs to keep it locked in place.
Raise the awning with the handles on both arms to the desired height. Raising the arms will release the lock, letting you raise it to the desired height. Releasing the handle will relock the awning.
Awnings and Wind
Never put the RV awning out if it is windy! If the wind catches the awning, it could wreck it; you will not be able to drive the RV if you can not roll the awning up again. If it becomes windy, immediately roll the RV awning back up. Likewise, if you leave the RV to go sightseeing or shopping, roll the awning up, just in case it becomes windy while you’re gone.
Related Videos:
