Hammock Whoopie Sling Length Calculator
Size adjustable whoopie slings from tree spacing, ridgeline length, hang height, bury length, and rope diameter.
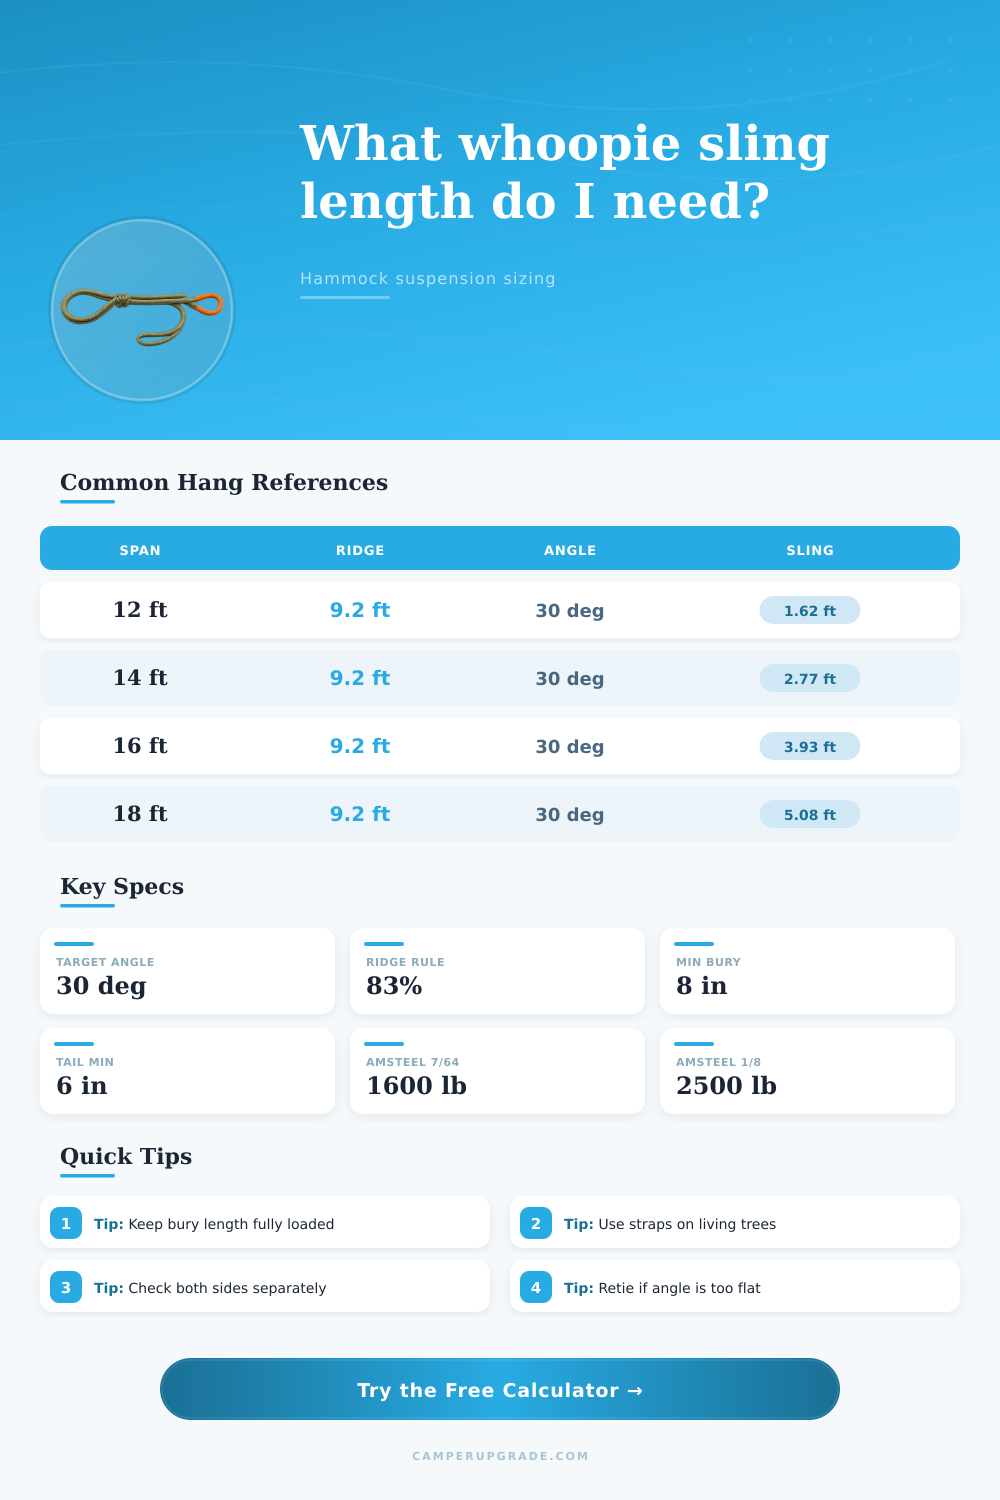
| Tree span | 83% ridgeline for 11 ft hammock | 30 deg sling length per side | Estimated strap height for 18 in sit |
|---|---|---|---|
| 11 ft | 9.13 ft | 1.08 ft | 36 in plus sag drop |
| 12 ft | 9.13 ft | 1.66 ft | 40 in plus sag drop |
| 14 ft | 9.13 ft | 2.81 ft | 48 in plus sag drop |
| 16 ft | 9.13 ft | 3.97 ft | 56 in plus sag drop |
| 18 ft | 9.13 ft | 5.12 ft | 64 in plus sag drop |
| 20 ft | 9.13 ft | 6.28 ft | 72 in plus sag drop |
| Suspension angle | Tension multiplier | Use case | Length note |
|---|---|---|---|
| 15 degrees | 1.93 x body half-weight | Too flat for most hangs | Longer span, higher forces |
| 20 degrees | 1.46 x body half-weight | Firm lay | Needs taller strap point |
| 25 degrees | 1.18 x body half-weight | Slightly taut | Moderate sling length |
| 30 degrees | 1.00 x body half-weight | Common target | Balanced sag and force |
| 35 degrees | 0.87 x body half-weight | Deeper sag | Shorter horizontal reach |
| Rope size | Typical published break strength | Suggested adjustable bury | Best hammock role |
|---|---|---|---|
| 7/64 in Amsteel Blue | About 1,600 lb | 8 to 10 in | Light gathered-end whoopies |
| 1/8 in Amsteel Blue | About 2,500 lb | 10 to 12 in | Heavier users or tandem gear |
| 2 mm Dynaglide | About 1,000 lb | 8 to 10 in | Ultralight, experienced use |
| 2.5 mm UHMWPE cord | About 1,200 lb | 9 to 11 in | Compact utility whoopies |
| 3 mm polyester cord | Varies widely | Not ideal for bury grip | Accessory line, not main support |
| Finished max length | Fixed eye | Bury plus tail | Approx cut length per sling |
|---|---|---|---|
| 4 ft | 3 in | 18 in | 5.75 ft |
| 5 ft | 3 in | 18 in | 6.75 ft |
| 6 ft | 3 in | 20 in | 7.92 ft |
| 7 ft | 4 in | 20 in | 9.00 ft |
| 8 ft | 4 in | 22 in | 10.17 ft |
If you’ve tried camping but have stood between two tree with half your camping equipment prepared, you understand what I’m talking about. Will my suspension stretch as far as it needs? Will I be able to sleep well off the ground?
Hanging a hammock appears easy in concept. But in practice, trees is never equally spaced and your hammock body doesn’t magically adjust to accommodate their new positions. If you hang it at the wrong length, you’re left with two problems: 1) a hammock so tight you can’t relax, or 2) a hammock that sags so much your hips press into the dirt.
How to Hang a Hammock Safely and Comfortably
That’s where this calculator comes into play. It takes over your calculations. You won’t have to manually guess how much space you need or convert back and forth between coefficients.
How you suspend is the key. Guides recommend roughly a 30 degree angle. Why? That’s what most people say. What they don’t tell you: it has to do with tension. When the angle get lower, the amount of pressure put on by weight goes up rapidly. If you’re carrying 50 lbs., at 15 degrees the load on the knots and trees feels like close to twice as much. To put it another way, the change in angle causes large swings in sling lengths, as you can see in the table on the page. For me, a 30 degree hang strikes a good balance between safety and comfort. It doesn’t require overly tall straps, and it holds forces within reason.
Your ridgline length is important too. And many folks begin with the eighty-three percent rule. What this means is that the ridgline should be approximately 83% the length of your hammock body. That provides just enough curve so your back is supported without crushing your ribs. If you shorten it more, you will have more sag. This require longer suspension lines to keep that critical angle off the tree.
To account for all of that, the tool does math for you. So you don’t have to picture several different directions as you’re making knots. A poorly hung ridgline can make what was once a comfortable hang a painful one.
Sizing is complicated by the material you select. Blue Amsteel has a small diameter with superior strength. But it’s slippery and tricky when splicing. Bury length should be just enough to stick when loaded down. It should of not been so long that you burn up your available adjustment. Eight to ten inches on most sizes is what we’ve all been told. On thinner cords, there isn’t much room for error. Thicker cords requires more rope to get a good grip. If you go really light, then you want some wiggle room for adjusting to changes in tree positions. Not too much though that you are dragging rope along behind you in the underbrush.
The tree strap protects your hardware from the living wood. If you are using a fixed anchor, you can attach it directly. Wind and shifting weight will be no problem with adjustable loops that protect the cambium layer. Where you attach will change how high it hangs. A higher placement means less tension and more sag. Also, longer suspension is needed to get down low enough. Length can make up for height but you need both.
Before loading it all up, though, give it a try. Are the bury points slipping? Is everything cinched down tight? Did the knots come untied? Tug on them and see where it’s loose. That way if something slips farther down to the ground later, you caught it early.
The math is the starting point of cutting your rope. Trees in real life aren’t always symmetric; you’ll need to fine tune things yourself. Knowing how each factor affects the other makes you confident. You trust that the numbers does its job.
You build confidence by understanding how each variable interacts rather than relying on memorized measurements. You feel it in your bones. And then you zip up in the hammock between those strong trees. Everything was planned out perfectly because you understood the forces involved. The shape held because you respected the physics involved.