Hammock Sag Angle Calculator
Estimate hang angle, strap tension, ridgeline sag, anchor height, and loaded sit height from your trees, hammock, and camper weight.
🏕Camp hammock presets
📐Hang measurements
This tool models a centered hammock with equal suspension on both ends. Always follow your hammock and strap ratings, inspect anchors, and avoid damaged trees or improvised anchors.
Hammock hang result
🧭Live setup spec grid
📊Angle and tension reference
| Suspension angle | Tension per side | Hang feel | Setup note |
|---|---|---|---|
| 20 deg | 1.46x camper weight | Very firm | High strap force; raise anchors or shorten span. |
| 25 deg | 1.18x camper weight | Firm | Often usable, but less forgiving on marginal anchors. |
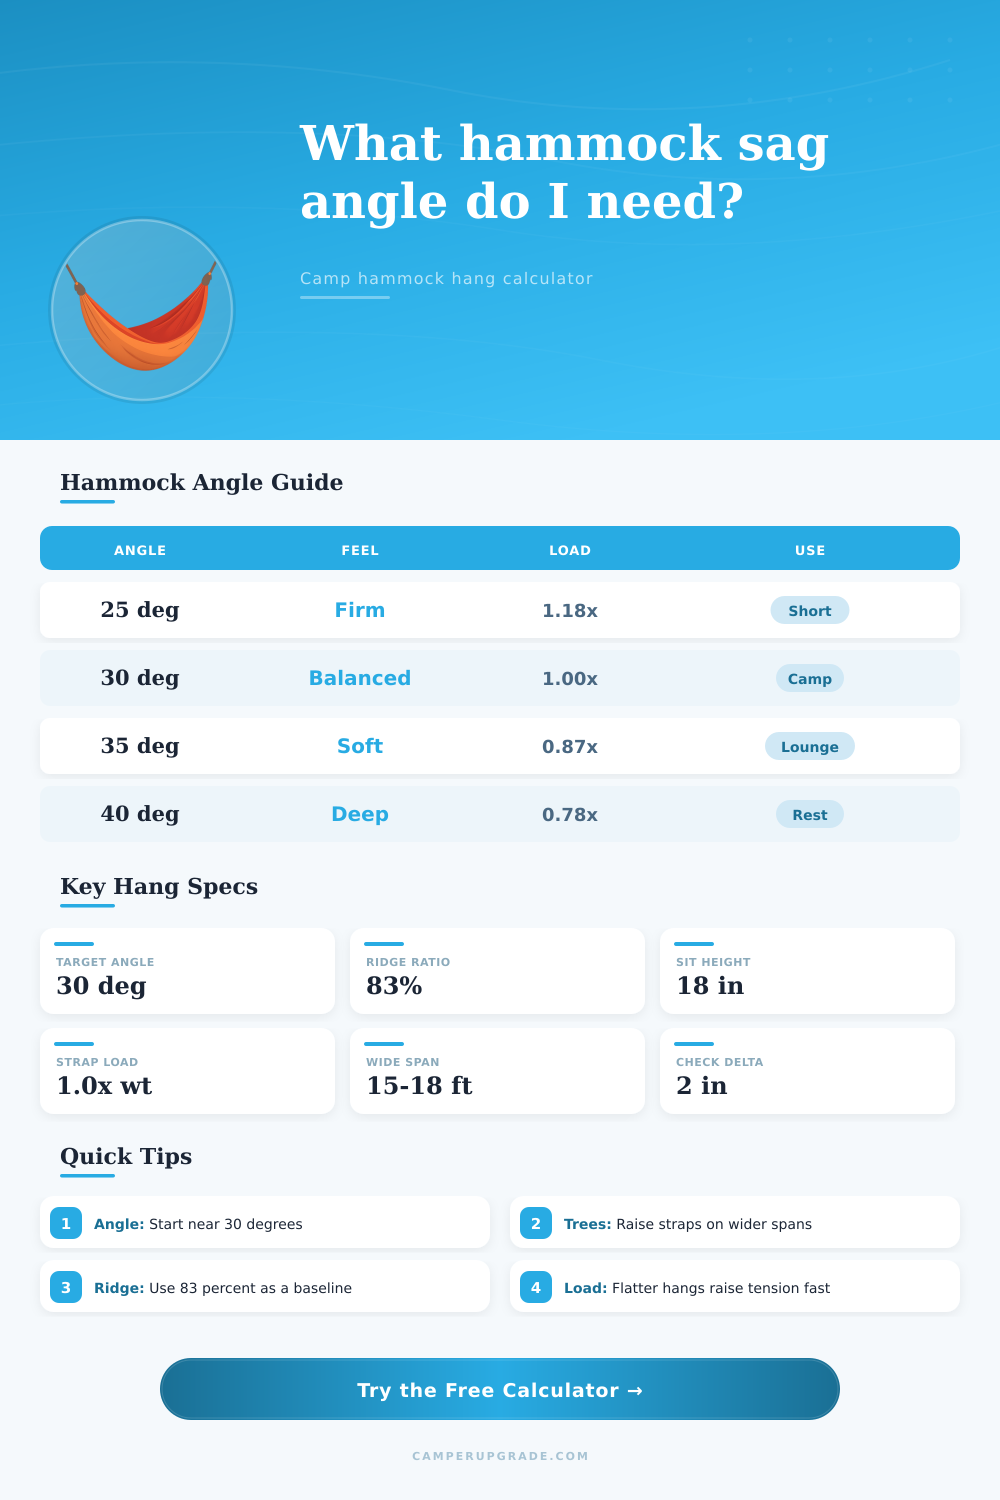
| 30 deg | 1.00x camper weight | Balanced | Common starting point for gathered-end camp hammocks. |
| 35 deg | 0.87x camper weight | Soft | More sag, lower line force, may feel shoulder-squeezy. |
| 40 deg | 0.78x camper weight | Deep sag | Low tension, but can drop sit height quickly. |
🌲Tree span anchor guide
| Tree span | 11 ft hammock, 83% | Target 30 deg anchor | Practical campsite note |
|---|---|---|---|
| 12 ft | Short suspension | About 45 in | Check hardware length; ends can crowd the tree. |
| 14 ft | Easy backyard span | About 55 in | Good range for most gathered-end setups. |
| 16 ft | Common campsite span | About 62 in | Raise straps and leave room for tarp doors. |
| 18 ft | Wide camp span | About 69 in | May require reaching higher than shoulder height. |
| 20 ft | Very wide span | About 76 in | Use longer straps and verify tree strength. |
📏Ridgeline sag reference
| Ridgeline ratio | 11 ft ridgeline | Sag character | Best use |
|---|---|---|---|
| 78% | 8.6 ft | Deep banana curve | Short naps or very loose lounge hangs. |
| 80% | 8.8 ft | Relaxed sag | Camp lounging with lower strap force. |
| 83% | 9.1 ft | Common baseline | Most gathered-end overnight hammocks. |
| 85% | 9.4 ft | Slightly flatter | Diagonal lay with a bit more firmness. |
| 90% | 9.9 ft | Flat and tight | Bridge-style checks or special setups. |
✅Preset setup comparison
| Preset | Span | Ridgeline | Target outcome |
|---|---|---|---|
| 11 ft gathered end | 15 ft | 83% | Balanced 30 degree camping hang. |
| 10 ft trail hammock | 13 ft | 82% | Compact pitch between closer trees. |
| 12 ft long hammock | 17 ft | 83% | Long diagonal lay with higher straps. |
| Bridge hammock | 15 ft | 88% | Flatter body with controlled tension. |
| Winter underquilt | 16 ft | 83% | Extra clearance under insulation. |
💡Camp setup tips
The angle of the suspension are what will tell you where to hang your hammock. Set it up by eye like most folks do but then you lie in the hammock and wonder why it is too tight or oddly low. It’s all about the sag angle. It determines how comfortable you are but also how much force end up on your anchors and straps. Even a few degrees of difference in the angle change the amount of load on each tree. Knowing how to do this quick calculation will save you a lot of trial and error at camp.
When choosing the ridgeline ratio (the third number), just plug it into calculator above along with your hammock length and span between two tree, and it’ll do the math for you. These three variables controls how much of the hammock body hangs down versus how much is up in air. Increasing the ridgeline makes the hammock flatter and more firm whereas decreasing the ridgeline increase the hammock’s curvature and softness. The tool also displays what angle this create so you don’t have to guess at geometry in the field.
How to Set Up Your Hammock Correctly
It also depends on anchor height. Too low with your strap placement, then your hammock is going to be below sitting height when weighted down. Too high and you can’t get in or out easy and will compromise ground clearance for your underquilt. Your knots and webbing always stretches a bit, so even though this take into account the hammock loaded stretch.
The hidden cost of a flat hang: tension increases rapidly as your angle decrease below roughly twenty five degrees. Cheap hardware and marginal trees begins to show their age. To find that sweet spot, most campers target around a thirty degree angle which provides enough curvature for shoulder space without being more overbearing on load weight. Loungier angles feel better but once everything settles they may be dropping the low point faster then you think.
And then there’s tree spacing: If you have a narrow stand, you’ll either need to go with shorter suspension (and therefore a steeper angle) or vice versa. With wider gaps, you’d needed taller anchors for the same effect. You can play around with different span distances in the calculator before setting up at a particular spot to see if it’s worth moving 10 more feet down the trail or if you should of just tightened straps already on the trees.
It’s easy to forget about ground clearance until you wake up with your underquilt dragging. Uneven soil, roots, and the additional sag that seems to happen within the first hour will all take a bite out of the clearance you intended. Use your minimum clearance target and compare it to your loaded sit height so that set-up isn’t a painful surprise at nightfall.
Running the numbers realy starts to pay off when your starting point is close enough that little tweaks at the end will take care of it, without having to rebuild the hang from scratch. Measure once; tweak once; then enjoy rest of the evening.