Hammock Ridgeline Tension Calculator
Estimate structural ridgeline tension, suspension leg load, hang geometry, cord safety factor, and setup changes for a more predictable hammock camp.
⚡Hammock Setup Presets
🧭Hang Geometry And Load Inputs
Measure gathered-end fabric length before sag, not the tree span.
Many camping hammocks start near 83% of body length.
Distance between strap attachment points or the trees you plan to use.
Height from ground to the suspension attachment on each tree.
Target lowest point of the hammock after you get in.
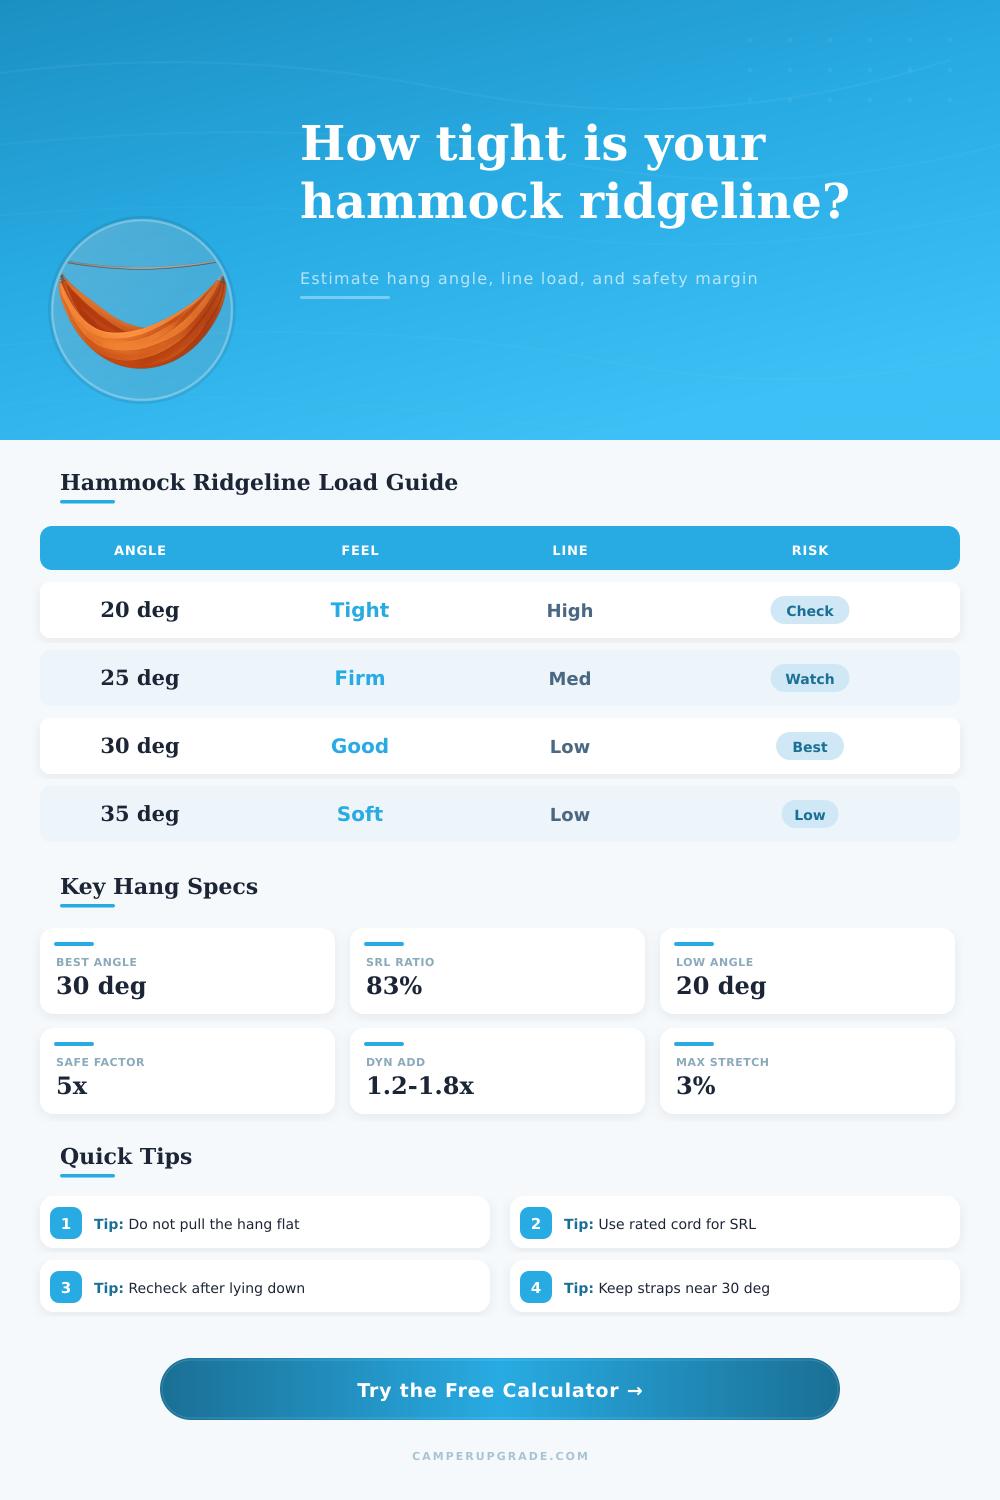
Angle of each suspension leg above horizontal. Lower angles raise load sharply.
Use actual loaded user weight with clothing.
Add quilts, sleeping bag, pad, pockets, and small gear.
A tighter ridgeline is modeled as carrying more horizontal load.
Rated strength is derated by the knot, splice, and wear inputs below.
Used only when custom rated cord is selected.
Knots, bends, small hardware, and abrasion reduce usable strength.
This adds margin for real-world loading beyond a still body.
For human-supporting systems, a larger factor is more conservative.
This calculator estimates static hammock forces from geometry. It does not certify trees, straps, knots, or hardware.
Ridgeline Tension Results
📊Setup Spec Grid
📏Hang Angle Force Reference
| Suspension angle | Side tension vs total load | Horizontal force vs load | Ridgeline feel |
|---|---|---|---|
| 15 degrees | 1.93x per side | 1.87x | Very tight, high-risk setup |
| 20 degrees | 1.46x per side | 1.37x | Firm and load-heavy |
| 25 degrees | 1.18x per side | 1.07x | Usable but still taut |
| 30 degrees | 1.00x per side | 0.87x | Common comfort target |
| 35 degrees | 0.87x per side | 0.71x | Lower load, deeper sag |
🧵Ridgeline Cord Strength Reference
| Line type | Typical rating | Stretch behavior | Calculator use |
|---|---|---|---|
| 1.75 mm UHMWPE utility line | About 500 lb | Very low stretch | Light structural ridgeline |
| 7/64 in Amsteel style line | About 1600 lb | Very low stretch | High-margin SRL |
| 1/8 in Amsteel style line | About 2500 lb | Very low stretch | Large-load setups |
| 3 mm polyester accessory cord | About 800 lb | Low to moderate stretch | Check rating first |
| 550 paracord | About 550 lb | Noticeable stretch | Not ideal for precise SRL |
🛠Ridgeline Ratio And Comfort Table
| SRL ratio | Likely hammock shape | Comfort clue | Adjustment idea |
|---|---|---|---|
| 78% to 80% | Deep sag | Can feel calf-ridged | Lengthen in small steps |
| 81% to 84% | Common gathered-end sag | Often balanced | Fine tune by feel |
| 85% to 88% | Flatter lay | Can tighten shoulder squeeze | Shorten if too flat |
| Over 88% | Very flat | Often tight under load | Raise straps or reduce length |
⚠Field Troubleshooting Table
| Field sign | Likely cause | Force effect | First fix |
|---|---|---|---|
| Ridgeline cannot bend by hand | Low hang angle or too-long SRL | Higher line tension | Raise straps and retest |
| Seat drops below target | Stretchy line or low anchors | Geometry changes after loading | Shorten suspension or choose firmer line |
| Shoulder squeeze | Ridgeline too short or sag too deep | May not be high force | Lengthen SRL slightly |
| Tree straps look flat | Angle below 25 degrees | Large increase in side loads | Use closer trees or higher straps |
💡Ridgeline Setup Tips
The tension you feel when you stretch out in a hammock and the material stretches taut across your shoulders isn’t all the bed’s sag. It is result of several forces working together. These include weight you put on the system, length of the ridgeline, angle of suspension straps, and how much cord stretch. Though most of us don’t measure any of these components, we’re certainly aware when something isn’t right. These forces can make all the difference between a good night’s sleep or a restless one.
Most folks grossly underestimate hang angle. For example, at thirty degrees above horizontal, each suspension leg carry roughly the same load as your body weight. This means that each leg are being pulled by about your own body weight. Lower the angle down to say, twenty degrees, and things get much worse: the straps is now pulling harder sideways than up, so the load increase drastically. Enter your total load and measured angle into the calculator above and it’ll do the math for you, saving you a guess as to whether increased angle justifies the additional line strain. The key takeaway here is that low angles don’t only cause more tension; they concentrate that tension onto the weakest link in the chain, typicaly a small carabiner or knot.
How to Hang Your Hammock Safely
That balance comes from the center: that structural ridgeline. Once you’re settled into the hammock, its length in relation to the rest of the hammock body establish the depth (and thus flatness) of the lay. A too-short ridgeline will pinch fabric across your shoulders. A too-long one lets the hammock sag until your hips are below seat height you intended. By entering your ridgeline length and hammock length as inputs, the tool show whether your ratio falls within range that most gathered-end designs can accept. It’s not a command, but a check against geometry you’re able to manipulate by raising a strap or shortening the span in the field.
The other wrinkle here is cord choice. Every time you tie a knot, make a splice, or abrade the cord, you will lose some strength from its published value. Sixteen-hundred pound test cord might be twelve hundred by the time it get to you with a bowline and a few months spent rubbing against tree. That’s what the calculator’s efficiency field is for; it subtracts out those losses and then calculates safety factor based off the reduced amount plus any dynamic load you apply. If your safety factor are high enough, it will tell you that your strength stay within your desired margin even when you add movement. The table on the page lists standard ratings for various common types of cords. But the real question is, how much capacity remain once you have rated them down?
No matter how many calculations, there will always be things the numbers can’t account for. Restless sleepers adds bounce. A shift in temperature affects cord stiffness. Bark compress when straps press against it. The static model doesn’t take any of this into consideration. This is why a five-times safety factor might sound conservative on paper but reasonable after having witnessed a line creep its way down throughout the night. A good tool provides a place to start, not a promise of anything.
Practical habits: Measure once, calculate once, and tweak what can be tweaked until the ridgeline have some stiffness when loaded, but nothing more than that. Once the geometry is sorted and safety margin lines up with the cord, it is no longer a bunch of forces trying to balance. It is holding you, and it does so without issue.