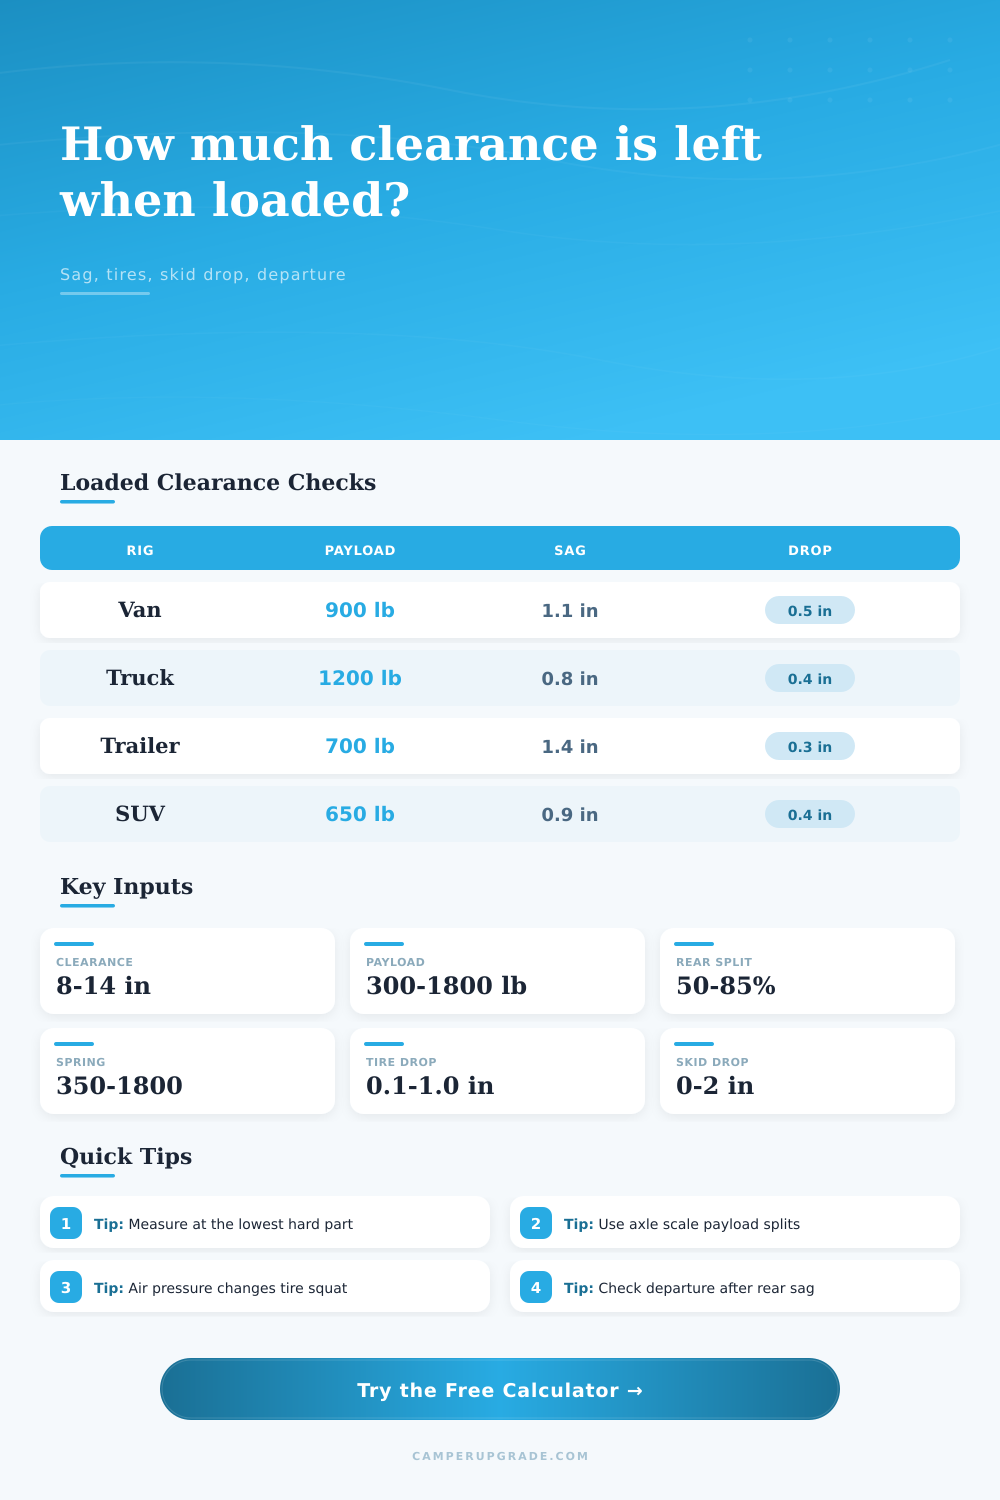
Ground Clearance Under Load Calculator
Estimate loaded rig clearance from unloaded ground clearance, payload, combined spring rate, front and rear load split, tire pressure deflection, skid plate drop, departure height, and suspension sag.
Calculation Breakdown
| Loaded rig setup | Typical payload | Common rear split | Clearance watch point |
|---|---|---|---|
| Weekend camper van | 500 to 900 lb | 55% to 70% | Water tank, spare tire, rear step, and tank guard |
| Truck camper shell trip | 900 to 1,600 lb | 65% to 85% | Rear hitch, leaf-pack sag, differential, and spare carrier |
| Overland SUV cargo build | 400 to 900 lb | 50% to 70% | Skid plates, exhaust loop, fuel tank shield, and rocker steps |
| Teardrop or small trailer | 300 to 800 lb | 55% to 75% | Rear stabilizer jacks, axle tube, tank brackets, and receiver |
| Expedition truck build | 1,200 to 2,500 lb | 60% to 80% | Rear overhang, auxiliary tank, transfer case skid, and hitch |
| Combined spring rate | 500 lb on axle | 1,000 lb on axle | 1,500 lb on axle |
|---|---|---|---|
| 500 lb/in soft travel setup | 1.00 in sag | 2.00 in sag | 3.00 in sag |
| 800 lb/in common van rear | 0.63 in sag | 1.25 in sag | 1.88 in sag |
| 1,200 lb/in helper-supported axle | 0.42 in sag | 0.83 in sag | 1.25 in sag |
| 1,800 lb/in heavy truck pack | 0.28 in sag | 0.56 in sag | 0.83 in sag |
| Tire pressure deflection | What it usually means | Clearance effect | When to remeasure |
|---|---|---|---|
| 0.1 to 0.2 in | Firm street pressure with light added load | Small but real loss | After water or hitch cargo changes |
| 0.3 to 0.5 in | Normal loaded camper pressure change | Can erase skid clearance margin | Before trail travel or ferry ramps |
| 0.6 to 0.9 in | Aired-down tire or high sidewall squat | Major reduction at low hardware | Whenever pressure is changed off-road |
| 1.0 in or more | Soft sand, snow, or intentionally low pressure | Plan crawl speed and obstacle line | After airing back up and reloading |
| Departure angle | Rear overhang feel | Loaded camping use | Risk note |
|---|---|---|---|
| 25 degrees plus | Short rear overhang or high bumper | Usually comfortable on trail dips | Still check tow hitch and mud flaps |
| 18 to 25 degrees | Moderate van, SUV, or truck camper | Good with careful line choice | Rear skid or hitch can touch first |
| 12 to 18 degrees | Long van, rear box, or low hitch | Use caution on campsite entries | Driveways and ferry ramps need checks |
| Under 12 degrees | Long overhang with low rear hardware | Plan spotter support and slow angles | Departure contact is likely on dips |
This calculator is a planning estimator. Real loaded clearance changes with bump stops, progressive springs, suspension geometry, tire construction, pressure, cargo position, water movement, and road angle.
Center low point
Average sagCrossmembers, tanks, transfer-case guards, and exhaust pieces near the middle use a weighted blend of front and rear suspension sag.
Rear low point
Rear sagDifferentials, rear skids, hitch receivers, and spare carriers follow rear axle sag more closely when payload is behind the cabin.
Tire pressure
DeflectionLower pressure can improve traction while lowering the whole rig. Re-enter tire squat after airing down or changing load range.
Departure
AngleRear overhang turns a small height loss into a large ramp risk, especially with hitch carriers, steps, and low stabilizers.
Geometry
Not everyone fails at making their build look good… they fail at having good geometry. For example: you drop all that money on appliances, insulation and furnitures only to have your rig settle when you fill up water tank and pack in the kitchen. Now, the lowest point of your rig is nearer to the ground and what was once a smooth highway has become a scraping hazard.
Why Ground Clearance Matters
Ground clearance isn’t fixed. It is a moving number that decreases with each psi you let out of your tires and every pound you add. This change can be the difference between getting bent skid plates or getting home safely.
This leads us to a calculator which solves that math for you. After entering the unloaded dimensions of your truck and the payload you carry, you don’t need to estimate spring compression anylonger. Spring rate is at the heart of the equation. While most owners knows their payload capacity, they rarely know their spring stiffness. A soft suspension may feel comfortabley when driving around unloaded, but it sags almost two inches under a thousand pounds. Stiffer springs won’t move as much, but you’ll feel every bit of road shock through them. To strike a balance between these factors, you’ll notice that the tool asks you to enter combined front/rear rates.
Why? Camper loads aren’t evenly distributed. Sleeping platforms and water tanks typicaly rest behind the front axle. This shifts more load to the rear. Because of this rearward bias, your rear suspension sag further than the front. This affects your departure angle and places rear hardware out of range you believed was safe.
Tire deflection is another silent killer of clearances. Carrying a heavy load at street pressure or airing down for traction causes your sidewalls to flex inward. The sidewalls flex inward, lowering the wheel center and dropping frame. Half an inch lost from tire squat may seem trivial, but it multiplies with suspension sag. With your diff so close to the ground already, that half-inch difference can be the margin between clearing a bump or rubbing metal. The reference table on the page show this clearly and converts common pressure changes into inches of height.
Measure your lowest hard point unloaded and remember to add deflection. A lot of builders will measure their step or bumper, but neglect fuel tank guard or transfer case skid. It’s not usually the most obvious.
Let’s not forget departure angle either. Truck and van rear overhangs is long. As the rear suspension sags down under weight, that overhang drops vertically. Even just a little bit means a lot in terms of departure angle. This is critical for getting up onto ferry ramps and crucial for backing into campgrounds with steep driveways. The calculator find this value by adding the horizontal distance from your lowest point out back to your rear clearance loss. Spare tire carriers and hitch receivers sticking way out there mean a few inches of sag will be the difference between scraping across the top of a hill or high-centering on pavement.
There’s more to it in the real world. As your shocks compress and extend, their suspension geometry change. As progressive leaf springs sag, they get stiffer, drooping an inch at the end might not be as bad as the first inch. Trail riding includes dynamic forces different than the static estimate provided by the calculator. You hit washboard road, brake dive causes a load, and cornering roll adds a load that far exceeds your static weight. A good rule of thumb is to add a reserve allowance for bumps. That way, you’re never riding right up against the clearance margin.
Don’t go nuts trying to get as high up there as possible, but know yourself; know your limitations. When you know how far down your rig goes at max weight, then you can pull off with confidence. No more guessing what lines to follow. No more wondering about what is safe to cross. Your undercarriage stays in one piece. Your trip is stress free. You should of planned for it ahead of time. Know the numbers, respect the geometry.