Frame Bag Volume by Triangle Calculator
Estimate bikepacking frame bag liters from your bike triangle, bag width, seam inset, rounded corners, clearance cutouts, taper, and realistic packing fullness.
Presets are practical measuring starts for a full triangle bag pattern. Always compare against your own inside-frame paper template before cutting fabric.
Triangle Volume Results
| Formula Step | Calculation | Why It Matters | Common Range |
|---|---|---|---|
| Gross triangle | 0.5 × base × height | Raw frame space before fit losses | 100-190 sq in |
| Inset triangle | 0.5 × adjusted base × adjusted height | Removes seam and tube clearance | 85-170 sq in |
| Rounded corners | 3 × (1 - pi/4) × radius² | Models curved zipper and corner sewing | 0.4-2.5 sq in |
| Prism volume | usable area × average width | Converts the flat triangle into bag space | 180-420 cu in |
| Packed volume | prism × fill × taper × divider | Shows realistic usable bikepacking capacity | 2.5-6.5 L |
| Volume Class | Liters | Cubic Inches | Typical Camping Load |
|---|---|---|---|
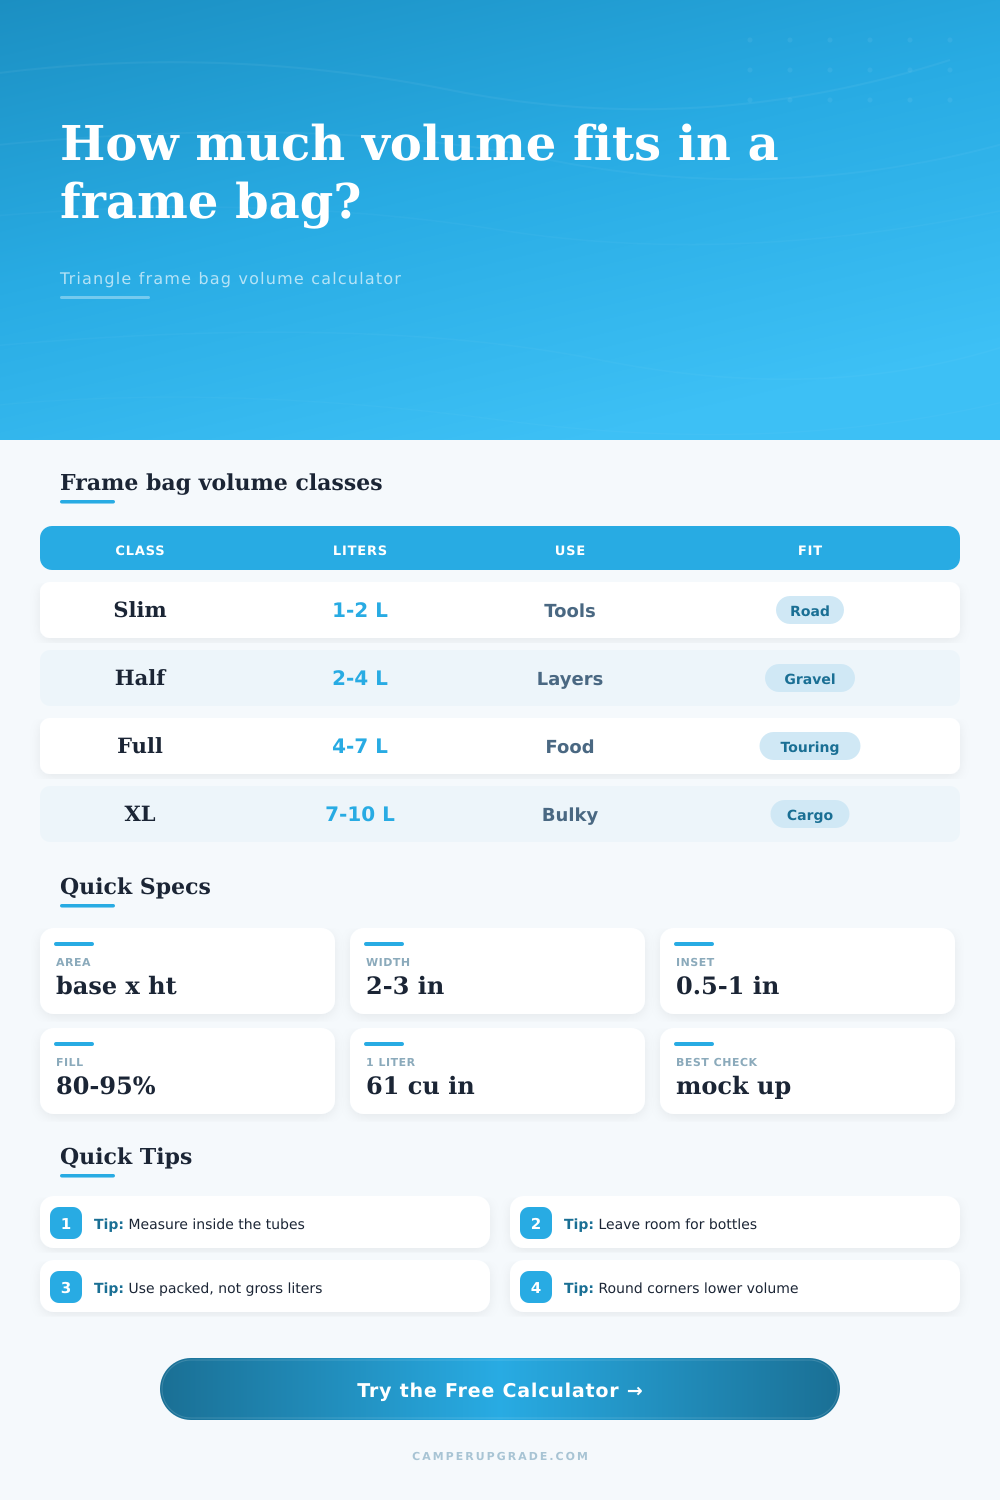
| Slim partial bag | 1.0-2.0 L | 61-122 cu in | Tube, tools, compact pump |
| Half frame bag | 2.0-4.0 L | 122-244 cu in | Rain shell, food, filter |
| Full triangle bag | 4.0-7.0 L | 244-427 cu in | Stove, food, layers, repair kit |
| Large touring triangle | 7.0-10.0 L | 427-610 cu in | Bulky food and soft clothing |
| Bikepacking Item | Typical Volume | Best Fit Zone | Calculator Note |
|---|---|---|---|
| 29 inch spare tube | 0.6-0.9 L | Rear lower corner | Hard roll lowers fill efficiency |
| Mini pump and tire levers | 0.3-0.6 L | Along base edge | Needs straight usable length |
| Rain jacket or wind shell | 0.8-1.5 L | Top-front triangle | Soft items reach higher fullness |
| Compact cook kit | 1.0-1.8 L | Center of bag | Use lower fullness for rigid gear |
| One day of dense food | 1.2-2.0 L | Low and centered | Good use for stable frame weight |
| Named Preset | Base x Height | Width | Packed Volume |
|---|---|---|---|
| Salsa Cutthroat 56 | 21.5 x 16.8 in | 2.45 in | 5.8-6.4 L |
| Salsa Fargo M | 20.4 x 16.0 in | 2.50 in | 5.1-5.8 L |
| Surly Ogre M | 19.4 x 15.2 in | 2.40 in | 4.5-5.2 L |
| Kona Sutra 54 | 20.0 x 16.6 in | 2.20 in | 4.7-5.4 L |
| Canyon Grizl M | 19.8 x 15.2 in | 2.10 in | 4.0-4.8 L |
But measuring the size of a bike frame with a tape measure seems so precise, right? Then you go to pack it up, and it doesn’t fit. Plastic is wrapped around the down tube and top tube. Numbers written down. Square footage equals liters, right? Well… no. Because your triangle is not neat geometry within a triangle. Cable ports messs up clean lines. The bulges from bottle bosses on side interrupt clean lines. Zippers are thick, taking away space even before you put a spoon in there.
So how do you get an accurate estimate? It is more than a simple area calculation. How much does all that stuff realy fit? It is not just the thing that contains it, but the reality of the shape. You can enter your size into the calculator (above) and it does all the work for you, no more guesswork about conversion factors and coefficients.
How to Measure Your Bike Bag Size
First it figures out your gross triangle area: Half of base x height. This is your theoretical max. But you’re not filling the entire volume of a bag with each millimeter. You’ve got rounded corners (where fabric curves instead of meeting in a sharp point), seam allowances, and an inset to prevent your straps from rubbing against frame tubes. Though these losses may seem small, they add up fast. A half-inch inset along three edges eats up a substantial amount of useable panel area. The tool shrink the effective triangle to account for those losses before multiplying by width.
The other variable is perhaps the least understood: Width. How wide is empty bag? How many feet wide is fabric that came in a flat? That does not tell you how much stuff it will take. It needs to be average width with things in it (the bulge where the bag is packed full). If it’s a stiff shell, it may have three inches of volume, but your soft stuff will all pack down when loaded up and effective width goes way down. Enter real world width into the calculator, and we use a fullness factor to change it based off the space between hard objects such as cookware, tools, pumps, etc. Hard things don’t stack nicely like wool socks. There are gaps in between them that can cut efficiency. For loads heavy with tools, set the fullness slider to 75 percent. Do not assume bag is full at 94 percent, even with mixed contents.
Durability: This goes hand-in-hand with weight, but material selection also affects how you will use space. For example, you may be able to get away with something like a thinner Dyneema hybrid laminate and maintain a slimmer profile so you can slip your skinny butt up in the tighter triangle where Cordura of the same thickness would of bound up around the down tube. This is why chart on the page includes a table comparing weight per yard across various laminates. For someone doing a long tour, where ounces matter more, you could choose a lighter shell that is less resistant to wear and allows for slightly more width variation. That’s a tradeoff between carrying capacity and protection, one that is different than rider-to-rider.
Remember to account for cut outs. Six square inches of available space can be lost with one water bottle cage boss. Those areas becomes dead zones if you have internal routing or shocks moving around in there. It is frustrating when you go to zip up the bag and can’t, because something hard was trying to push against a tube from inside.
Best advice: make a paper template. Trace onto paper and tape within frame. Mark where the obstruction is on the paper. Trace out actual usable space. Turn that real world into the digital inputs.
And finally, knowing what size bag you are using informs how you load out. Spare tubes and other tools fit in a small one to two liter bag. Four to seven liters will accommodate stove, layering system and food. Knowing what frame you have allow you to avoid over packing and makes sure you don’t leave something you need at home. This isn’t simply about cramming as much as possible into a bike frame. It’s about carrying the right amount of stuff in your pack and doing so comfortabley while still being able to access it all. Take your measurements, tweak based on real life experience and load up with confidence. The distance between a calculated plan and a hunch can be the distance between a relaxed day on the trail and scrambling around trying to find room out there.