Foam Pad R Value Stack Calculator
Add sleeping pad layers, foam thickness, coverage, compression, moisture penalty, and ground temperature to estimate your camper sleep system insulation.
📍Named Stack Presets
🧮Stack Inputs
Foam Layer 1
Foam Layer 2
Known Air Pad or Extra Pad
Stack Result
🧱Material / Spec Comparison Grid
📊Reference Tables
| Target condition | Typical floor temperature | Target R | Use in calculator |
|---|---|---|---|
| Warm summer tent floor | 50 to 65°F / 10 to 18°C | R 1.5 | Warm floors, fair-weather bunks |
| Cool shoulder season floor | 35 to 50°F / 2 to 10°C | R 2.5 | Camper bunks, cool pads, cots |
| Freezing ground or van floor | 20 to 35°F / -7 to 2°C | R 4.0 | Late fall, cold floor, light frost |
| Snow camping surface | 0 to 20°F / -18 to -7°C | R 5.5 | Snow base, winter tents, cold cots |
| Deep winter margin | Below 0°F / below -18°C | R 7.0+ | Cold sleepers, long nights, snow platforms |
| Foam or pad type | Calculator R per inch | Typical thickness | Notes for stacking |
|---|---|---|---|
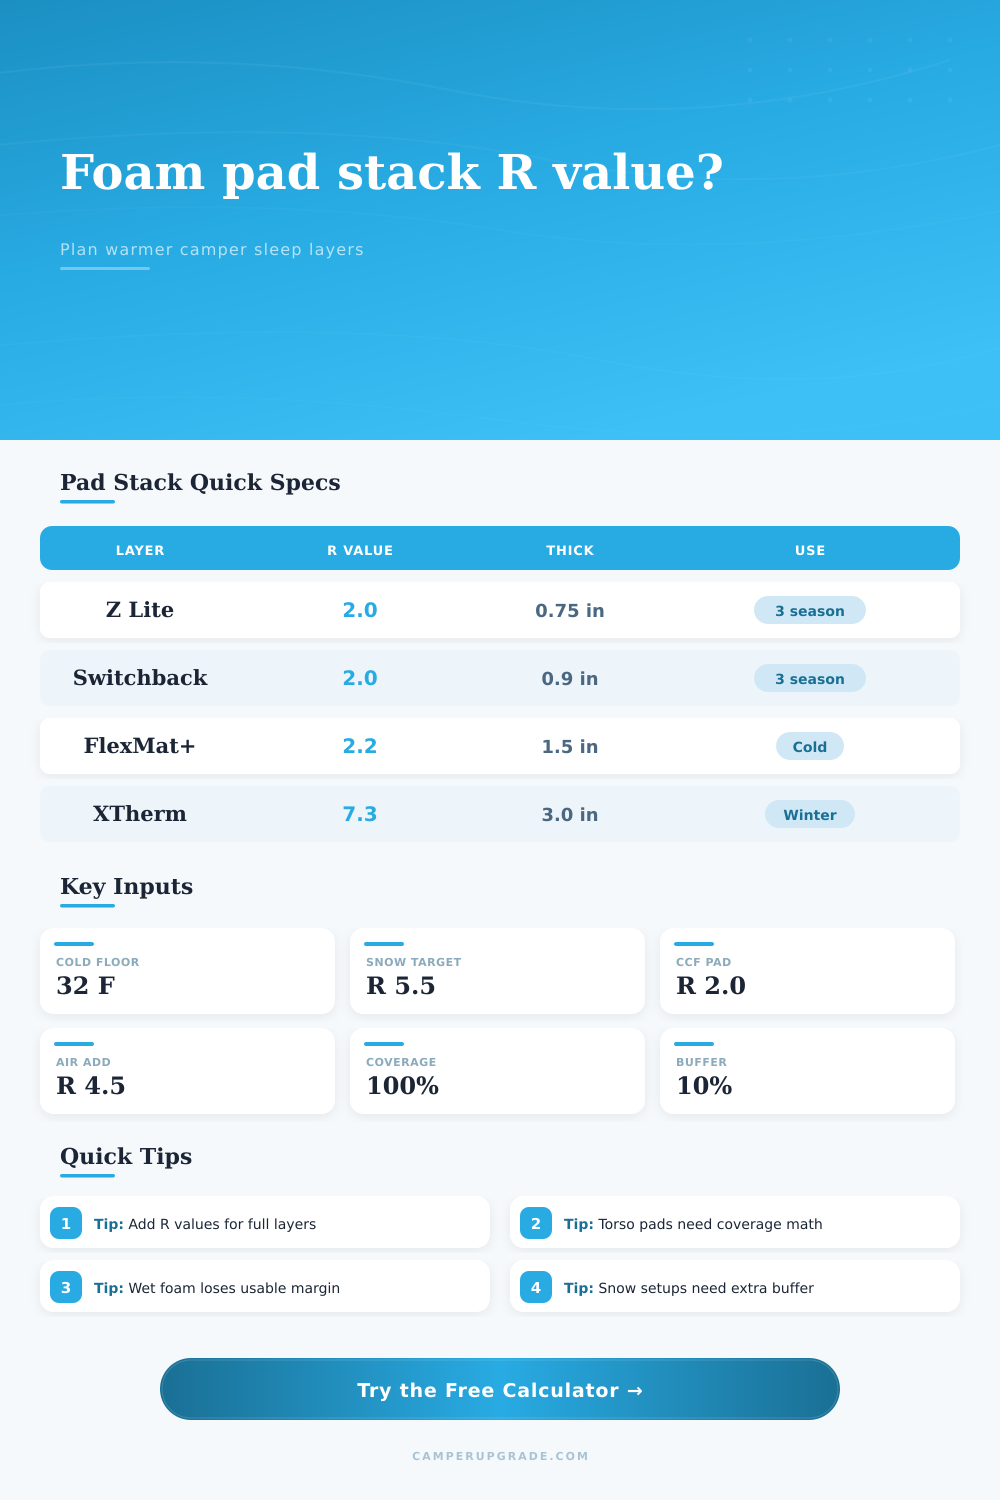
| Therm-a-Rest Z Lite Sol | 2.67 | 0.75 in / 1.9 cm | Modeled from R 2.0 full pad |
| NEMO Switchback | 2.22 | 0.9 in / 2.3 cm | Modeled from R 2.0 full pad |
| Exped FlexMat Plus | 1.47 | 1.5 in / 3.8 cm | Modeled from R 2.2 full pad |
| Generic XPE closed-cell foam | 2.00 | 0.25 to 0.75 in | Useful as a light booster layer |
| Evazote expedition foam | 2.20 | 0.25 to 0.6 in | Durable, resilient foam estimate |
| Minicell marine foam | 2.40 | 0.5 to 1.0 in | Good for van bunks and platform pads |
| Interlocking EVA bunk tile | 1.30 | 0.38 to 0.5 in | Large area coverage with lower R per inch |
| Layer stack | Nominal R total | Approx thickness | Closest target |
|---|---|---|---|
| Z Lite Sol only | R 2.0 | 0.75 in / 1.9 cm | Warm to cool floor |
| Switchback + 0.25 in EVA | R 2.4 to 2.5 | 1.15 in / 2.9 cm | Shoulder season |
| Z Lite Sol + XLite NXT R 4.5 | R 6.5 | 3.75 in / 9.5 cm | Snow with margin |
| Z Lite Sol + XTherm NXT R 7.3 | R 9.3 | 3.75 in / 9.5 cm | Deep winter margin |
| Two CCF folding pads | R 4.0 | 1.5 to 1.8 in | Freezing floor |
| 0.75 in minicell + R 3.2 air pad | R 5.0 | 3.25 in / 8.3 cm | Freezing to snow edge |
| Coverage choice | Calculator multiplier | Best use | Risk to watch |
|---|---|---|---|
| Full length | 100% | Whole body insulation | Bulk and pack size |
| Shoulders to calves | 85% | Short regular pads | Cold feet or pillow zone |
| Torso plus hips | 70% | Foam booster under core | Leg heat drain |
| Short torso pad | 55% | Ultralight backup layer | Needs bag or pack under legs |
| Sit pad only | 40% | Localized cot or hip booster | Not a full sleep solution |
💡Stacking Tips
You’ve got a sleeping bag rated down to zero degrees; you have the right clothes on and checked the weather so you know it’s going to be cold. You even sleep in a bag rated below freezing, but when you get up the first morning you’re still cold and sore. That’s the day you discover that your insulation didn’t work.
The cold has reached you through the floor of your shelter and stolen all the heat from your body faster then any surrounding air temperature could have done. Turns out, it doesn’t matter how well you keep the cold away if your backside is pressing against the cold earth. Enter the foam pad r-value stack calculator (above).
How to Stay Warm on Cold Ground
Once you input your conditions and layer thicknesses, it do the number crunching for you. This way, you don’t have to guess if extra weight of an additional inch of closed-cell foam is worth it. The sticker label numbers found on the retail pads don’t tell the whole story about how well they will insulate under you.
When manufacturers test their pad in controlled settings, their product rests flat on top of a warmed plate with no one’s body weighing down the pad, compacting it into smaller space. You’re not simple; you’re a pressure map in the field. Your shoulders and hips digs down deep, crushing the insulation until the air pockets stop insulating. Elbows and feet frequently lay directly on the ground below, sometimes even on nothing at all if your pad stops short of your toes.
That’s what makes raw R values so deceptive when you find yourself shivering on the trail. To account for this, the tool allow you to adjust for actual physical compression as well as the coverage area, resulting in a weighted estimate of how much your body is protected from vs. You are exposed to conductive heat loss.
One solution (other than purchasing an over-the-top-thick single pad) is to simply stack pads. So throw in a thin foam pad to spread your weight and prevent pokes and then place an inflatable pad on top for loft and comfort. Here’s the trick: when the stacked pads are completely dry and full-size, their values adds up nearly linearly.
So if you have a bottom pad that covers all your body and a top pad that also covers all your body, you usually will recieve the total power of the two insulations. But what happens if the pad below isn’t as long as you? Well now your legs are only sitting on half the insulation they should of been. And that seriously drags down the overall performance of the entire setup.
Another factor no rating chart can really account for is moisture. Water transfers heat far more efficient than air, so wet foam doesn’t perform well. Snowmelt or even early morning dew can seep under the edges of your pad, even if the ground doesn’t look wet.
There’s an option on the calculator to lower the overall R-value, accounting for this thermal bridge by applying a penalty due to dampness. On-screen it’s a minor change, but the difference can be the difference between a cozy night or one of tossing the covers aside because your feet are cold. Your goal should be to have a final stack value with a safety margin above what the soil temp calls for.
Choosing a three season tent ends most people’s consideration of insulation, but for winter camping, there’s no substitute for careful planning. When the earth freezes solid, an R value of five or better are needed, and heading further into winter might call for a push beyond seven. Those are abstract-sounding numbers until you experience the contrast of sleeping on the naked dirt compared to a system designed to trap sufficient air to stop heat flow.
The reference tables that come with the tool also break down typical goals based off temperature, so you can get your kit aligned with the prediction instead of just hoping for the best. But it’s always how you feel in the middle of the night, after the fatigue reduces your sensitivity to slight changes in temperature, that really matters.
If you’ve done the math on your pack ahead of time, you eliminate any guesswork from how you choose what goes into your pack. You’ll be able to identify which parts will be weak spots and fix them before heading out the door. You can add a slightly thicker baselayer here or an extra tile there.
Turns out good comfort on the trail has nothing much to do with high end gear and everything to do with understanding the basic mechanics of how heat moves through solid objects. Ultimately, the warm night begins well before unzipping the flap on your tent. It begins by realizing that the ground will always be plotting to steal your warmth, and only a smart pile of layers can prevent it.
If packed right, the cold remains outside where it belongs, while you sleep soundly through the storm, never realizing just how low the temperatures dropped.