Fabric Yardage for Tarp Calculator
Estimate tarp fabric by finished size, fabric width, panel seams, hems, reinforcement patches, shrinkage, and waste.
Cutting breakdown
| Fabric type | Typical usable width | Panel planning note | Best tarp use |
|---|---|---|---|
| Silpoly ripstop | 58 to 60 in | Two panels make many 8 to 10 ft tarps | Rain fly, awning, backpacking tarp |
| Silnylon ripstop | 58 to 60 in | Allow extra for stretch and coating take-up | Hammock fly, compact shelter |
| Polyester oxford | 58 to 62 in | Handles boxier covers and utility tarps | Truck cover, camper storage cover |
| Treated canvas | 60 to 72 in | Wide goods reduce heavy center seams | Wall tarp, shade tarp, long-term cover |
| Vinyl coated fabric | 61 to 72 in | Plan larger hems and bonded overlaps | Durable cover, wet gear barrier |
| Finished tarp | 58 in fabric | 60 in fabric | 72 in fabric |
|---|---|---|---|
| 6 x 8 ft utility cover | 3.2 yd | 3.1 yd | 2.4 yd |
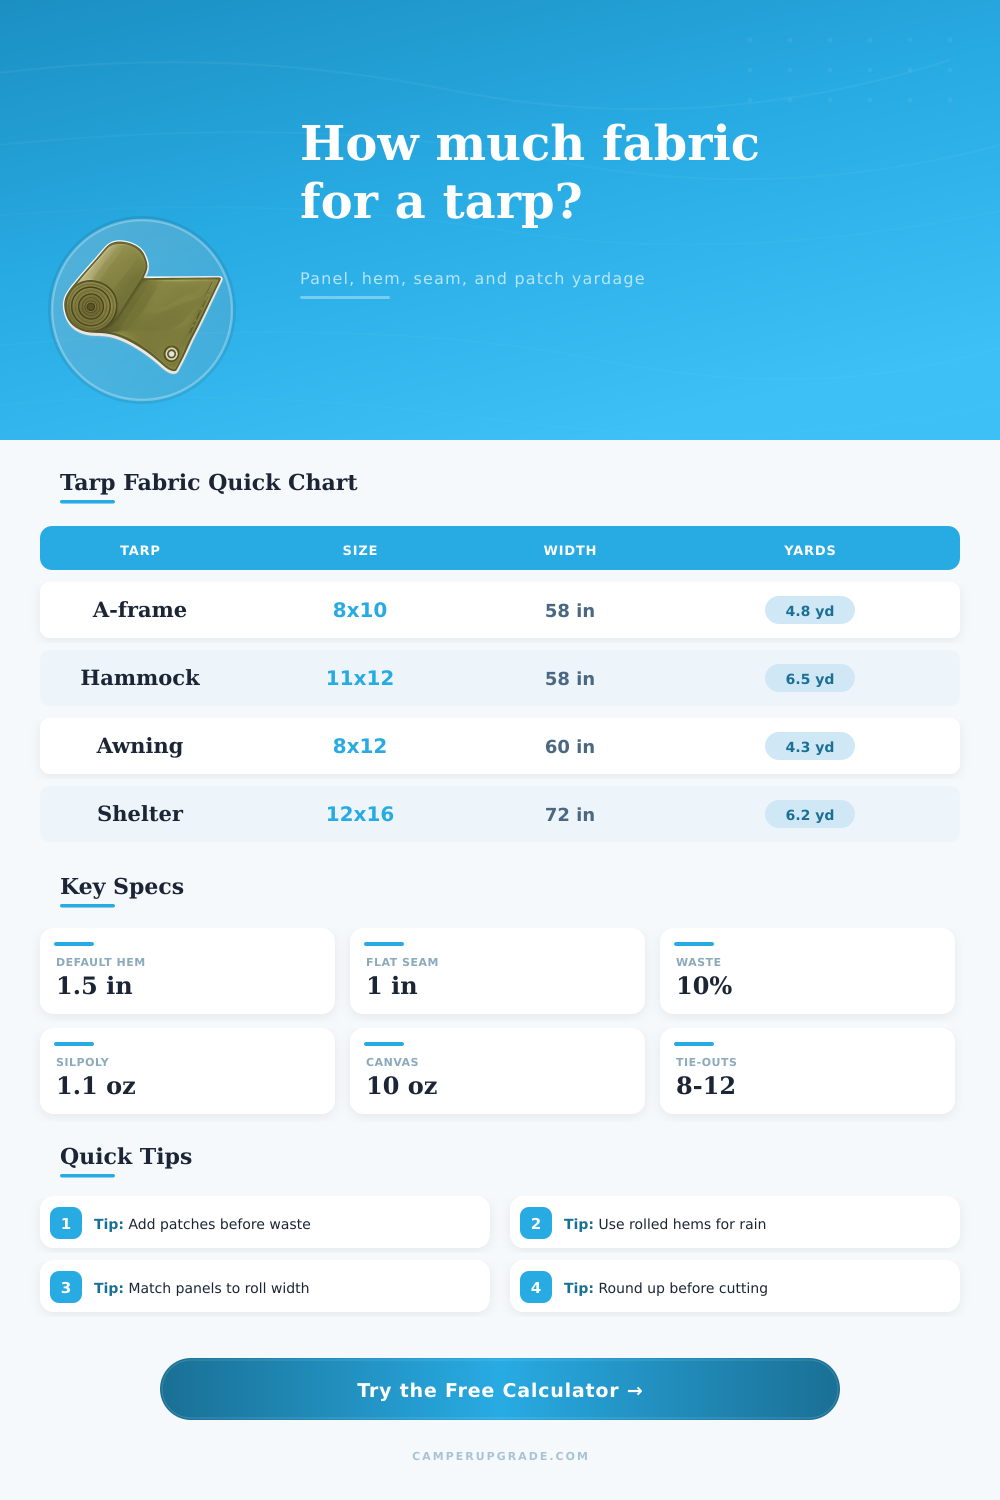
| 8 x 10 ft A-frame tarp | 4.8 yd | 4.7 yd | 3.6 yd |
| 8 x 12 ft awning tarp | 5.7 yd | 5.5 yd | 4.2 yd |
| 10 x 14 ft canvas wall tarp | 8.0 yd | 7.8 yd | 6.1 yd |
| 12 x 16 ft group shelter | 10.6 yd | 10.3 yd | 8.0 yd |
Table assumes rectangle tarps, 1.5 inch hems, 1 inch panel seams, 10% waste, and no oversized reinforcement layout.
| Detail | Typical allowance | Yardage effect | Use when |
|---|---|---|---|
| Rolled perimeter hem | 1 to 1.5 in per edge | Adds length and width before paneling | Lightweight rain tarps |
| Webbing bound edge | 0.5 to 1 in per edge | Less fabric, more edge hardware | Utility and vehicle tarps |
| Flat-felled center seam | 1 in per seam | Adds strip allowance along panel joins | Water-shedding ridge seams |
| Bonded vinyl overlap | 1.5 to 2 in per seam | Higher overlap but fewer stitch holes | Vinyl or coated utility covers |
| Tie-out patch | 4 to 8 in square | Small area multiplied by tie-out count | Corners, ridge ends, side pull-outs |
| Preset | Finished size | Fabric choice | Tie-out layout |
|---|---|---|---|
| Backpacking A-frame | 8 x 10 ft | 1.1 oz silpoly | 4 corners, 2 ridge, 2 side |
| Hammock hex rainfly | 11 x 12 ft | 1.3 oz silnylon | 4 corners, 2 ridge, 4 panel pulls |
| SUV side awning | 8 x 8 ft | 4 oz oxford | Vehicle edge plus pole corners |
| Canvas wall tarp | 10 x 14 ft | 10 oz canvas | Corner, side, and top support points |
| Picnic shelter | 12 x 16 ft | 4 oz oxford | Perimeter and middle side pull-outs |
A lot of tarps never get made. You purchase what appears to be plenty of fabric for a tent that is, say, ten by twelve feet. Then, once the seams and hems is added, you realize project came up three inches shy of being complete on one side. Why? Because folks mistake cut dimensions for their eventual final size.
When you enter fabric width and desired size in the calculator above it do the math for you. It won’t guess at amount of extra material needed to allow for hems, etc. A tent will fail and be drafty if you don’t understand the difference between what is in blueprint and what is on the bolt.
How to Measure Fabric for Your Tarp
First off: how much fabric do you actualy get? Catalogs will say “60 inches wide,” but that measurement might include a fraying, unfinished edge called a selvedge on both sides. What’s the usable width? How many seam does it take to make the tarp you want? Know the width of the coated fabric you’ll work with.
An inch-wide seam allowance can realy add up if you have to use more than one piece to make a tarp. No coverage there, just dead weight. This calculator takes into account the overlap in your seams (which is especially important if you are joining two panels at the center) by subtracting it out of full width when figuring out how long each panel should of be. A half-inch miscalculation here mean an additional join, twice the chance of getting a leak where the panels meets.
Don’t overlook hems. A basic turned edge can save you a quarter inch on each side. However, it is not much better than nothing for keeping out heavy rain or wind that will flap around and push its way through the stitch hole. For most serious tarps, you’ll want at least an inch and a half of fabric all the way around with a webbing binding or a roll hem. That adds six inches to both the width and length requirement before you even factor in the body of the tarp itself. The calculator will automatically account for that in overall yardage. It’s up to you whether you want a lighter tarp (fewer hems and less fabric) or more durability (a more careful setup in a storm).
Material used to make reinforcement patches is also substantial. There’s one on every corner, every grommet and each pole sleeve where there will be a lot of tension. A patch of doubled fabric or even heavier fabric are required. And an eight-inch square doesn’t seem like much until multiplied times all 12 anchor points. The calculator requests their sizes so it can add that area back into the total linear footage. So no one runs out at the last moment due to a frustrating mistake in calculations. Better to purchase the additional half yard now than to piece together various mismatched scrap pieces later.
Weight and behavior depend on material selection Silk-polyester ripstop is light and packs small, but it shrinks slightly when coated. Canvas resists shrinkage, shapes up beautifully, but packs on pounds that gets hauled in a truck or carried on your back. Fabric weight-per-square-yard factors into the tool to help you predict the finished packweight of your tarp, helping you strike a balance between portable versus durable.
A backyard DIY might need a vinyl-coated tarp that will last decades in the driveway, but a backpacking fly for summer camp do not. It is not worth the hassle. There are no perfect cuts. There is mistakes. Things change. You need to account for waste buffers. A 10-15% buffer for mistakes will keep you from needing to go to the store. The buffer accounts for all that in total and helps you know how much you need to get job done comfortabley. Cut wisely and round up when calculating the cost.
Plan your tarp well before it gets sewn. Getting the yardage right makes everything else flow easily. It transforms a piece of fabric into something you can trust to provide shelter when you need it, so you won’t have to run back to the store at the last minute.