Like most people who have spent at least half their lives working and building a career, you fancy detaching from your busy and monotonous lifestyle. And sometimes, a weekend getaway isn’t enough to restore your enthusiasm and vitality for work.
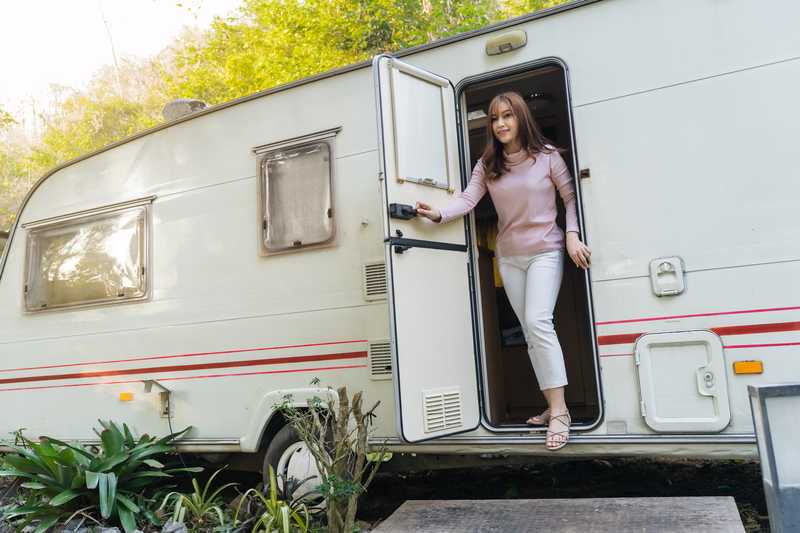
You need more time off, although traveling to the countryside and staying in a hotel for more than a week can be costly. But why book a hotel if you can camp out in a recreational vehicle?
Yep, an RV is a much better investment. It has all the amenities you’ll find in a hotel—a king bed, a fully furnished shower, a sizable residential oven, and more. The difference is that you own the RV, which can take you anywhere you like.
The upfront cost is understandably high, but your investment will pay off big-time as you travel. There’s nothing more relaxing than knowing you can travel to remote hidden gems without worrying about a cozy place to eat, take a bath, and sleep.
One exciting thing about RVs is that many of their amenities are designed for convenience and efficiency. For example, most modern RV beds are Murphy beds, allowing you to maximize the bedroom. Fridges are also dual-fuel, with propane gas as the primary fuel since electricity is a luxury.
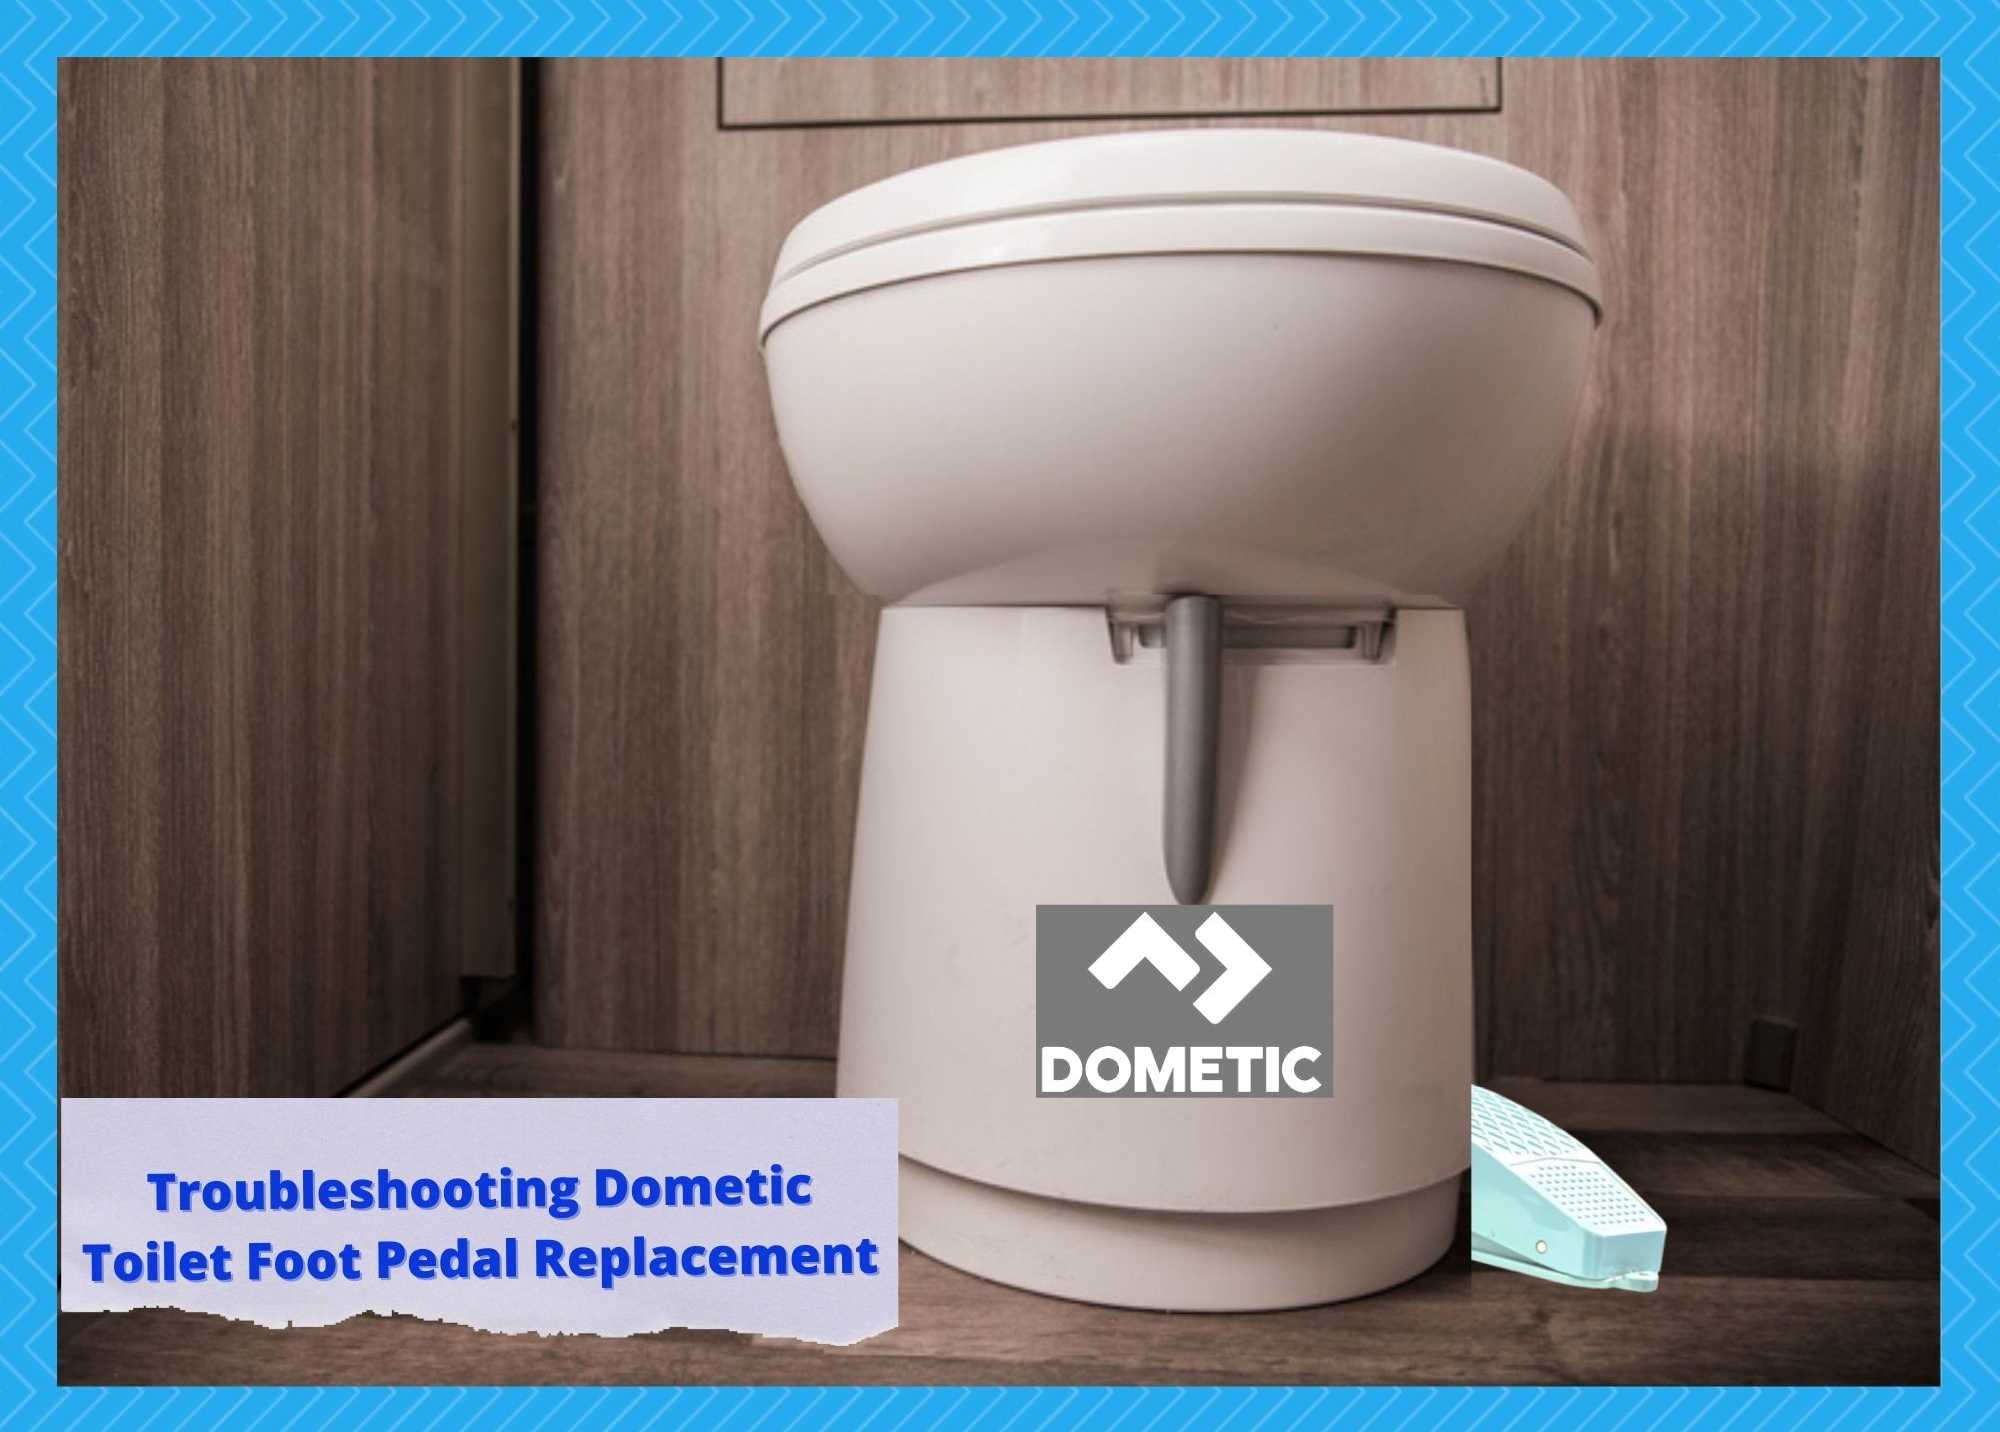
In addition, there are plenty of multi-functional furniture pieces you won’t usually find in a traditional house. One that will surely leave an impression is the toilet with a foot pedal. That’s not something you see every day.
What is a toilet foot pedal?
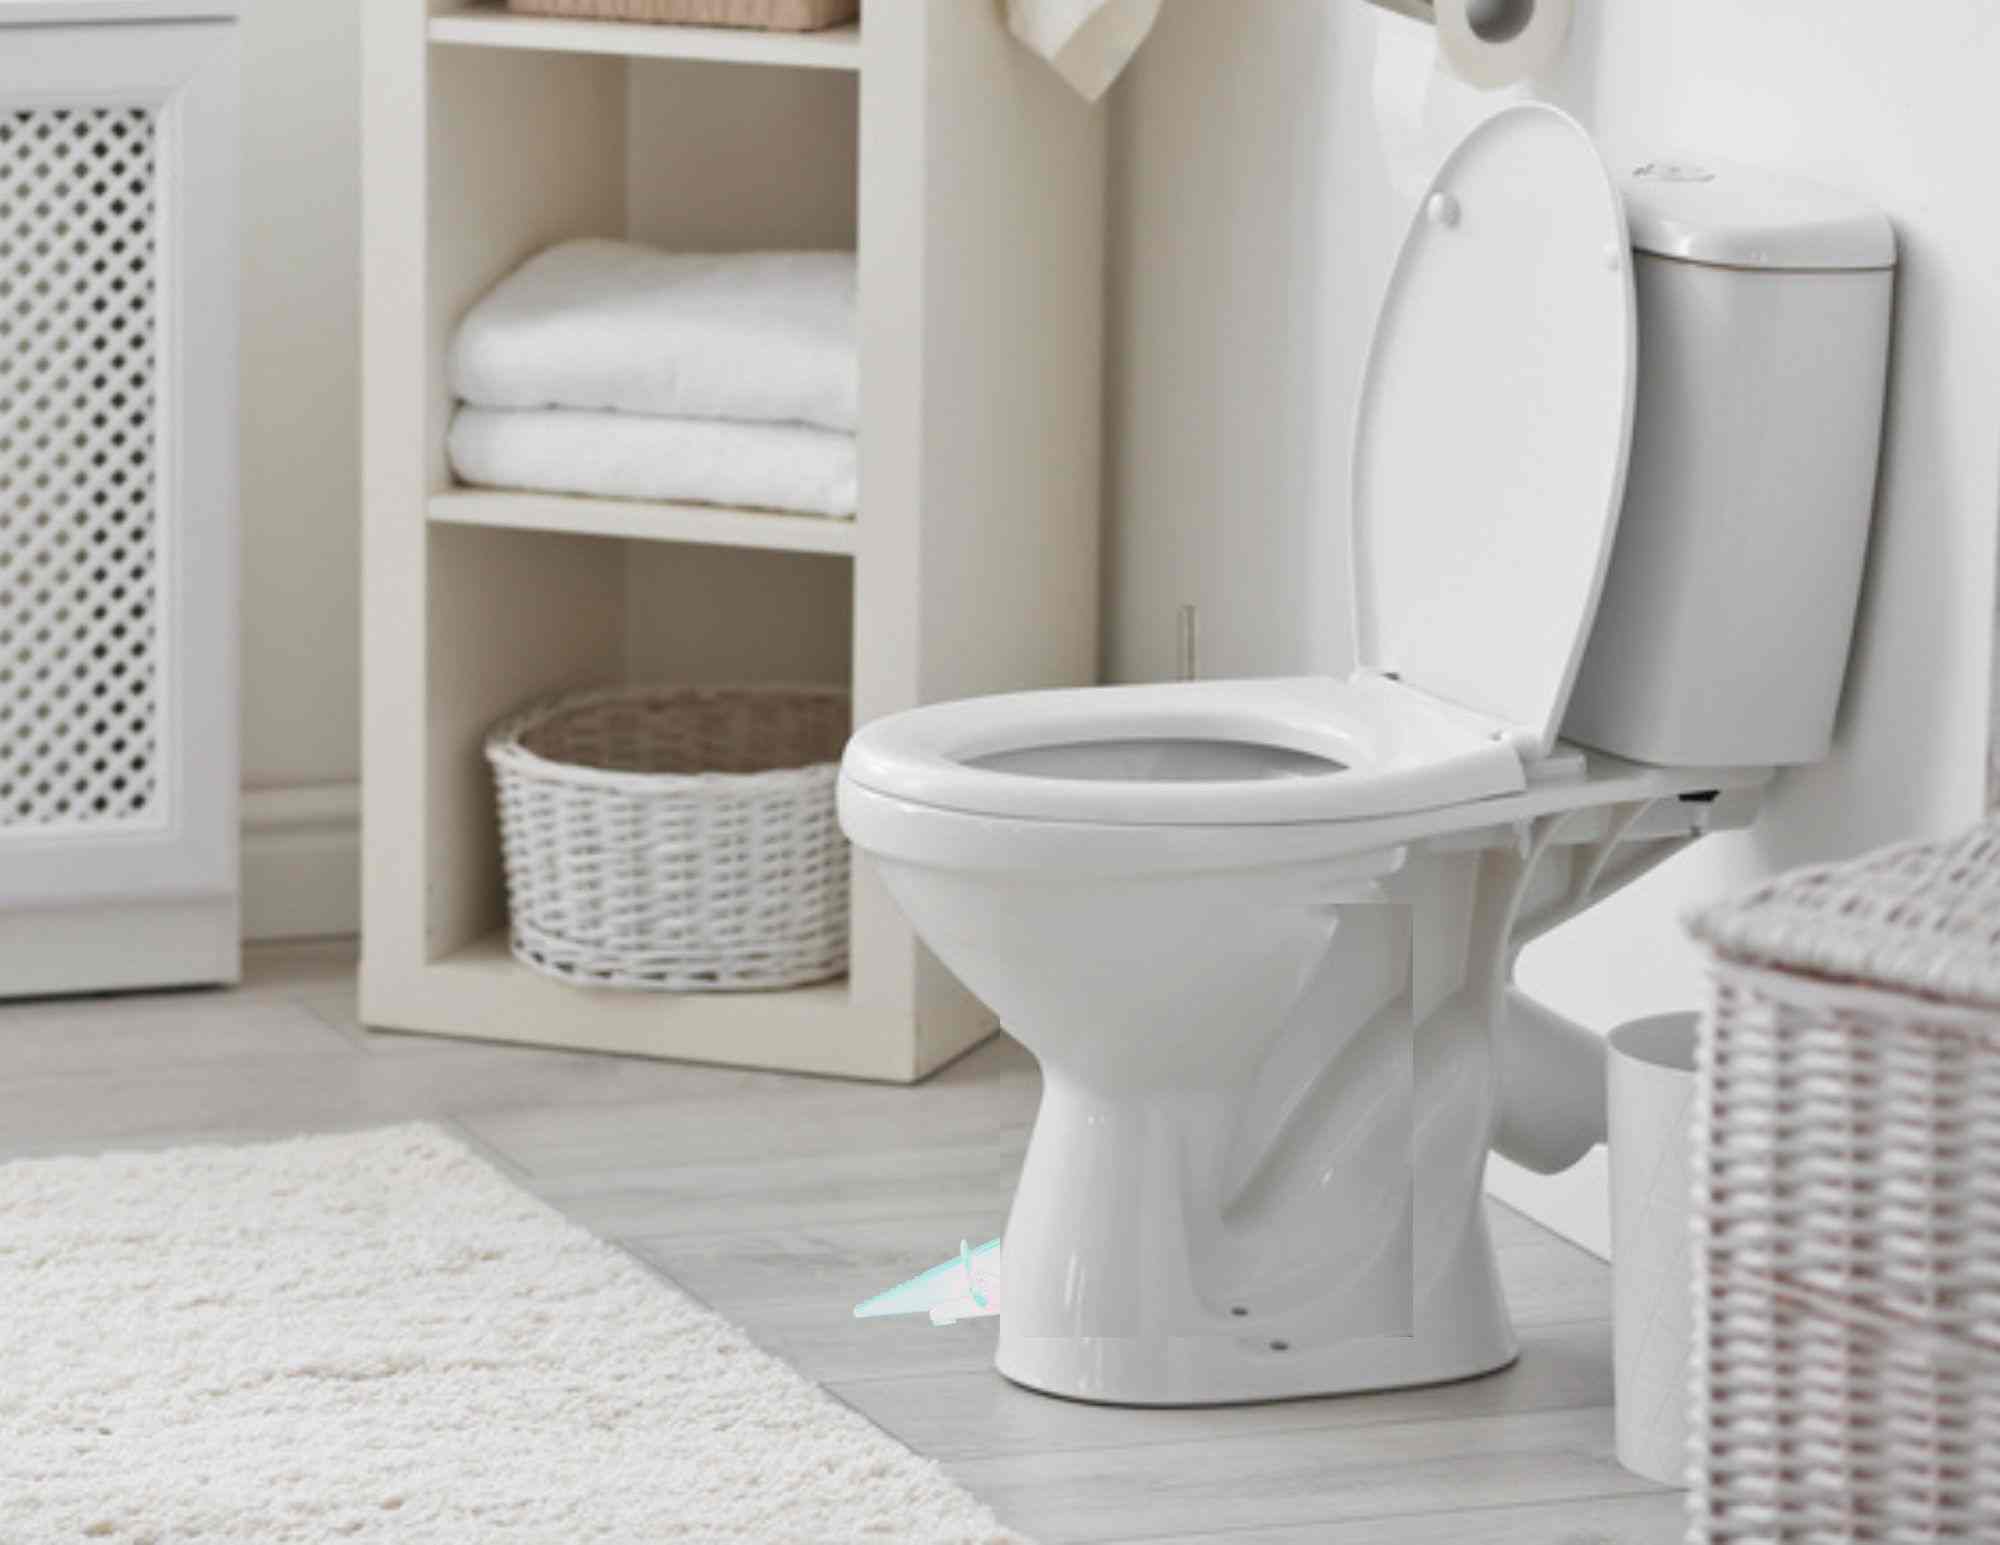
You’ve probably seen one in a public restroom where users are hesitant to touch the flush handle. It’s a device that allows you to flush the toilet with your foot instead of your hand.
Most people flush the toilet with their feet when using a public restroom anyway. It’s typically on the side of the toilet bowl near the front for easy access. Apart from the assurance of keeping your hands germ-free, a toilet foot pedal has other benefits.
For one, it’s more convenient to use than the traditional handle, which is typically on the side of the flush tank. You don’t have to bend over and reach for it. Instead, you can step on the pedal while standing safely from the bowl.
The pedal also adds style and sophistication to your entire bathroom because where else can you find a toilet with a flush pedal, right? Also, it’s more durable than a traditional flush handle, which is often the first to become out of order in a restroom.
How does a toilet foot pedal work?
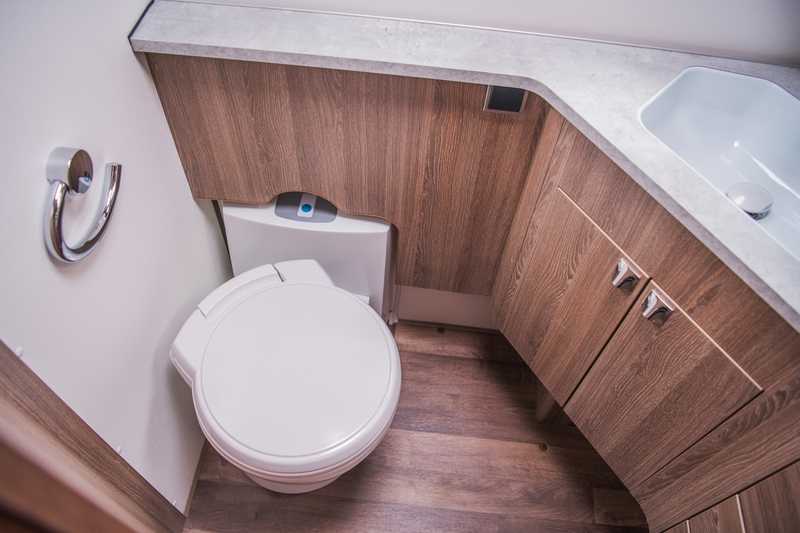
A toilet foot pedal works the same way as a flush handle. But since it’s a little far from the flush tank, the assembly is slightly different. It consists of several components, each critical to the device’s overall performance and longevity.
The two main components are the flush valve (a mechanism that releases water from the tank to the bowl) and the pedal (the one you step on).
The flush valve and the pedal are linked by a rod or cable, which allows you to regulate the valve. While the components of this assembly are durable, they need to be secured to the bowl and the floor.
They must be strong enough to resist the force exerted by a slapdash user. It even has a housing that covers the interior structure and makes stepping more comfortable.
Why choose the Dometic toilet foot pedal?

Ask an experienced yacht or RV owner if they know about Dometic, and they’ll say yes. This outdoor recreation solutions provider has been around for so long—helping to innovate RVs and watercraft—that no technicians and dealerships are oblivious of it.
It manufactures various products, from refrigerators and air conditioners to cooking equipment and sanitation systems. Of course, it also provides toilets with foot pedals.
Toilets with foot pedals have been used in RVs for decades. It’s nothing new. And because of that, many manufacturers have come out and competed with Dometic in making top-of-the-range toilet foot pedals.
But the brand has been contributing to the RV community since 1922, so it remains undisputedly the best in terms of quality and durability.
When to replace your Dometic toilet foot pedal?

While Dometic products are proven durable, they don’t last forever. Your Dometic toilet foot pedal will go kaput at some point, and when it does, you should know whether replacement is necessary. Below are some indicators that your toilet needs a new foot pedal.
It’s hard to flush – When you step on the pedal and feel an unusual resistance, it could mean two things: an obstruction makes the pedal stiff, or a component inside has snapped. If it’s something beyond repair, consider a replacement.
Water is coming out of the pedal – The foot pedal is the last place you’d expect to find a leak. Water from the flush tank must have dripped through the linkage and into the pedal. Depending on the source of the leak, you should replace either the valve or the pedal.
The pedal makes an unusual noise – Is your foot pedal squeaky, or does it create a grinding noise? That’s a sign that the wear has gotten the better of the pedal. Try tightening loose connectors or components, but if the sound doesn’t go away, the best remedy is to replace the pedal.
The water in the bowl isn’t dropping – If there’s enough water pressure in the tank yet not enough water is getting into the bowl, the pedal must be faulty. It’s not pulling the valve strong enough to release more water.
Troubleshooting Dometic Toilet Foot Pedal Replacement
You probably won’t need these tips if you’ve just recently bought your RV unless you accidentally broke your toilet. But these tips may come in handy if you’ve had your RV, particularly your Dometic toilet, for several years.
That’s because, like any other equipment, your Dometic toilet, along with its foot pedal, wears out over time. And when the signs of aging kick in, you should start saving for a replacement. The following is a step-by-step guide on how to replace your Dometic toilet foot pedal.
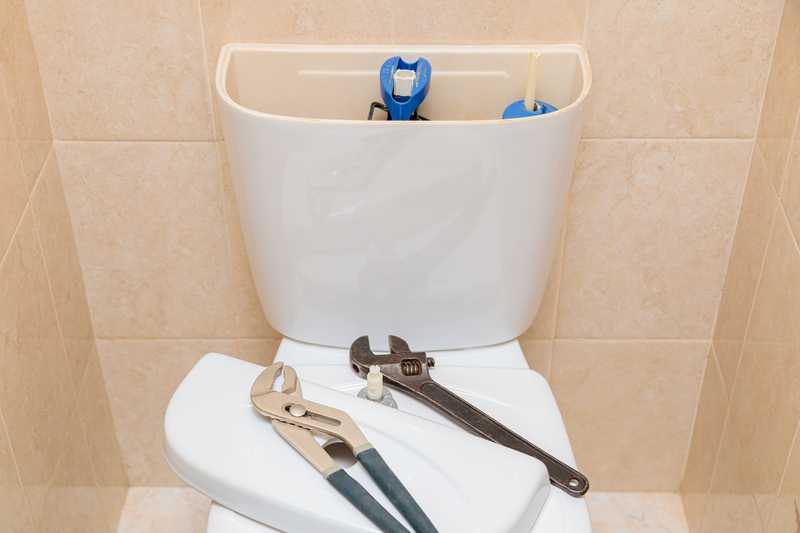
Step 1: Prepare the tools and materials you need.
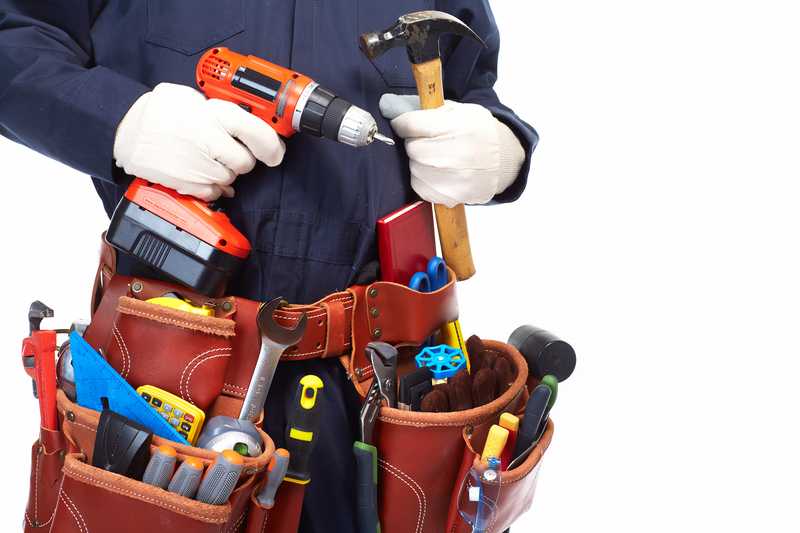
You’ll need screwdrivers and wrenches to remove the old foot pedal. It’s typically secured with screws, nuts, and bolts. You’ll probably need pliers, too.
Finally, don’t forget your new Dometic toilet foot pedal. You can purchase one directly from Dometic, your local depot, or online stores like Amazon. Note that sometimes, aftermarket products are even better and cheaper.
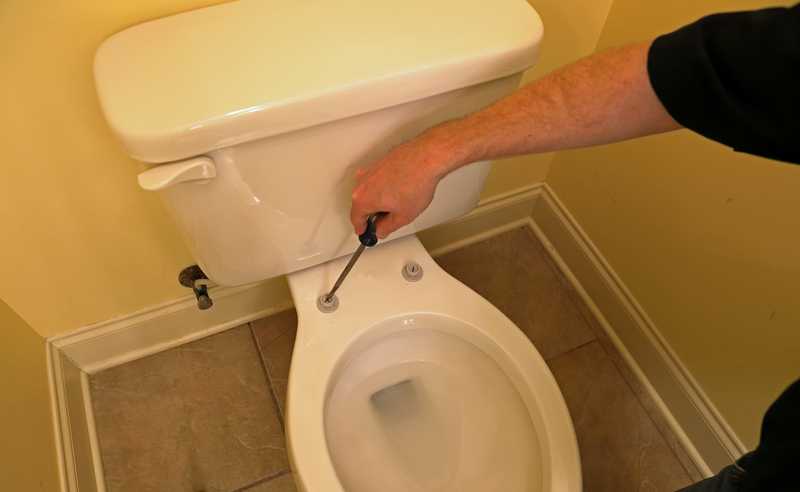
Step 2: Shut off the water supply.
Turning off the source of whatever resources you’re dealing with should be a no-brainer when doing any repair. In the case of the toilet foot pedal, there should be no water in the tank that can spill over your work area and wet your tools.
A shutoff valve behind the toilet can prevent water from filling the tank.
Step 3: Remove the old foot pedal.
Your old foot pedal is secured to the floor and bowl with screws. Use a screwdriver to remove the screws. If they are hard to turn, don’t force them because you might tear the cross drive apart.
When the drive is gone, and the screw hasn’t turned, removing the screw with a traditional screwdriver will be hard. You’ll need a different approach involving a new set of tools, such as a Dremel or rotary tool. You may need an electric screwdriver.
Step 4: Disconnect the linkage.
Remember the cable or rod connecting the foot pedal to the flush valve? That’s the linkage. You can disconnect it using a pair of pliers. But be mindful of your strength as you twist and pull. You don’t want to damage the main assembly where you’ll install the new foot pedal.
Step 5: Install the new foot pedal.
Unpack the new pedal and lay it down in the area where you’ll install it to work its orientation. You don’t want to screw it and realize halfway it’s placed the wrong way.
Then, before you install the new unit, clean the area first so you won’t have to clean it earlier than scheduled. The product will come with new screws, so use them, not the old ones.
Step 6: Connect the linkage.
When you remove the linkage to take out the old foot pedal, you should note the process, as you will do it in reverse to put back the linkage. Use the pliers to tighten all connections. You want your new foot pedal to operate smoothly and without loose fasteners.
Step 7: Test the new foot pedal and adjust the water pressure.
Don’t keep your tools until you’re confident the new foot pedal is working fine. You may need them to tighten screws or, worse yet, to redo the installation because of a significant mistake.
So, test it first by turning on the water supply and flushing. Then, adjust the water pressure to match your preference if you think it is too much.
Conclusion
This simple guide can help even inexperienced RV owners handle flushing problems. You must invest in the correct repair tools and equipment to make repairs and installations easier.
If the issue is more than you can take, don’t hesitate to call Dometic. You can also consider hiring a technician nearby, or whichever course of action saves time and money.
