Climbing Send Pyramid Calculator
Estimate how many supporting sends you need below a goal grade, how close your current pyramid is, and whether your planned sessions can close the gap.
Count clean sends only. For routes, use successful redpoints or onsights; for boulders, use completed problems at the grade.
Send Pyramid Results
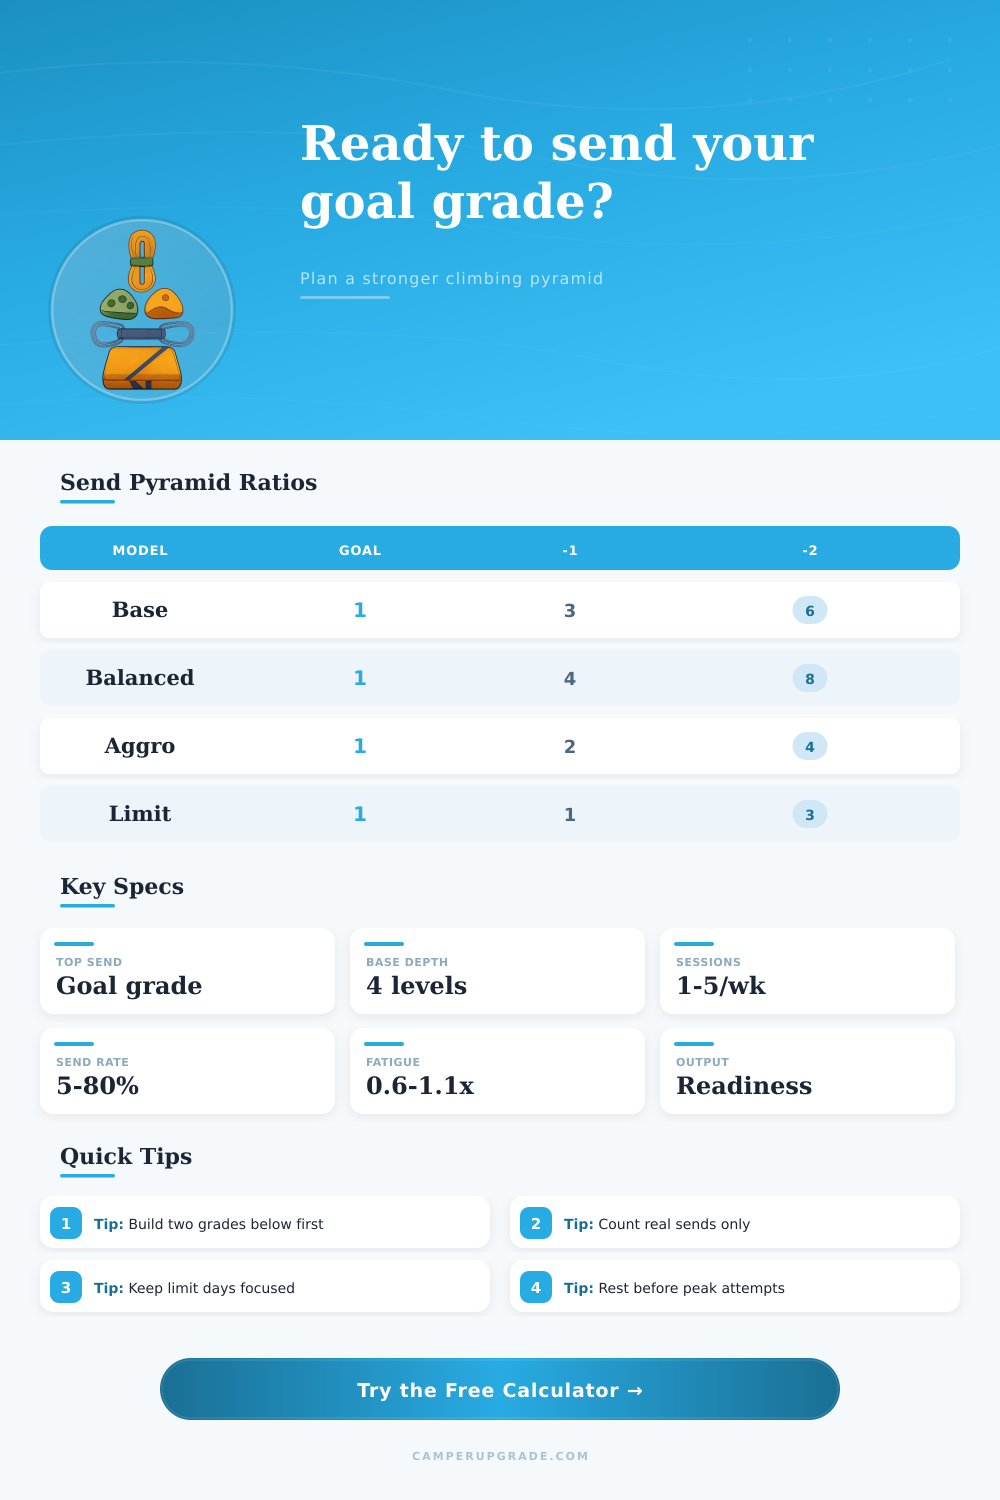
| Model | Best Use | Goal | -1 Grade | -2 Grades | -3 Grades | -4 Grades |
|---|---|---|---|---|---|---|
| Wide base | New grade or outdoor season | 1 | 5 | 10 | 16 | 24 |
| Balanced | Reliable redpoint progression | 1 | 4 | 8 | 12 | 18 |
| Aggressive | Short performance block | 1 | 2 | 4 | 7 | 10 |
| Limit project | Hard project with known base | 1 | 1 | 3 | 5 | 8 |
| Comeback | Returning after time off | 1 | 6 | 12 | 18 | 26 |
| Index | Boulder | YDS Route | Typical Role | Use In Pyramid |
|---|---|---|---|---|
| 3 | V3 | 5.10a | Technique base | Volume grade |
| 5 | V5 | 5.11b | Strength bridge | Support grade |
| 7 | V7 | 5.12a | Redpoint grade | Goal grade |
| 9 | V9 | 5.13a | Limit grade | Peak attempt |
| 11 | V11 | 5.14a | Elite range | Long cycle |
| Session Type | Quality Attempts | Expected Send Rate | Best Pyramid Level | Load Note |
|---|---|---|---|---|
| Easy mileage | 12-25 | 50-80% | -3 to -4 | Build base |
| Flash practice | 8-16 | 35-60% | -1 to -3 | Efficient |
| Redpoint day | 4-10 | 15-40% | Goal to -1 | Focused |
| Limit boulder | 3-8 | 5-25% | Goal | High rest |
| Deload | 4-12 | 30-70% | -2 to -4 | Low strain |
| Style | Readiness Weight | Why It Changes | Planning Bias |
|---|---|---|---|
| Bouldering | 1.00x | Grade steps are compact | Power and attempts |
| Sport routes | 0.95x | Endurance and tactics matter | More -1 volume |
| Trad routes | 0.88x | Risk, gear, and terrain add load | Wider base |
| Mixed climbing | 0.92x | Different styles transfer unevenly | Keep variety |
That space between sending and touching makes you frustrated. On an easier project, you’re able to warm up and string together moves, but then something goes wrong when it realy counts. Often this has nothing to do with strength; it’s a structural issue. Climbers fail to see their training as climbing a pyramid, not solving a list of problems.
Once you input your current sends and session volume into the calculator above, it’ll do the math for you. You will no longer have to guess whether or not you has a broad enough base to hold the peak.
How to Build a Strong Base for Climbing
Here’s how it works: It boils down to one simple concept that many climbers forget. To succeed on a hard grade you need to have sent an easier grade multiple times. That’s like trying to build a roof without walls. You must give the tool all your current sends over four or five lower grades different than what you are looking to accomplish. Your attempts on those lower grade will create the necessary physical and neurological stamina for harder pushes.
If you’re climbing three times a week, this can help you figure out whether that amount is enough. This helps you visualize any holes in your pyramid within the time frame you’ve allotted yourself. It can also take that vague sense of being weak and turn it into actual send goals.
Most folks don’t realize that the model they choose makes a huge difference. If you’re sending in a consistent fashion, your performance pyramid should be well-balanced (red) with a gradual ramp-up in sends leading up to your goal. This model is great for established outdoor crags and gym climbing, where you’ll have lots of options.
If you want something more aggressive, then the numbers gets sliced way back. That’s because this approach assumes more intense climbing per session. There are fewer “supporting” sends. It is perfect for a short period of time when training for a specific competition block. It is not so great for long-term redpoint projects where you’ll probably burn yourself out. The chart on the page does a good job explaining this, you can see how the approach changes needed volume.
That’s when it gets real: recovery. Having max strength doesn’t matter much if your nervous system is toast and your send rate plummets to near-zero. Because climbing with stress or soreness sucks, there’s a fatigue multiplier on the tool. If your life has been high-stress and/or you’ve had a busy week, set this value lower. Your training capacity will be reduced accordingly, and you’ll need to accept that rest days are part of the build. Otherwise, you’re going to overtrain. Overtraining is simply undertraining with more pain.
What you expect the send rate to be also influence the plan. If you’re expecting to send thirty percent of what you try, then the calculator accounts for that in your capacity. It’s honest. And as a beginner, we all tend to believe we’ll send most everything at our new grade when we finally get there. But vets know different. That changes the numbers.
It shows you just how long it’s going to really take before you close the gap between your current ability and your goal. Take out the overly positive thinking from your training log. You get a readiness score for final output. It is not a guarantee, but an estimate of probability based off how strong your base is.
If your readiness score is high, that’s good; it’s like having all the pieces of your pyramid put together. And it means your nervous system has been freshly conditioned to take the intensity. If your score is low, that’s because you have more rest to do or more mileage to rack up. Mostly, the trick is knowing what is realy being measured.
Moving up in grade is one thing. But having the volume to back that grade when it matters is something else entirely. Easy moves are boring, so a lot of people skip them. Pump. Hard move. Beta. But the more you send easy stuff the more you lay down patterns that help you climb efficienty when you’re fatigued. When you’re pumped out on a 5.12 or a V8 it’s your body reverting to whatever is most ingrained in it. And if what’s ingrained isn’t good, then you fall. The wider base you have, the better your technique will hold up while you’re tired.
So go ahead, look through that last training log of yours. See any gaps in the structure? Too much up top, not enough below? The calculator allows you to see the gap. It puts abstract progress into real form. And no, you don’t have to be an elite athlete to use it. You simply need to be honest with yourself about where you are right now and where you’d like to be down the road.
Rock climbing is as much mental architecture as it is physical exertion. If you build the pyramid before attempting the climb, you’ll spend more time clipping chains, rather than staring at holds. The math doesn’t lie. When your body’s right for it, neither does it. Fill in the gaps. Begin from the bottom. Let the strength rise naturaly to match the goal.