Camper Wall Stud Spacing Calculator
Lay out camper wall studs, panel seams, openings, doubled ends, top and bottom plates, and board lengths from one framing plan.
🚙 Camper Wall Presets
📏 Wall Layout Inputs
Stud counts are layout estimates for camper interior framing, furring, and panel backing. Confirm every opening, rib, wire chase, and cabinet anchor against the actual vehicle before cutting.
Formula Breakdown
🧰 Spec and Material Comparison Grid
📚 Reference Tables
| Stud Spacing | Typical Camper Use | Approx Studs Per 8 ft Wall | Layout Note |
|---|---|---|---|
| 8 to 12 in on center | Cabinet anchors, bunks, galley walls, heavy fixtures | 9 to 13 studs | Good for screw holding and short panel spans |
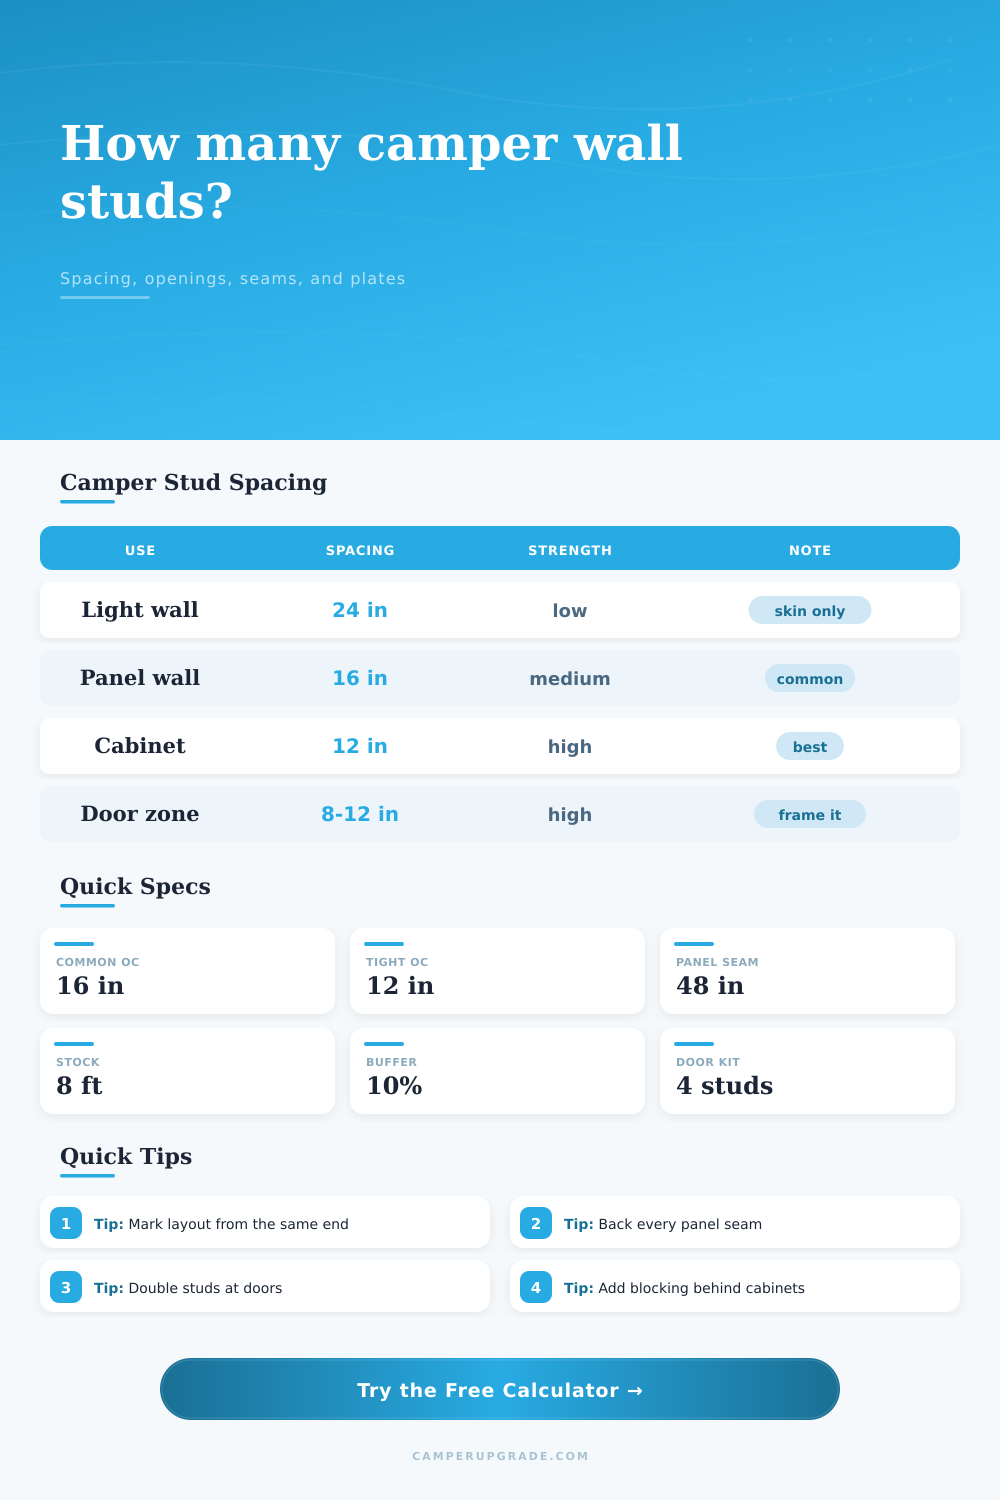
| 16 in on center | General plywood, composite panels, or interior wall skin | 7 studs | Common balance of support and material use |
| 20 in on center | Lightweight panel builds where ribs limit layout | 6 studs | Check panel stiffness before using large spans |
| 24 in on center | Light trim panels, non-structural partitions, low load walls | 5 studs | Add blocking where hardware or shelves attach |
| Stud Material | Actual Face Width | Best Camper Use | Planning Caution |
|---|---|---|---|
| 1x2 pine or poplar strip | 0.75 in | Light furring, panel edges, ceiling curves | Predrill near ends to reduce splitting |
| 2x2 lumber or ripped plywood | 1.5 in | General camper wall studs and partitions | Use straight stock and seal hidden faces |
| 2x3 lumber | 2.5 in | Door returns, bed supports, tall partitions | Adds depth that can steal interior room |
| 2x4 lumber | 3.5 in | Short high-load anchor zones only | Often too bulky for van wall cavities |
| Aluminum tube rail | varies | Light framing where moisture resistance matters | Isolate dissimilar metals and fasteners |
| Panel or Seam Rule | Common Dimension | Backer Need | Calculation Use |
|---|---|---|---|
| 4 ft sheet edge | 48 in | One stud or backer centered on seam | Adds vertical seam backing at each sheet joint |
| 5 ft wall panel | 60 in | One backer at panel break | Useful for specialty wall panels |
| 8 ft horizontal sheet | 96 in | Backer only where another sheet starts | Common on longer trailer or bus walls |
| Removable access panel | custom | Double backer or wide rail | Gives both panels independent screw edges |
| Opening Type | Typical Added Studs | Skipped Field Studs | Framing Note |
|---|---|---|---|
| Small vent or utility hatch | 2 studs | 0 to 1 | Add side backing around the cutout |
| Camper window | 4 studs | 1 to 2 | King and jack pairs help carry panel edges |
| Side door or wide hatch | 6 studs | 2 to 4 | Use doubled sides plus header support |
| Service panel cluster | 2 to 4 studs | varies | Keep wiring and plumbing chases accessible |
💡 Camper Framing Tips
Build for the walls. Unlike a house wall, an RV wall behave differently. When you attempt to install heavy cabinet on one, you’ll discover it’s not as sturdy as it appears. You might feel as if you’re drilling through solid wood only to find there is nothing behind it; just thin strips of lumber with gaps in between. Because RV walls are thin, they curve and frequently consist of material that doesn’t accept pins very well. That screw turns loose, and your cabinet droop. The calculator above does this math for you, but knowing why it matters save your butt on the project.
Sixteen inches on center is what you’ll find everywhere: Standard home construction. And that makes sense when building a stationary structure. The walls is flat. But a camper isn’t flat. A camper vibrate as it drives, bows in the middle and curves around its corners. Without putting some thought into it if you follow the standard spacing, you’ll have nothing but air where your seams land.
Why RV Wall Studs Are Different
Support your camper’s skin where it counts. On a galley kitchen, frame it twelve-inches apart, it provide enough surface area for your cabinetry to be nailed down. Plus, the supports aren’t so far apart that the thin composite panels or plywood sag over time. That stiffness is difficult to retrofit after the fact.
Let’s talk about seams, specifically the ones in your wall panels. Standard sheets of insulation board and even plywood are made in common widths, sometimes as long as 48″ or longer. Where one sheet ends and another begins require backing. With random-stud spacing, the seam falls somewhere between two stud. That means cutting into the completed wall to provide backing. Not fun. Plan your layout so that those seams coincide with the intervals where you’ll place your studs. The screw securing your panel always has wood behind it. It’s not earth-shattering, but it help create a structurally sound wall. The table on the page shows this in detail; it explain how the studs line up with the need for backing at seams.
Then it changes with openings. The rhythm of your wall is broken by that door or window. You don’t simply take out the studs and leave an opening. You have king studs, jack studs, maybe doubled end studs to get the load through the hole. The tool also accounts for the extra lumber used to frame the door area. Assuming you’ll want four or six more studs based off size, it adds them. It make the wall rigid. Otherwise the opening could rattle and stretch over time. This can happen from thousands of miles of road vibration.
The other thing to consider is material. A 1 by 2 is lighter than a 2 by 3 but doesn’t hold screws as well. And of course, the 2 by 3 is stronger and deeper but consume more interior volume. If you’re working on a small camper, every half-inch matter. The calculator allows you to select from these standard options and get an idea of how much lumber (really) you’ll require. It includes a cushion for wastage as well. Van building with lumber is harsh, especially in tight spaces. You are going to go wrong. You are going to cut into a wire chase or a rib and have to rip the board out. Having that extra 10% in there mean no running off to buy lumber at the hardware store in the rain in the middle of your project.
Marking out your layout from one end to the other is the key. Begin in the corner and go across. Don’t switch direction mid-way because then your spacing will be lopsided. The wall will look uneven, with seams drifting off center. This is a long, tedious step but it’s the groundwork for everything that comes after it. After the studs are up, you can install belt pieces and/or shelving blocks. Horizontal pieces connects the otherwise loose assembly of vertical studs. It goes from feeling like a rickety set of pegs to feeling solid and rigid.
There is no getting around building a camper: it’s a matter of compromise. Light? Strong? Holds your stuff? Stud spacing is the balancing act that makes all three happen. When you finally screw down that cabinet, it will stay put because you could of got it right.