Camper Furring Strip Count Calculator
Estimate furring strip runs, stock boards, fasteners, board feet, and waste for camper van walls, ceilings, floors, and cabinet backing.
📌 Camper layout presets
📐 Furring strip inputs
Furring strip estimate
🧱 Material and profile grid
📋 Furring material reference
| Material profile | Actual section | Weight per linear ft | Best camper use |
|---|---|---|---|
| 1x2 kiln dried pine | 0.75 x 1.5 in | 0.20 lb | Walls and ceilings |
| 1x3 kiln dried pine | 0.75 x 2.5 in | 0.34 lb | Panel seams and backers |
| 1x2 cedar | 0.75 x 1.5 in | 0.18 lb | Light damp-prone trim zones |
| 1x2 poplar | 0.75 x 1.5 in | 0.23 lb | Straight cabinet backing |
| 3/4 in plywood rip | 0.75 x 1.5 in | 0.21 lb | Custom widths and curves |
| PVC composite furring | 0.75 x 1.5 in | 0.28 lb | Wet gear and door areas |
| Aluminum hat channel | 0.75 x 1.25 in | 0.16 lb | Thin, light ceiling grids |
| Galvanized steel hat channel | 0.75 x 1.25 in | 0.42 lb | High fastener grip zones |
📏 Spacing count table
| Spaced dimension | 8 in spacing | 12 in spacing | 16 in spacing |
|---|---|---|---|
| 4 ft door panel | 7 rows | 5 rows | 4 rows |
| 8 ft short camper bay | 13 rows | 9 rows | 7 rows |
| 10 ft mid van bay | 16 rows | 11 rows | 8 rows |
| 12 ft long van bay | 19 rows | 13 rows | 10 rows |
| 14 ft extended bay | 22 rows | 15 rows | 11 rows |
🛠 Stock board conversion table
| Stock length | Boards per 50 ft | Boards per 100 ft | Metric length each |
|---|---|---|---|
| 6 ft board | 9 boards | 17 boards | 1.83 m |
| 8 ft board | 7 boards | 13 boards | 2.44 m |
| 10 ft board | 5 boards | 10 boards | 3.05 m |
| 12 ft board | 5 boards | 9 boards | 3.66 m |
🚙 Common camper project sizes
| Project | Typical layout | Installed length | 8 ft boards at 10% |
|---|---|---|---|
| 144 van ceiling | 12 ft x 5.6 ft, 12 in | 72.8 ft | 11 boards |
| Pair of side walls | 10 ft x 4.5 ft, 16 in | 90 ft | 13 boards |
| Floor battens | 11 ft x 5.5 ft, 8 in | 99 ft | 14 boards |
| Rear door panels | 4 ft x 2.2 ft, 12 in, pair | 30.8 ft | 5 boards |
| Cabinet backers | 6 ft x 2.5 ft, 12 in | 25 ft | 4 boards |
💡 Calculation notes
Unless your walls is perfect rectangles, the frame will require some sort of support between them (aka furring strips). The problem is that you never realy know how many strips you’ll actualy need. You tend to either overbuy lumber, which wastes money and make your walls heavier, or underestimate amount and have to run back to hardware store mid-installation. So how do you avoid this? How do you estimate the proper amount of strip?
The Roofing Calculator above will do all this math for you based off your panel layout and roof size, so no more guessing about how many strips to buy, etc. Basically it converts what your roof look like physically to the actual boards you’ll have to buy. So you put in width of your framing area, the distance you want your panels to be apart, and how long each strip should of be (length of run). Then it figures out how many rows of strips you’ll need, including edge for where the panels meet. Then it divides that total by length of a board (whatever length you can find in stores). And it takes into account waste! Most people don’t take this into consideration, they think they can just cut everything perfect and that’s not true since we have curved ceilings and door frame that make it impossible to get a perfect cut.
How to Use the Roofing Calculator
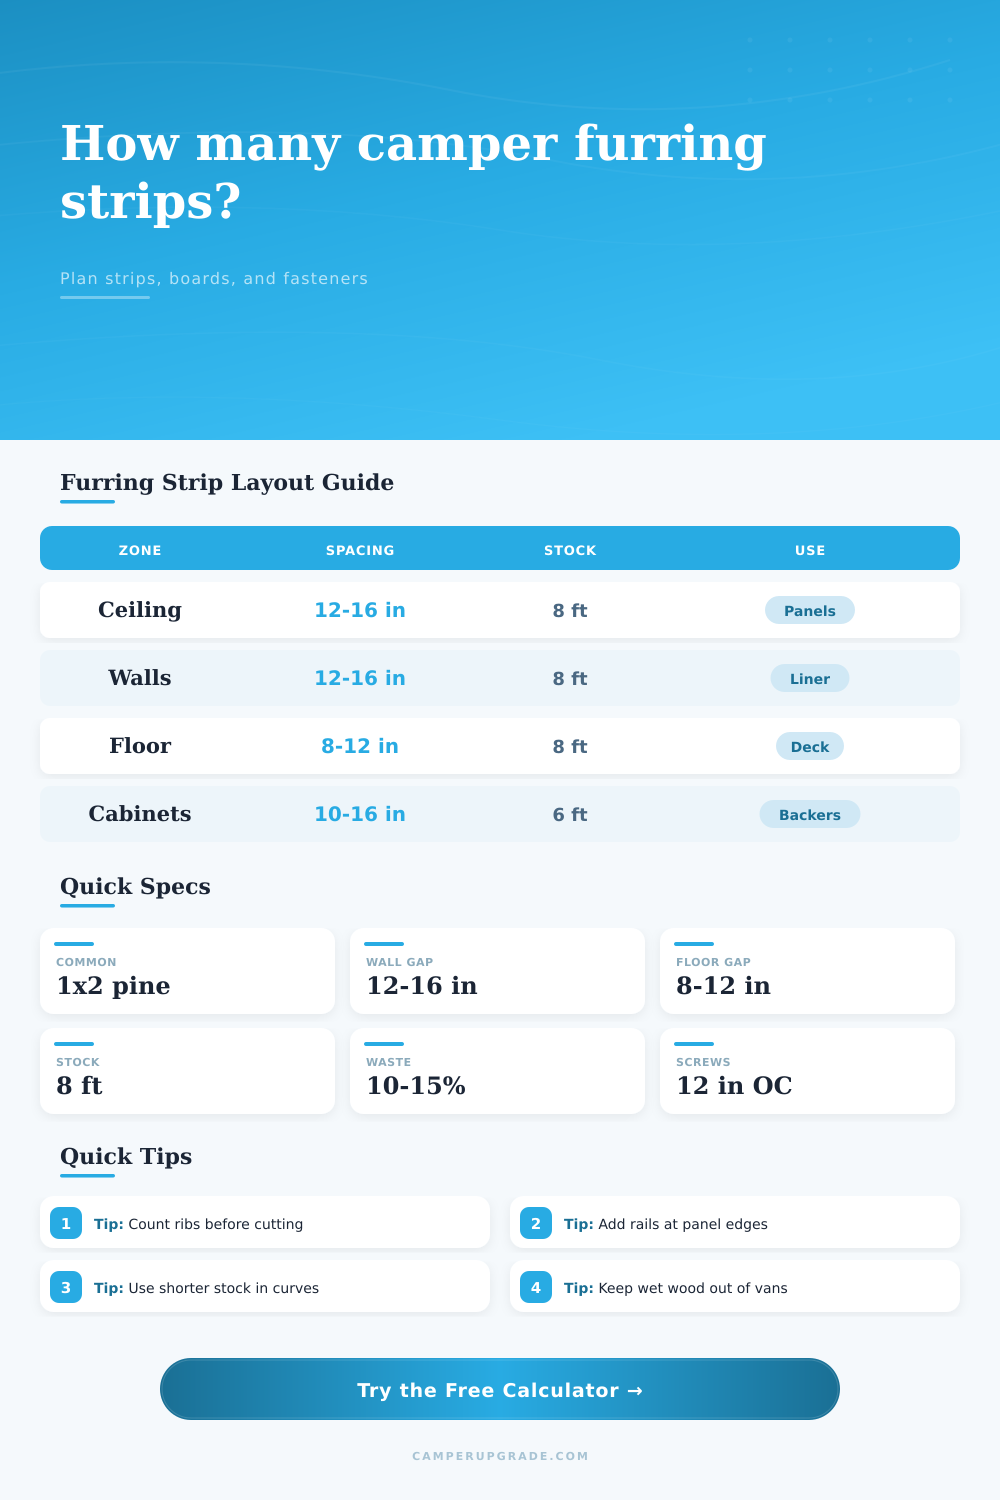
Determining proper spacing is a balance of rigidity and weight. For most applications, twelve inch spacing works well, as this provides sufficient support for panel seams without adding unnecesary bulk. Sixteen inch spacing may be necessary for larger rigs, or if saving weight is important; the result will be softer panels. Spacing tends to be tighter (typically 8-10 inches) on floors where someone walk, and they generally need some kind of backer every foot to avoid sags between ribs. Stick with tighter spacing when applying thinner veneer plywood. The row count chart on the page demonstrates the effect of changing your gap size.
The equation also gets a little tweaked depending on material. For most of what we use inside, standard one by two kiln dried pine is both cheap and light. If you need something more moisture resistant for an outside area such as a porch, cedar or PVC composites would be best but will cost significantly more. You can also get aluminum hat channel which is light yet strong but needs to be fastened different. Regardless of what you choose, the calculator update its weight estimate accordingly so you’ll always know just how many pounds of dead weight you’re adding. That adds up in terms of your vehicle’s handling and fuel economy.
The other thing that’s key: The layout won’t work without edge rails. For each panel you must have strips along the actual outside edge. So if it tells you you’ll need 12 rows across width of the ceiling, then you’ll need one at both ends of that width too. If you check off for edge rails in the calculator it will add those in for you. That way you know your edges of plywood actualy have something solid to screw down into. If not, you’re hoping and praying and trusting drywall screws alone. And that never works out.
And lastly, there is the waste buffer. For straight walls, ten percent is fair game. Complex cabinets and curved ceilings require fifteen to twenty percent. When you drop a strip, you’ll crack some corner, scribe cut around obstacles, and, well, make mistakes. The calculator accounts for that waste in your total (buying eleven boards versus buying ten). And having extra furnitures is always preferable to stopping your project mid-build.
Building the frame isn’t nearly as sexy as seeing the final result, but it’s the skeleton of what you’re building. Get the numbers correct and you can concentrate on assembly. Attaching strips to metal, that’s easy.