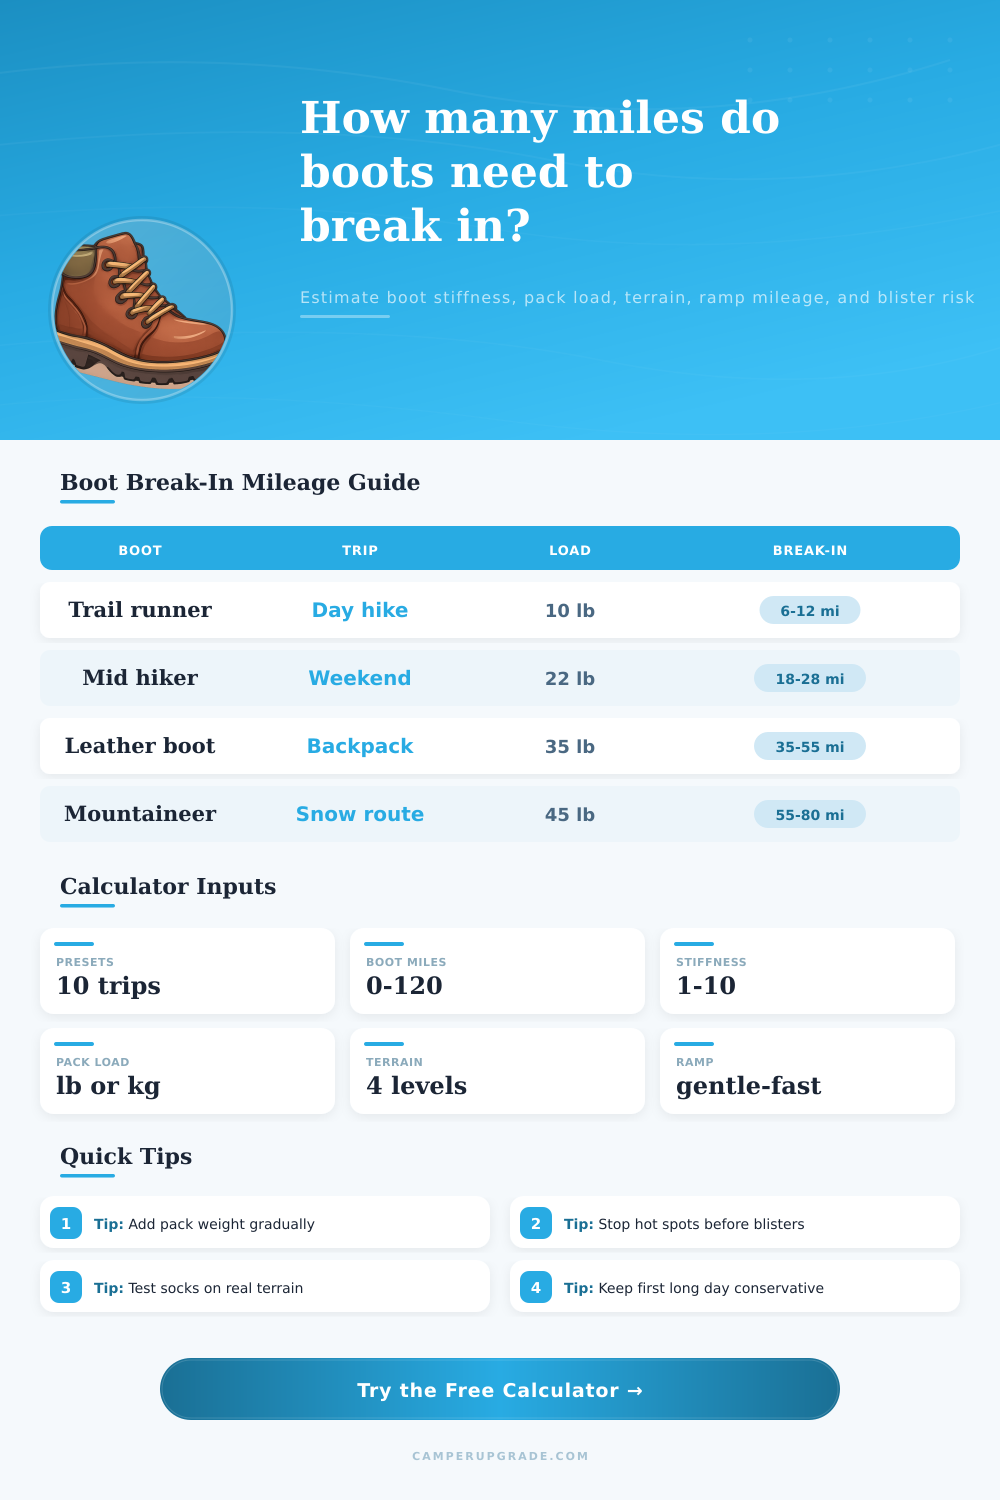
Boot Break-In Mileage Calculator
Estimate how many miles new hiking boots need before a trip, how fast to ramp daily mileage, how pack weight and terrain change the plan, and when blister risk is still too high.
🥾Real Boot and Trip Presets
⚙Boot, Foot, Pack, Terrain, and Ramp Inputs
Formula basis: the calculator estimates total break-in miles from boot type, stiffness, foot sensitivity, pack load, terrain, sock friction, current hot spots, target trip mileage, and trip length. It then subtracts prior miles and builds a daily ramp with rest days.
📐Boot Break-In Spec Grid
📊Boot, Load, Terrain, and Ramp Reference Tables
| Boot Type | Base Miles | Stiffness | Best First Test |
|---|---|---|---|
| Trail runner | 6-14 mi | 1-3 | Short trail loop with trip socks |
| Light mid hiker | 14-28 mi | 3-5 | Two dirt walks, one loaded hill |
| Full backpacking boot | 25-45 mi | 5-7 | Progressive pack and downhill test |
| Heavy leather boot | 35-65 mi | 7-9 | Several mixed-terrain sessions |
| Mountaineering boot | 50-80 mi | 8-10 | Short climbs plus snow or scree practice |
| Pack Load | Model Add | Break-In Use | Watch Item |
|---|---|---|---|
| 0-10 lb | 0% | First easy walks | Heel slip and arch pressure |
| 11-25 lb | 6-12% | Day hike and weekend kit | Downhill toe bang |
| 26-40 lb | 12-24% | Backpacking load | Forefoot width and ankle rub |
| 41-55 lb | 24-33% | Winter or water haul | Heel lift under fatigue |
| 56 lb+ | 33%+ | Expedition practice only | Long rest and conservative ramp |
| Terrain | Factor | Pressure Pattern | Good Test |
|---|---|---|---|
| Pavement | 1.00x | Repetitive heel and forefoot | Short evening walks |
| Smooth dirt | 1.08x | Natural flex and small stones | Rolling trail loop |
| Mixed trail | 1.20x | Side load and foot twist | Roots, rocks, and small climbs |
| Steep rocky | 1.35x | Toe box, heel lock, ankle collar | Short uphill and downhill repeats |
| Ramp Style | Start | Increase | Use When |
|---|---|---|---|
| Gentle | 1.5-2.5 mi | 35% each walk | New leather, sensitive feet, hard trip |
| Normal | 2-4 mi | 55% each walk | Most hiking boots and day hikers |
| Quick | 3-5 mi | 75% each walk | Soft boots, tough feet, short schedule |
| Reset | 1-2 mi | No increase | Hot spot appears or lace pressure hurts |
💡Two Practical Break-In Tips
New boots often feel differntly in a store than they do on a trail. In a store, the leather will typically be stiff, and the boots will have rigid sole. But these features of boots can often cause problem on a trail.
For instance, if someone puts boots on and experience an area of discomfort on the heel or arch of the foot, they may begin to limp while wearing the boots. One way of avoiding these problem is to employ a break in plan for the boots. There are a few reason that it is important to break in boots.
How to Break In Your Boots and Avoid Blisters
For instance, boots often do not become softer with time when a person wears them. Additionally, boots are not typically designed to accommodate the way that a person’s foot move when they are carrying their sleeping and hiking gear. For these reasons, a person’s boots may feel good while on pavement, but may not feel good on a trail with rocky area that they are forced to climb on while they are carrying a twenty-five pound sleeping pack.
The weight of the sleeping gear cause friction on the boot and the foot, leading to hot spots that cause discomfort. A calculator is provided on the page that can use a series of variable regarding the type of boot, the stiffness of the boot, the amount of gear that is to be carried, the type of terrain that will be encountered, the sensitivity of the person’s feet, and the number of days that they have before their trip to calculate the number of miles that they should travel during each day of their trip. Additionally, this calculator ensure that the suggested distance to travel each day respects both the person’s calendar and there risk tolerance for blisters on their feet.
One of the variables that can be entered into the calculator is the weight of the sleeping gear that the person will carry on the trip. The weight of the sleeping gear may increase the need to break in the boots. For instance, every ten pound of sleeping gear that is added to the sleeping load above that of a light day pack will increase the percentage of the required break-in of the boots by approximately six percent.
Additionally, the type of terrain that will be traveled will also affect the required miles for the boots to break in. For example, terrain that includes roots and rocks will require the boots to flex in different ways than if they were traveling on even dirt paths. Thus, the required miles for the boots to break in on a mixed trail terrain will be greater than for even terrain.
Other variables include the sensitivity of the person’s feet. For instance, if the person decides to use a new system of socks with their boots, there may be additional friction between their foot and the inside of the boot. Thus, this additional variable can impact the risk score that the calculator determines.
Another factor that may be used in the calculator is the number of miles that will be traveled each day. For example, a gentle mileage ramp will suggest that an individual begins to travel with a low number of miles each day and gradually increase that number. However, a quicker mileage ramp will suggest that individuals slowly increase the number of miles that they walk each day.
Additionally, the calculator will ensure that the suggested mileage considers the number of days that the person will have for their trip and how many days they will take to rest their feet. Additionally, the calculator will suggest a limited mileage for the first loaded trip day. The last element of the calculator is the blister risk score.
The blister risk score will include the effect that each of the other variables will have on the risk of blisters that may form on an individual’s feet while they are traveling in these boots. For instance, the blister risk score will be higher if the stiffness of the boots, the amount of gear to be carried, the difficulty of the terrain, the sensitivity of the person’s feet, and the location of any hot spots are increased. Additionally, the risk score will decrease with the number of miles that are traveled in the boots.
A high blister risk score does not indicate that a trip will be impossible, but may indicate that the individual must take certain step to reduce that risk score. Such steps may include reducing the distance of the first day of the trip, treating hot spots, or ensuring that the individual’s lacing and socks will work good with their boots. The reference tables located on the page contain the same information as the calculator.
However, the information is presented in a simpler way. For example, the tables can list the number of miles that are recommended for boots of each category, the additional miles that are required for additional gear weights, and the number of miles that are required due to the terrain factors. These tables can be used to verify the risk score that the calculator calculates, and to more fully understand the factor that impact that risk score.
Each of these factors will have an impact on the number of miles that are required to “break in” the boot. For instance, if a person is utilizing stiffer boots, they will have to travel more miles than an individual with a pair of flexible boots. The same is true of loads of gear and terrain types.
In many case, the plans that the calculator may make will not be followed during a trip. For instance, the weather may change, or the group may change the distance that they wish to travel. However, the loaded shakedown target that the calculator calculates is the miles that will be traveled while utilizing the same types of socks, the same types of insoles, the same type of lacing on the boots, and with the same weight of sleeping gear that will be utilized on the trip.
By following the loaded shakedown suggestion of the calculator, the person will be able to avoid blister issues during the trip. The goal of the calculator is to ensure that the individual arrives at the trail with a boot and foot that have already experience the problems that may arise from their gear.