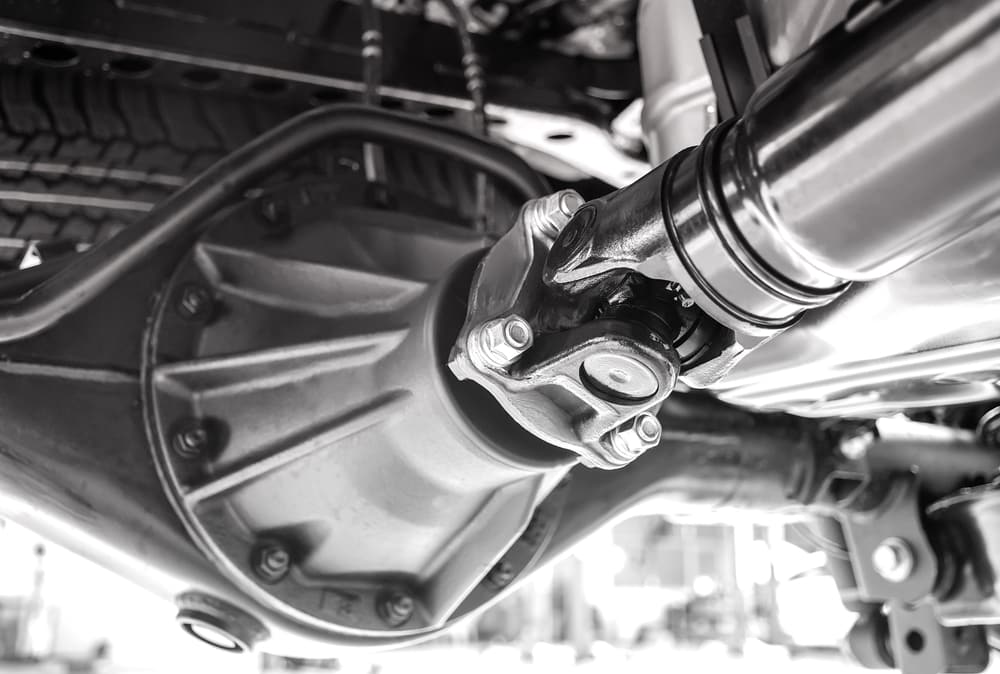
A drive shaft is a crucial part of any vehicle. Its main purpose is to help deliver torque from transmission to differential which is then transmitted directly to the wheels of the vehicle.
In simple words, a drive shaft helps in transferring torque between the different components of the vehicle, which are usually at a distance from each other.
Briefly Discussing the Drive Shaft Disconnect
When about to tow your vehicle, you may have heard of disconnecting the drive shaft beforehand. However, most people often wonder about the purpose behind doing such a thing.
If you consider yourself among these people and want to know all about disconnecting the drive shaft, then you have come to the right place.
Through this article, we will be explaining the reason why it is recommended to disconnect the drive shaft in certain cases. Here is everything to know about it:
Why Do You Disconnect a Drive Shaft?
Whenever you need to tow a rear-wheel drive, pickup, SUV, or van, the drive shaft is disconnected in order to prevent any potential damage to the automatic transmission of the vehicle. However, it isn’t really necessary to disconnect it if you are using a front-wheel drive.
Let’s suppose you are putting your vehicle into a neutral position where releasing the brakes might lead to releasing the mobility of the vehicle. As the shaft is still connected to the drive, this will ultimately cause overheating whenever the vehicle is being towed.
In order to prevent any overheating which could lead to potential damage, it is always recommended to disconnect a drive shaft beforehand.
Some people prefer completely removing the drive shaft. Though doing so will also require sealing off the transmission to avoid any leak of fluid or damage.
How To Disconnect a Drive Shaft?
Although disconnecting a drive shaft isn’t that easy, you can still attempt to do it, provided you have enough mechanical knowledge to proceed. If you do, then following these instructions should help you be able to disconnect the shaft:
- Before you do anything at all, we recommend you start by marking or highlighting the drive shaft. This will help when you return it to the original position.
- The drive shaft is usually put into place using bolts. You will have to remove these bolts manually. Do keep in mind that these bolts will be extremely tight, which is why you will need to have the necessary tools at your disposal, i.e., a 13mm socket wrench.
- Afterward, you will have to remove the drive shaft flange. Using a plastic hammer, we recommend lightly tapping the rear yoke in order to lose the differential flange from the drive shaft. Hold onto the back half of the drive shaft as it should now be free.
- You can now finally proceed to disconnect the drive shaft. Make sure that you put a basin right under the drive shaft which will catch all the dropped fluids. Using both hands, gently slide the drive shaft away from the transmission.
- Ensure that you inspect the U joints once you have towed your vehicle. To properly inspect them, simple hold the yoke and move it around. If you notice any rough movement, you will have to replace these joints.
- To reconnect a drive shaft, we suggest you grease the yoke before gently reinserting it, making sure you don’t damage the seal. You will have to manually place the yoke into its original position.
- After you have installed the yoke, pull your drive shaft back to where it belongs. We recommend checking the markings you made to ensure everything’s at the right place. Now, you can finally install and tighten all your bolts using any torque wrench. To make up for the fluid you lost while removing the shaft, we suggest filling the transmission case with some fluid.
The Bottom Line:
Ever wonder the purpose of disconnecting a drive shaft? We have thoroughly explained the reason as well as the instructions that you will need in order to learn how you can disconnect a drive shaft without damaging any of the important components.
