Camper Exterior Storage Bay Volume Calculator
Estimate outside compartment capacity from bay dimensions, door opening limits, wheel-well intrusion, usable packing space, bins, wet zones, and load rating.
Storage volume breakdown
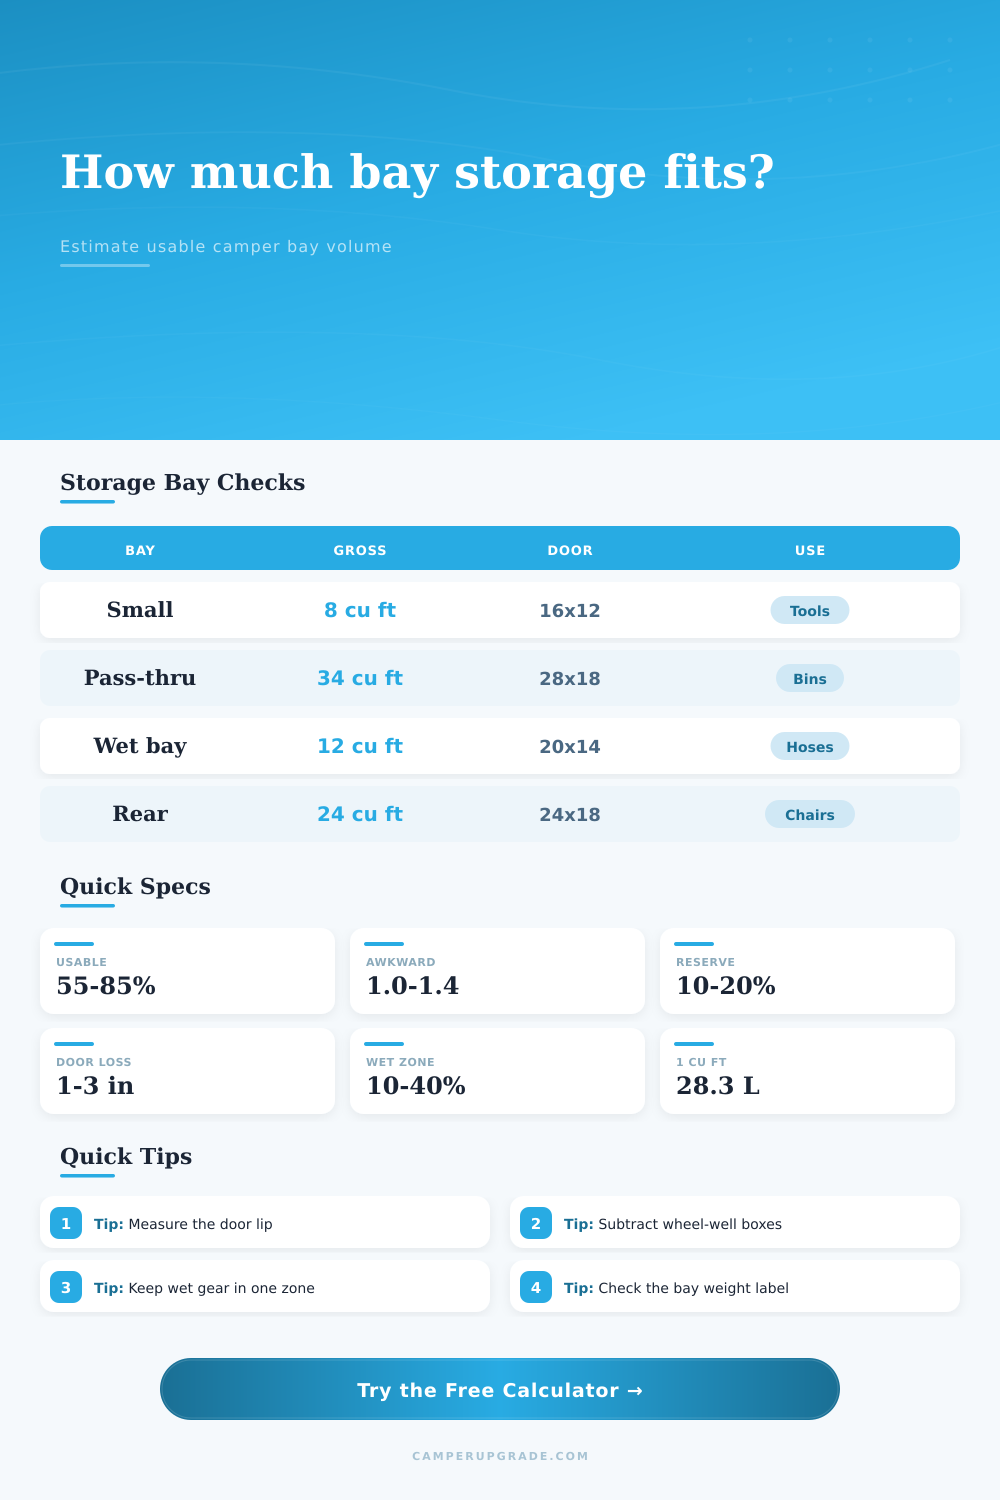
| Preset | Inside bay | Door opening | Typical use |
|---|---|---|---|
| Small utility bay | 34 x 16 x 14 in | 18 x 11 in | Tools and cords |
| Travel trailer pass-through | 72 x 22 x 18 in | 28 x 14 in | Bins and hoses |
| Wet service bay | 42 x 18 x 16 in | 20 x 14 in | Water gear |
| Wheel-well side bay | 54 x 20 x 17 in | 22 x 13 in | Blocks and chocks |
| Rear cargo hatch | 60 x 28 x 20 in | 24 x 18 in | Chairs and mats |
| Class B gear locker | 38 x 19 x 20 in | 19 x 16 in | Recovery gear |
| Fifth-wheel basement | 96 x 32 x 28 in | 34 x 22 in | Large bins |
| Truck camper side box | 46 x 15 x 18 in | 17 x 12 in | Compact gear |
| Overland drawer bay | 44 x 24 x 13 in | 22 x 11 in | Low drawers |
| Bin type | Common size | Minimum door | Fit note |
|---|---|---|---|
| Shoe box bin | 14 x 10 x 6 in | 10 x 6 in | Fits most hatches |
| Half tote | 18 x 12 x 10 in | 12 x 10 in | Good for wet gear |
| 27 gallon tote | 29 x 20 x 15 in | 20 x 15 in | Needs tall opening |
| Low drawer | 36 x 20 x 8 in | 20 x 8 in | Slides under shelves |
| Camp chair bag | 38 x 7 x 7 in | 7 x 7 in | Length inside bay matters |
| Storage condition | Usable percent | Awkward factor | Planning note |
|---|---|---|---|
| Stacked square bins | 80% to 90% | 1.00 to 1.08 | Best volume use |
| Mixed bins and tools | 70% to 82% | 1.08 to 1.18 | Typical camper bay |
| Chairs, mats, hoses | 60% to 75% | 1.18 to 1.30 | Bulky shapes |
| Wet and dry separated | 55% to 75% | 1.15 to 1.35 | Needs divider space |
| Service bay access kept open | 45% to 65% | 1.20 to 1.40 | Leave valves reachable |
| Wet zone share | Dry zone share | Common wet gear | Best separator |
|---|---|---|---|
| 10% | 90% | Gloves and rags | Small lidded bin |
| 20% | 80% | Fresh hose | Clear tote |
| 30% | 70% | Sewer kit | Sealed tote |
| 40% | 60% | Blocks and tarps | Drain mat area |
| 50% | 50% | Wet recovery gear | Dedicated bay half |
The hatch latches and closes with a click, but you know something is wrong as you load coolers, tools and chairs into outside compartments of your camper. The floor feel soft, which means you’ve overloaded the bay. The latch seem tight.
Most folks think these storage spaces are bottomless. In truth, there is only so much space, based off both weight ratings and shape limitations. Center compartment lose even more usable space to wheel wells. Knowing how much you can actualy pack will help you shop smarter (and avoid buying gear that doesn’t fit).
How to Pack Your Camper Storage Bays
First measure the interior of the compartment. How long, how wide, and how high? But more importantly: what’s the bottleneck? Because the hatch may be too narrow to slip a bin in. So measure the clear open area (and then take away thickness of the rubber seal plus the latch and hinge). The result of that measurement are your max bin size.
For instance, if your hatch is just fourteen inches high, and you have an empty space behind it, you can’t put in a twelve inch tall bin. It won’t clear the doorframe. Once you input your bay measurements into this page, the calculator do the rest of the math for you. It also lets you know if your bins will be stuck on the frame or clear the threshold.
Next, there’s the wheel well. It’s an intrusion that eats into the usable floor space, frequently in the middle of the compartment where you’d like to stack heavy gear. Wheel wells comes in all shapes. Some are rounded with an arch; others is sharply cut out like boxes. Rounded arches use less volume then square boxes since your bins won’t conform to their curves. That lost space is gone forever. Plan for it, and you can plan for all the storage that will never be there.
Also think about what you’re going to put in them. Oddly shaped tools, coiled hoses, folded chairs, etc., create a lot of air gaps when mixed together. That reduce your packing density. Bulky items leave gaps that cannot be filled. Square bins stack cleanly. Square bins stack neatly, but bulky items leaves voids that you cannot fill. But odd-shaped items take up a large amount of space while leaving no room for anything else. Different types of gear impact the percentage of useable space as shown in reference table on the page.
Organize wet stuff apart. Damp tarps, hoses, and sewer kits should has their own space, preferably in a corner or even a locked bin. Don’t throw wet things into the same place as dry because then the dry gets wet and it smells like that for months. Having an area to put all your wet things will help keep everything organized (and sane) plus it’ll give you a good idea of where the weight is distributed throughout the camper.
The exterior bays are limited by the amount of weight they can carry. This number is usualy stenciled somewhere in the interior of the door. Overloading these doors will eventually cause problems with the door latch mechanism as well as potentially damaging the floor structure itself. Give yourself some wiggle room. Don’t go right up to max weight limit. Check your weight margin output and see what space remains before risking damage. You should of checked it first.
At the end of the day, it’s all about using the constraints of your camper rather than struggling against them. There’s never enough space for everything… Ever. So use the correct bins, respect the door size, keep heavy things in the middle and low, measure twice pack once and make sure that dang hatch closes easy each and every time. That little click sounds like the sweetest music on any camping adventure.