Camper Trim Molding Length Calculator
Estimate RV insert trim, corner molding, roof-edge runs, opening trim, roll quantities, butyl tape, screws, and sealant bead length.
Full Formula Breakdown
| Trim profile | Common use | Face width | Default fastener spacing |
|---|---|---|---|
| Vinyl insert trim | Roof edge and screw-cover rail | 0.75 in | 6 in |
| Aluminum J molding | Panel edge and lower skirt lines | 1.00 in | 8 in |
| Exterior corner cap | Vertical front and rear wall corners | 1.25 in | 6 in |
| Awning rail extrusion | Awning bead and side rail runs | 1.50 in | 6 in |
| Rubber window gasket | Window perimeter replacement | 0.50 in | 0 in adhesive/gasket fit |
| Roll or stick length | Usable with 3 in overlap | Best for | Length in meters |
|---|---|---|---|
| 12 ft stick | 11.75 ft | Short hatches, door frames | 3.66 m |
| 16 ft stick | 15.75 ft | Truck camper sides | 4.88 m |
| 25 ft roll | 24.75 ft | Small trailer roof edge | 7.62 m |
| 50 ft roll | 49.75 ft | Travel trailer perimeter | 15.24 m |
| 100 ft roll | 99.75 ft | Full reseal plus openings | 30.48 m |
| Fastener spacing | Screws per 10 ft | Screws per 25 ft | Typical placement |
|---|---|---|---|
| 4 in | 31 | 76 | Tight curves and stress points |
| 6 in | 21 | 51 | Roof edge and corner cap trim |
| 8 in | 16 | 39 | Straight aluminum rail runs |
| 10 in | 13 | 31 | Light-duty flat batten trim |
| Camper project | Core measurements | Raw trim estimate | Order length at 15% |
|---|---|---|---|
| 5x10 teardrop | Roof perimeter plus door | 52 ft | 60 ft |
| 12 ft pop-up | Two side rails, four corners | 62 ft | 72 ft |
| 16 ft travel trailer | Roof, corners, 4 windows | 146 ft | 168 ft |
| 24 ft bumper pull | Roof, openings, beltline | 238 ft | 274 ft |
| Fifth-wheel cap work | Front cap, side rails, hatches | 182 ft | 210 ft |
Raw trim: main run + vertical corners + window perimeters + door/hatch perimeters + extra seams.
Finished trim: raw trim + buffer + estimated splice overlap. Rolls, tape rolls, fasteners, sealant tubes, and caps are rounded up to whole pieces.
Molding around trims As most RVers know, getting accurate measurements to order molding for your RV isn’t as easy as measuring a straight line. Add on the door frame and the edge of the roof, subtract out mitered corners (which are often forgotten), and then throw in some waste and now it’s off to the supply store with haste because you ordered too little. You want to have extra to ensure things fit properly after accounting for measurement errors and material defects.
All this means is that once you get your dimensions in there it’s the calculator that does the work for you, but you should know what all these numbers represent. The length of the trailer isn’t sufficient. Do you have a complex run? That will be different than running down a straight line.
How to Measure RV Trim Correctly
Running into a corner is more complex because you have to make a cut, then a splice with overlap so the seal grips when wind loads comes on the seam. Folks measure down the middle of the wall rather than out to the outside edge where molding rests. Then they get a tight fit that puts too much pressure on adhesive.
A trim profile is a choice between looks and functionality. For example, aluminum J-molding is rigid and durable. Good on lower skirt lines that might hit debris. Vinyl insert trim is soft and forgiving, good for covering screw holes around the roof edge.
Why does this matter? Because it affects how far apart you need to space your fasteners. Wider spaces between screws won’t lift a flexible vinyl strip. A stiff aluminum rail require tighter spacing, particularly on curves, as it will bow out eventually.
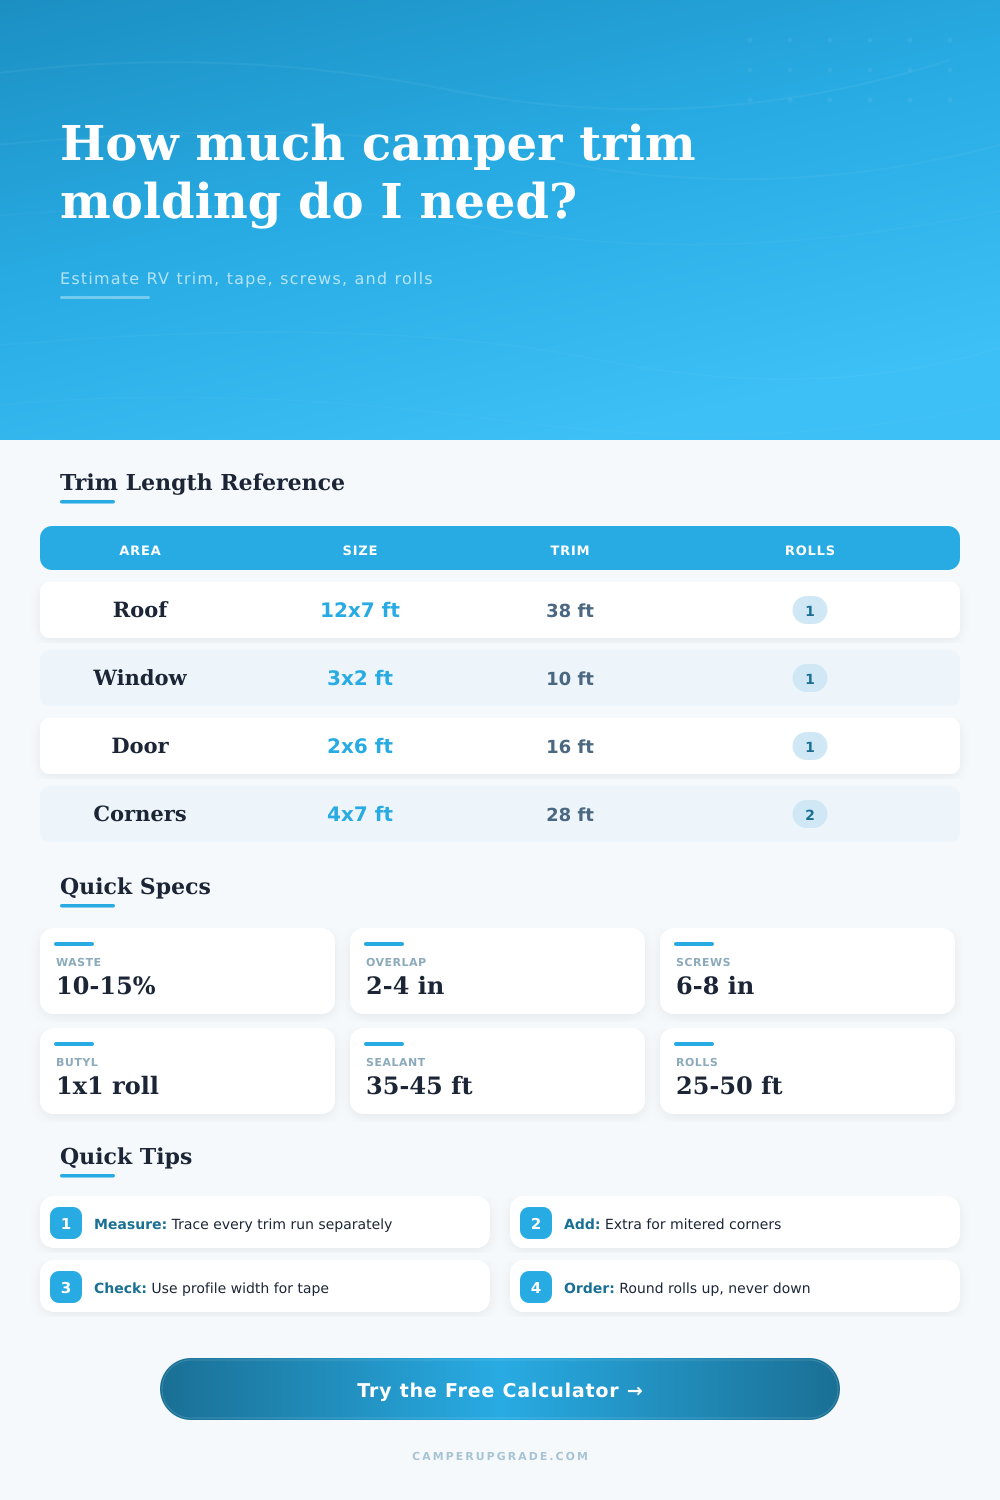
We fall into the trap of our gut instincts with waste factors. That extra 10-15% isn’t a buffer for safety. It’s a nod to reality. Material comes in set lengths from the roll, so you can’t hide the fact that you’re using scrap pieces from one side for the other.
Overlap protects structural strength if you splice rolls. A three-inch overlap means less length is actualy usable as shown on the reference table. Small until you realize you’ve got a dozen joints to sew…then it piles up fast.
One key ingredient is butyl tape. I know you’re thinking “all I need is enough to attach the molding.” Nope. You want a continuous length of tape to form a bead that covers any uneven parts of surface. Shorten it to save money? Molding peels up in six months. Why don’t you have enough? Water leaks into your ceiling insulation. Aha.
This figure is an estimate from the tool (based off the perimeter), but just remember that corners takes extra tape to be pressed tightly. The same applies to sealant. While the calculator estimates how much tube is required given typical coverage, there’s a range in how it goes on. With a caulk gun and some experience, pros can squeeze more out of a tube than a homeowner who use a bargain-basement trigger.
Take yourself into consideration. Figure that if you’re unsteady with the gun, you’ll throw away a third or more of the tube. That way you don’t end up purchasing additional tubes halfway through your project.
Fittings, It’s easy to get so carried away with the outward-facing trim that you miss what holds them up. The amount of force being transferred into your camper’s substrate depends on screw spacing. Too far apart, and the trim just flaps around. Too close, and you’re making extra holes in the camper shell. For most edge roofs, six inches is good. This spacing is enough to hold but not enough to weaken it.
While the tool provides some pretty solid default presets, those are just averages. Your vintage camper is probably not your average travel trailer with its own set of quirks. Your custom cargo conversion probably features doors that aren’t your standard size. Override the defaults using the custom fields. An extra minute of thought goes a long way toward improving accuracy.
Ultimately, the best trim job is the one that fits the first time. The best trim job is the one that fits the first time. You shouldn’t of had to be a master carpenter either. It’s about understanding the properties of the materials and how they relate to the shape of the job. Measure twice and cut once, but allow some error room.
Looking at the nice clean line wrapping around your camper, you’ll be glad you did the math before making the cut.