RV Underbelly Coating Coverage Calculator
Estimate coating gallons from underside area, dry-film thickness, volume solids, seams, surface texture, transfer loss, and reserve.
Coverage estimate
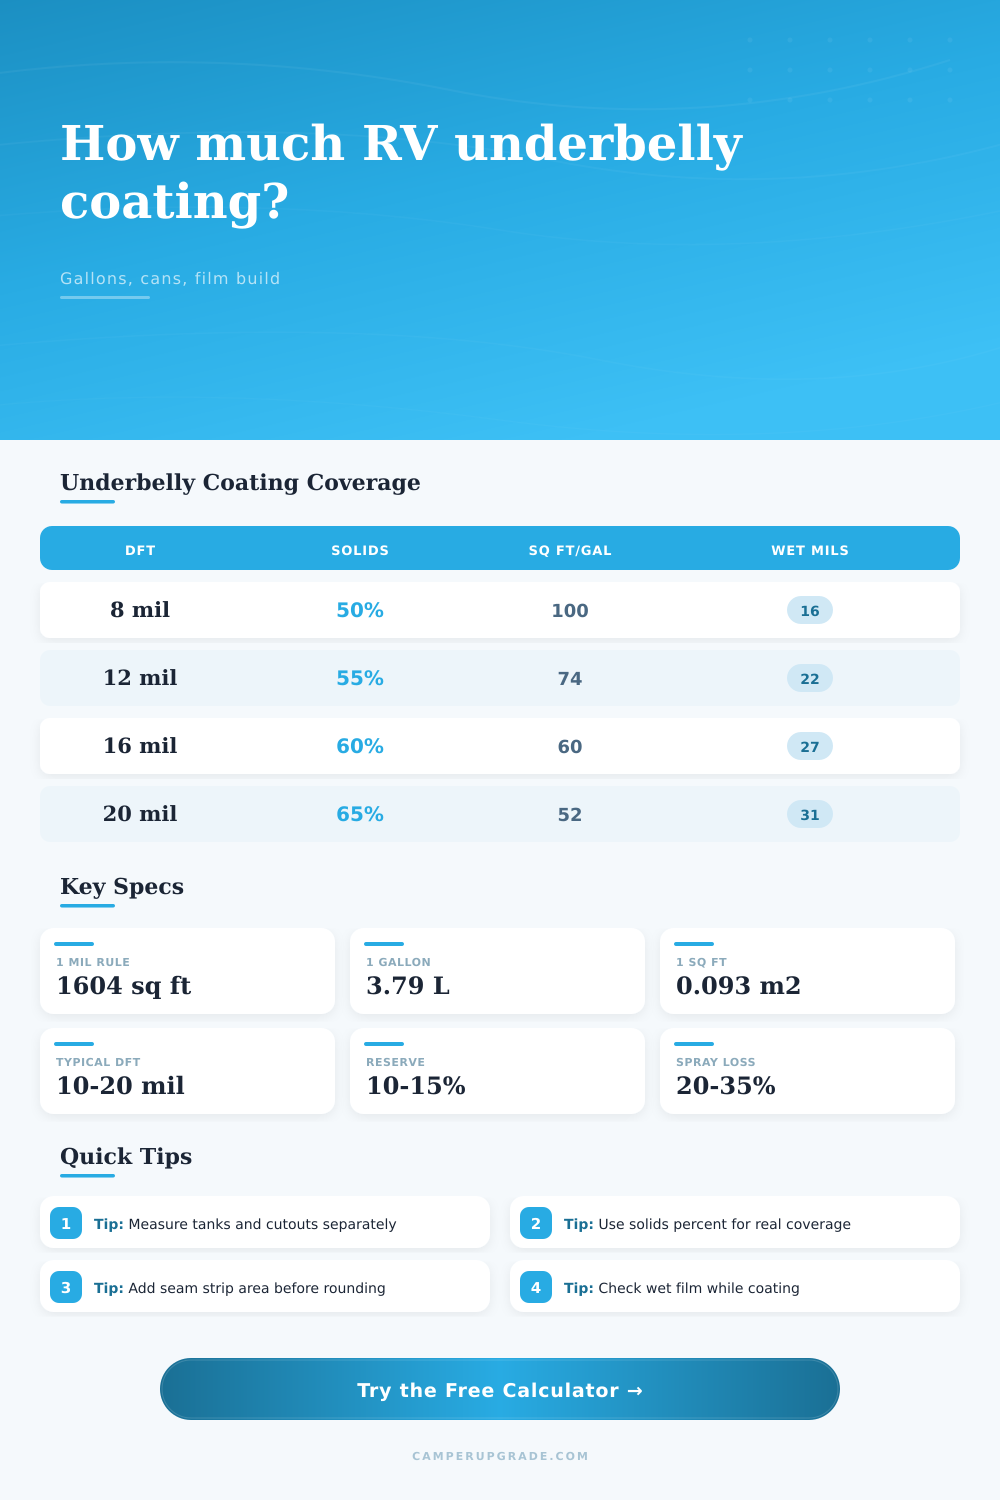
| Dry-film target | 50% solids | 60% solids | 85% solids | Wet-film reading |
|---|---|---|---|---|
| 6 mil DFT | 134 sq ft/gal | 160 sq ft/gal | 227 sq ft/gal | 12, 10, or 7 mil WFT |
| 10 mil DFT | 80 sq ft/gal | 96 sq ft/gal | 136 sq ft/gal | 20, 17, or 12 mil WFT |
| 14 mil DFT | 57 sq ft/gal | 69 sq ft/gal | 97 sq ft/gal | 28, 23, or 16 mil WFT |
| 18 mil DFT | 45 sq ft/gal | 53 sq ft/gal | 76 sq ft/gal | 36, 30, or 21 mil WFT |
| 24 mil DFT | 33 sq ft/gal | 40 sq ft/gal | 57 sq ft/gal | 48, 40, or 28 mil WFT |
| Application method | Transfer efficiency | Loss allowance | Best calculator use |
|---|---|---|---|
| Roller, squeegee, brush edges | 90% | 10% | Open panels, plywood, and smooth belly skins |
| Brush-only detail coating | 88% | 12% | Frame lips, tank brackets, repaired seams |
| Airless spray underside pass | 75% | 25% | Large trailers with room to spray consistently |
| Aerosol cans or wand spray | 62% | 38% | Localized corrosion-film refreshes and tight cavities |
| Surface condition | Coverage factor | Why it changes coverage | Typical RV location |
|---|---|---|---|
| Smooth sealed metal or fiberglass | 1.00 | Lowest texture absorption | Clean belly pans and molded compartments |
| Aged factory undercoat | 1.10 | Minor orange peel and old coating profile | Original underside coating refresh |
| Light rust or oxidized frame edges | 1.18 | Pitted surface adds real area | Exposed outriggers and rear frame rails |
| Raw or primed plywood belly | 1.25 | Wood grain and end checks absorb coating | Older trailer floors and cargo conversions |
| Ribbed belly with many crossmembers | 1.30 | Ridges and returns need extra pass area | Travel trailer frames and tank bays |
| Rough repairs and patched seams | 1.40 | Irregular patches, laps, and sealant beads | Water-damage repairs and retrofit panels |
| Common RV underside | Net area used | 2 coats at 18 mil, 56% solids | Rounded containers |
|---|---|---|---|
| Teardrop trailer 5x9 | 38 sq ft | 1.6 gal with seams | 2 one-gallon cans |
| 17 ft travel trailer | 111 sq ft | 4.1 gal with seams | 1 five-gallon pail |
| 24 ft bunkhouse trailer | 165 sq ft | 5.8 gal with seams | 2 pails or 6 cans |
| 32 ft fifth wheel | 230 sq ft | 8.7 gal with seams | 2 five-gallon pails |
| 38 ft Class A motorhome | 296 sq ft | 10.9 gal with seams | 3 five-gallon pails |
After a long season your RV stinks. It has a distinct smell after a long season. That smell are humidity that gets baked into dark corners of underside, hot asphalt, and oxidized metal in those same spots. Most RV owners don’t pay attention to it until moisture seeps back up through their plywood floor or they discover some rust forming on frame. By then it’s usually too late and you’re at supply store attempting to decipher pails, quarts, and gallons. If you buy too much, it’s a hassle and expensive. If you buy too little, you will find out mid-job how much that sucks.
The key is knowing what transfer efficiency mean as well as volume solids, which can be the difference between a wasted afternoon and restoring your pride and joy. After plugging in the details of your geometry, the calculator do the rest of the math. That way you don’t have to guess at conversions and coefficients.
How to Calculate the Right Amount of Coating for Your RV
It will also make you face the truth; a gallon is not always a gallon. When coatings hit metal, water, solvents or air evaporate out off the product. More important then a brand name in this equation is volume solids. For example if the package says that it’s 50% solids, half of that will evaporate away. What you’re paying for is what’s left over.
The thinnest looking stuff in can may be a high-solids epoxy that lays down a big barrier. On the other hand, a watery primer can seem like a lot because you have to do three applications to get same dry film thickness. Knowing this ratio keeps us from making the mistake of thinking all products’ coverage rate are the same.
Equally important is the part about surface texture: The less absorbent, the less you use. So a flat fiberglass belly pan doesn’t soak up nearly as much as all wheel wells, tank straps, cross members, ribs and other features on an aluminum frame. The calculator factors this in as well, based off what we call a texture factor. This includes the additional surface areas buried inside the corrugations and the trouble of getting even coverage around protrusions like those.
You can think of it this way: Spray or roll something on a textured surface and you’ll use more product because there’s more space to fill. Fail to compensate for this and what happens? Thin spots will pop after the first thaw/freeze cycle. The tool makes up for these types of inefficiencies without forcing you to guess at them in your head.
The other cost you don’t see is how much you waste, which depends entirely on application method. Spraying is quick but messy; rolling is long and tedious, but more efficient. Airless sprays tend to lose 20-30% due to bounce-back and overspray. Aerosol cans are nice for spot touchups, with the highest loss factor. By default, the calculator assume you’ll spray, the fastest but messiest way, then adjusts final volume based on your selection. Yes, this is a small variable, but it adds up in a hurry when applying to a large fifth wheel.
When using spray, you need to purchase slightly more product than the theoretical coverage states…This is where folks go wrong. They measure the area, do the math, divide by the coverage stated on the label, and then purchase that amount. Then they wonder why the can is already half-empty when they are only halfway through applying it.
What about seams and cutouts? That’s special too. The calculator splits the flat part of job from the detail parts (around wheels and tanks). That’s where water wants to hide. A proper seal will take a bit more effort here and usually means another coat. You can enter how wide and long those strips are so that all those key spots gets covered well.
It even has a reserve allowance. This safety margin covers the second coat you would of want to put on, any touch-ups needed, and cases where you might mess up. 10% is normal, 15% is smart if things are rough.
But don’t hurry up to prepare. You can’t coat over dirty/rusty underbellies no matter what. Clean it up, knock off any flaking rust, and prime if needed. Prep is the foundation; the coating is the shield.
Make sure you have enough coating to do the job in one shot without interruptions. Get the numbers correct on that. Then go get yourself under there and do it. A good sign that you got enough is smell of new coating.