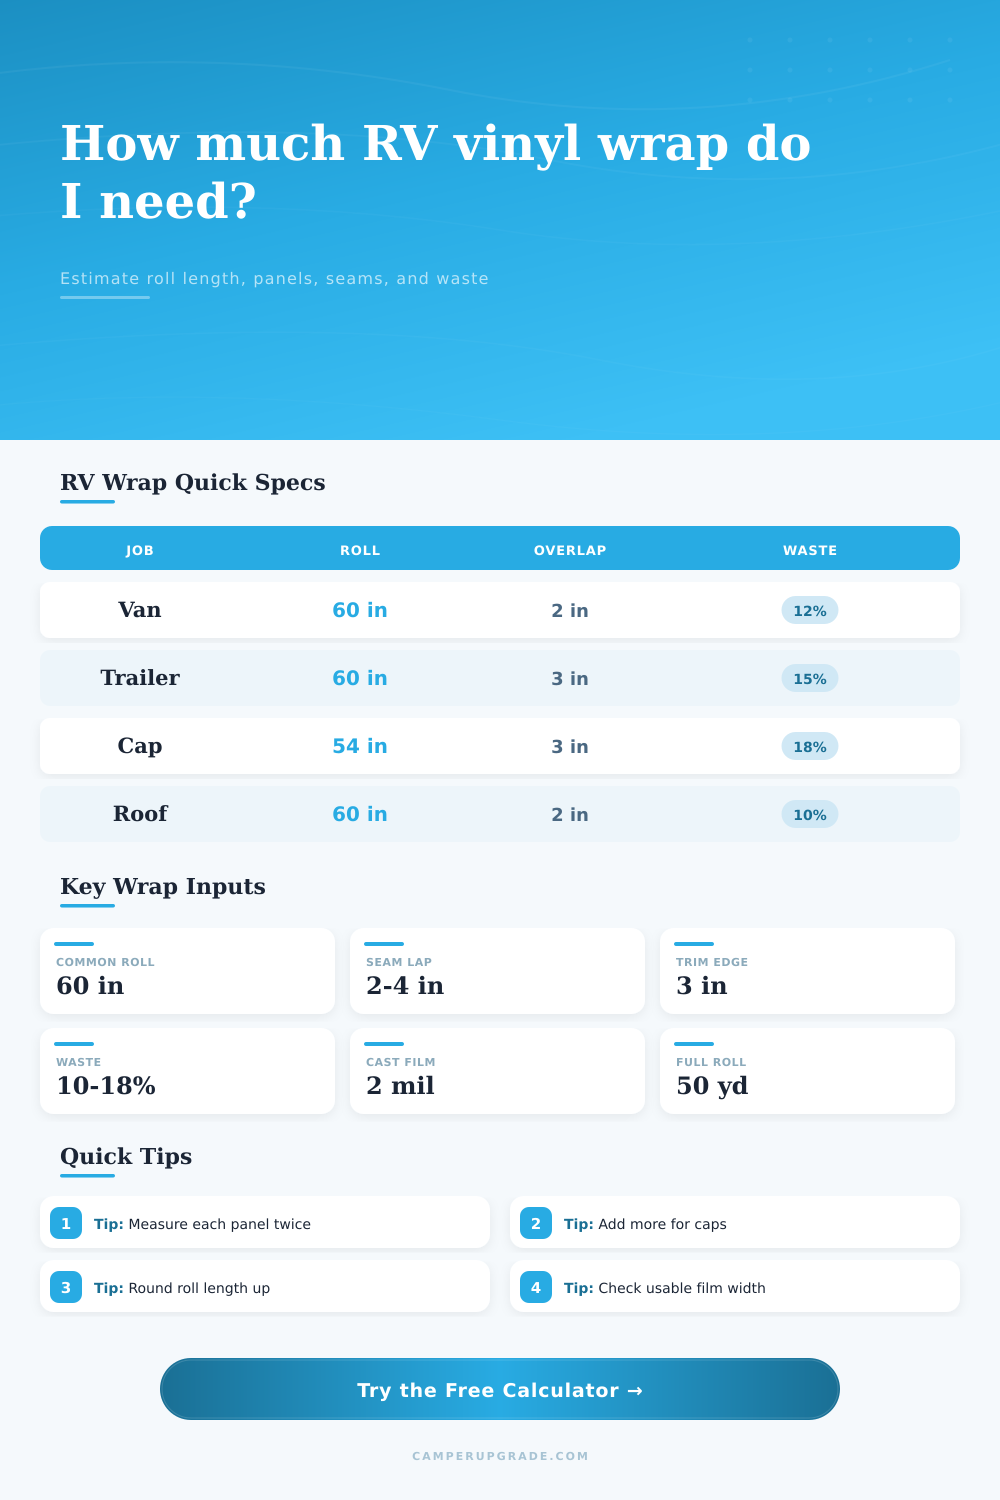
RV Vinyl Wrap Material Length Calculator
Estimate roll length, cut panels, usable width, seam overlap, opening deductions, and waste for camper wraps, decals, roofs, caps, and slide-outs.
📌Named RV Wrap Presets
📏Wrap Measurements
⚙Vinyl Film Specification Grid
📊Usable Roll Width Reference
| Nominal Roll Width | With 2 in Overlap | With 3 in Overlap | Typical RV Use |
|---|---|---|---|
| 48 in roll | 46 in usable | 45 in usable | Narrow stripes, cap accents, doors, small decals |
| 54 in roll | 52 in usable | 51 in usable | Older trailer sides and short accent panels |
| 60 in roll | 58 in usable | 57 in usable | Most color-change RV side wraps and printed panels |
| 72 in roll | 70 in usable | 69 in usable | Tall side sections, fewer seams, selected roof work |
📐Panel Rows by RV Surface Height
| Surface Height | 48 in Roll | 54 in Roll | 60 in Roll |
|---|---|---|---|
| 5 ft lower band | 2 rows | 2 rows | 2 rows with overlap |
| 7 ft trailer side | 2 rows | 2 rows | 2 rows |
| 8.5 ft motorhome wall | 3 rows | 2 rows tight | 2 rows |
| 10 ft tall cap | 3 rows | 3 rows | 3 rows |
🧾Common RV Wrap Length Examples
| Project | Measured Area | Planning Assumption | Estimated 60 in Roll Length |
|---|---|---|---|
| Class B van full sides | 250 to 320 sq ft | Both sides, caps, 12% waste | 70 to 95 linear ft |
| 24 ft travel trailer | 420 to 520 sq ft | Sides and caps, 15% waste | 120 to 160 linear ft |
| 32 ft fifth wheel | 620 to 760 sq ft | Tall cap, slides, 18% waste | 175 to 235 linear ft |
| Rear mural or stripe set | 45 to 120 sq ft | One cap or partial side panels | 15 to 40 linear ft |
📦Roll Length and Waste Conversion
| Roll Length | Linear Feet | 60 in Area | Best Fit |
|---|---|---|---|
| 10 yd | 30 ft | 150 sq ft | Small decals, door panels, stripes |
| 25 yd | 75 ft | 375 sq ft | Van wrap, cap refresh, partial trailer wrap |
| 50 yd | 150 ft | 750 sq ft | Travel trailer or motorhome side project |
| 75 yd | 225 ft | 1125 sq ft | Large coach, fifth wheel, multi-panel print layout |
🚧Wrap Planning Notes
When I wrapped my 2007 Sprinter for the first time, I learned a hard lesson in material planning. The calculator said it would take X amount of vinyl, so you purchased X amount of vinyl. Then you realized that you needed extra material. This is because the van have curved shapes around the wheel wells and a sloped front cap. Oops! I ran out of vinyl three feet short of back bumper.
I learned that a wrap is more than just about surface area; it is also about linear flow. Once you plug in your measurements, the tool calculates how many rolls, how much waste, and total linear footage needed. That’s where all that math come into play… Saving you from having to do it by hand, converting between units, or guessing at coefficients.
Why You Need More Vinyl Than You Think
RV owners tend to think of their RV as a canvas. Width x Height = Size. Double that number and you has the amount of vinyl to cover each side. That’s wrong. Vinyl is sold as rolls, not sheets. You can’t stretch one sheet of vinyl 8-feet long. Seams are necessary.
The calculator split the surface into rows based off your chosen roll width. A 60-inch roll will yield roughly five feet of usable height (after taking into account seam allowance and trim). That means that any given section will require at least two different piece of vinyl (one for each side), plus enough length to span distance between them. The reference table shows how a higher wall result in additional seams, resulting in greater total linear footage requirement.
Novices often face one surprise expense: overlap. To allow the edges to bond without any tears or other issues, you must have some overlap, usually between two and four inches on each seam. Without this overlap, the cut line won’t be covered up, and the whole thing just looks amateurish… not to mention it can begin peeling off in humid weather. This is something adjustable with the tool (normally 2-4″ is standard… Whatever you feel comfortabley shrinking with heat).
More overlap = less useable width-per-row = more rows = more length. A little difference, but it adds up fast over the life of your vehicle.
Pros and hobbies: Professionals waste. Hobbyists don’t (well, maybe). There’s no such thing as a perfect layout. Stretching a panel a bit too far, trimming corners offcuts, making a mistake; it happens. Fifteen to twenty percent waste over all seems reasonable (not overly-pessimistic). Vinyl is cast and conforms to curves. But it also require a handling buffer.
When wrapping a cap with two or more curves, plan toward the high-end of that waste range. This percentage tell the calculator how many rolls to order (and doesn’t leave you short).
The amount of film counts too. For complex surfaces such as side curves and front caps, use the more flexible, thin cast vinyl. For areas without complicated curves, calendered vinyl is less expensive and thicker but has limitations. Because it contracts slightly over time, this material do not work well in deep recesses. A spec grid compares films so you can select the one that will best stick to your surface. For instance, if doing a full color change on your travel trailer, cast film is worth the extra cost for the finish and longevity. Calendered vinyl is sufficient for simple projects like applying stripes to a flat door panel.
Before purchasing, double-check your cutout deductions. Vents and windows help eliminate film, but not by nearly as much than you’d expect. While you don’t need to cover them, you’ll need to wrap around them. The scraps won’t usually fit anywhere else; they’re too odd-shaped. The tool credits some of that area, but only based on a conservative estimate, for a good reason. Better to leave overhang than to end up with no finish.
The old saying about measuring twice applies here. Measure each panel independently using a tape measure. Don’t think things are symmetrical. Most RVs is a bit lopsided, especially older ones or anything that’s been added on after purchase. Feed those precise measurements into the calculator. It’ll tell you how much total linear footage to order. You can then review the length of rolls offered by suppliers to determine whether to get one 25 yard roll or two 12.5 yard rolls.
The difference between a factory new appearance and a DIY experiment is in planning out the path of the film without cutting it first. You should of got enough material at the beginning. Everything else falls into place from there.