RV Wall Panel Sheet Count Calculator
Estimate replacement wall panels for campers, travel trailers, motorhomes, truck campers, toy haulers, and van conversions with opening deductions and sheet waste included.
Panel sheet estimate
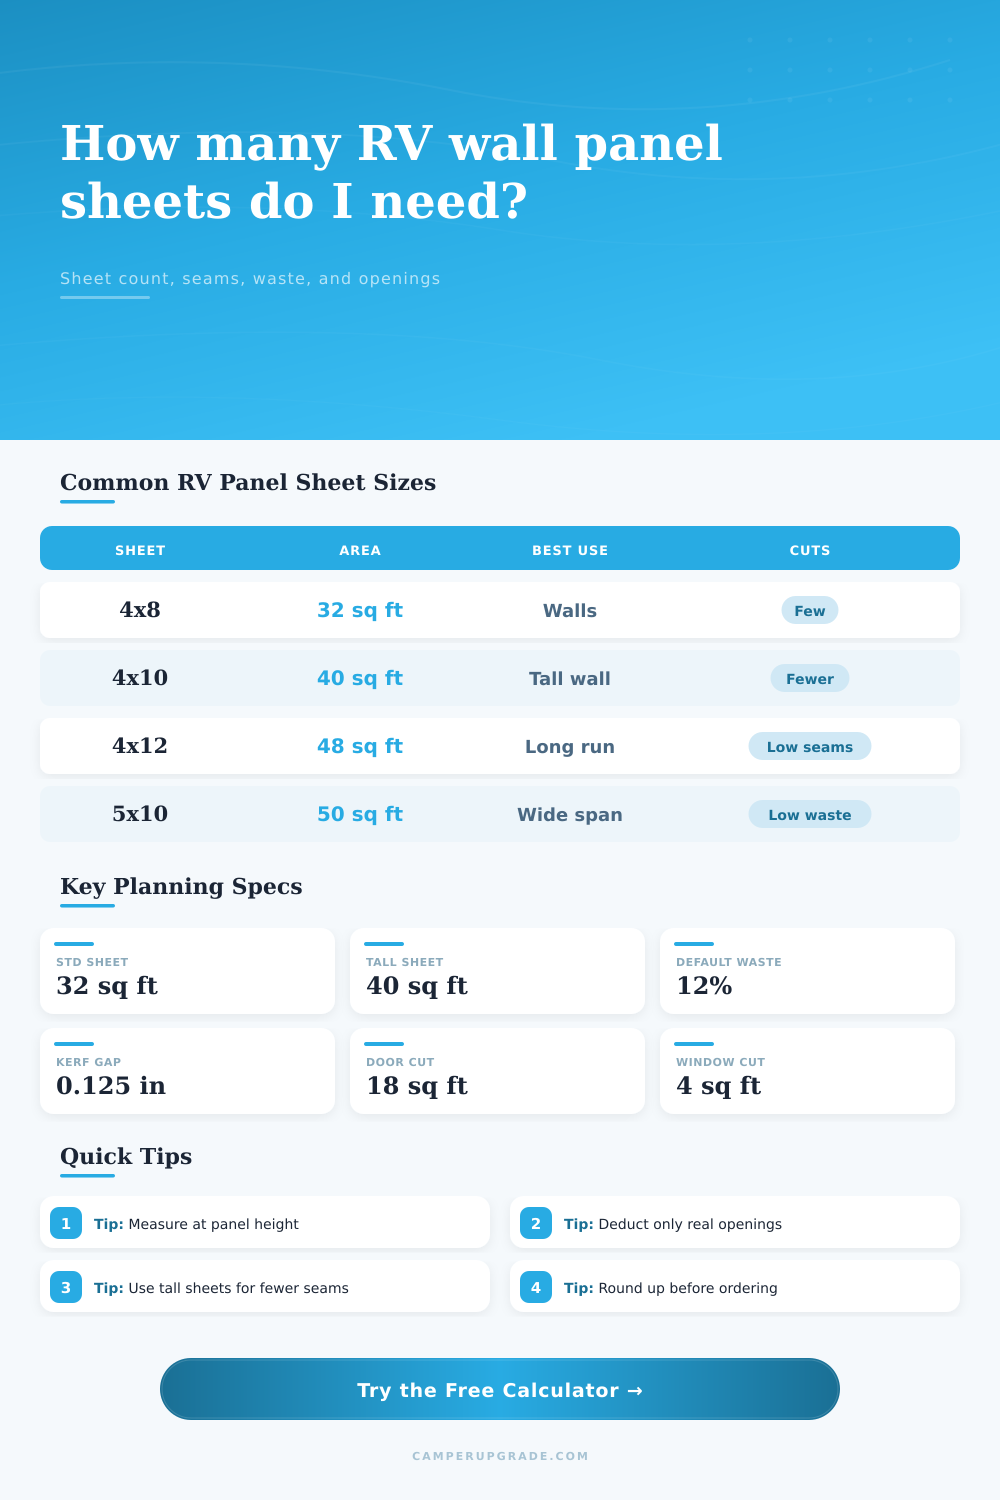
| Sheet size | Gross area | Typical RV use | Panel height fit |
|---|---|---|---|
| 4 ft x 8 ft | 32 sq ft | General wall replacement, cabinets, patches | Fits up to 96 in before trimming |
| 4 ft x 10 ft | 40 sq ft | Taller motorhome walls and fewer horizontal seams | Fits up to 120 in before trimming |
| 4 ft x 12 ft | 48 sq ft | Long trailer runs where seam count matters | Best for horizontal bands or long walls |
| 5 ft x 10 ft | 50 sq ft | Wide uninterrupted sections and curved front caps | Useful when 48 in width is tight |
| 48 in x 96 in | 32 sq ft | Decorative RV panels sold in inch sizing | Same coverage as 4 ft x 8 ft |
| 48 in x 120 in | 40 sq ft | Tall sheets for showers and motorhomes | Same coverage as 4 ft x 10 ft |
| Opening type | Common size | Area to deduct | Reuse credit note |
|---|---|---|---|
| Small RV window | 24 in x 18 in | 3.0 sq ft | Often 20% to 35% reusable |
| Standard side window | 36 in x 20 in | 5.0 sq ft | Square offcuts may become patches |
| Entry door panel area | 24 in x 72 in | 12.0 sq ft | Deduct only the wall opening |
| Exterior baggage hatch | 30 in x 16 in | 3.3 sq ft | Curved hatch corners reduce reuse |
| Roof vent side trim | 14 in x 14 in | 1.4 sq ft | Usually too small for large panels |
| Condition | Suggested waste | Seam impact | Why it matters |
|---|---|---|---|
| Simple rectangular side wall | 8% | Low | Few cutouts and easy trim lines |
| Standard RV interior repair | 12% | Moderate | Windows, cabinets, outlets, and scribe cuts |
| Mixed panel directions | 15% | Moderate | Horizontal bands create more offcut limits |
| Curved front cap or wet bath | 20% | High | Templates, curves, and fitting errors add waste |
| Unknown restoration damage | 25% | High | Hidden rot and old fastener lines change panel cuts |
| Project | Measured wall area | 4x8 sheets at 12% | Planning note |
|---|---|---|---|
| Truck camper dinette wall | 32 sq ft | 2 sheets | One window usually changes yield |
| Class B galley side | 45 sq ft | 2 sheets | Cabinet scribe cuts raise waste |
| Travel trailer bunk wall | 72 sq ft | 3 sheets | Door and window deductions help |
| Toy hauler garage pair | 180 sq ft | 7 sheets | Long seams should be planned before cutting |
| Compact trailer interior | 245 sq ft | 9 sheets | Whole-room estimates need extra layout care |
How many sheets do I need? Well this page has a calculator which figures out how many sheet of wall panels you’ll use in your rv/camper by simply plugging in actual measurements of your walls and letting you toggle between different sheet sizes to see how the count changes. It even accounts for door and window cut outs. It even factors in an allowance for trim cuts and saw kerf (the waste from cutting). This allow for a reasonable margin of error when you are making cuts.
This number is the one you don’t really look at until the end. You should add 12% as a waste factor if you’re cutting reasonably carefuly. If you have some wacky layout like cabinets all over the place or a rounded front cap then add another 8% to account for that. Another way to think about this is to think of it as insurance. Insurance against screwing up the cut. It’s cheap insurance.
How to Use the Panel Calculator
Sheet size matters, a four-by-eight-foot sheet is go-to size for most folks. It’s what’s available everywhere. But if your car has really tall walls, then a four by ten foot will help avoid horizontal seams up the center of the wall. Fewer seam mean fewer spots that water can gets into, and also fewer joint lines to patch in the future. To switch from one size to another, just toggle on the size, and it will adjust the number accordingly. You might pay extra for the taller sheet but save yourself hours of taping/sanding.
But then there’s the thing you cut out. When you cut out a window, you lose panel area. But does that mean it becomes usable elsewhere? You might be able to reuse large, square scraps, but you have to be careful about what you can actualy use.
No. The calculator considers the number of openings and gives you a re-use credit. So if you’ve got a big ol’ square window cut-out, maybe that’s going to leave you with a nice big scrap to cover another hole. You get fifty percent credit. But if you’ve got a weirdly shaped hatch vent, or some other odd-shaped hole, that offcut’s probably going to be trash. That translates to less credit. Be honest as to the nature of the holes you’re cutting around. It’s easy to overestimate your scrap usage and wind up short.
One thing to keep in mind is that while many different materials will work on this project, some are much better than others. For example, azdel composites resist water well and tend to be heavier, while lauan plywood is light and easy to work with. However, lauan plywood is very lightweight and easier to handle. However, Lauan plywood is very lightweight and easier to handle, though it isn’t the most durable option.
Enter in the material and the calculator estimates how heavy it is. This can be useful when you want to lift a 6-foot tall piece of wood vertically in a tight space (such as the interior of your travel trailer). How well do you think you can do that? Knowing ahead of time what the weight is makes planning your lift out a lot easier. It’s also a good indicator of whether or not you should of get help or just do it yourself.
Another sneaky variable is seams. You’ll make one at every joint where two sheets meet (which means filling/sealing/sanding/painting). The tool calculates how many linear feet of seams you’d be making in all. If you’re going for a seamless look, you’ll want to minimize seams based off how you position your sheets. On wide walls, horizontal seams are generally more prominent than vertical ones. So vertical sheets would typically translates into fewer horizontal seams. On short walls, horizontal bands might appear cleaner, though they do add up fast in linear feet. The tool shows this trade-off for you, so you can select the sheet orientation based on skill level and desired appearance.
Remember those fasteners and glue! Based off the average amount of glue used per panel, we counted how many tubes to expect. It’s just an estimate but saves you from purchasing a single tube when you need 3.
Next are screws. How tightly do you want them spaced? More screw holes mean a more solid attachment, but tighter spacing requires more screws. We have set this at a conservative 8 inches apart. That’s good enough for most RV walls.
It’s all about taking the guess out of it in the end. Sure you can eyeball it, but eyeballing never considers that little angle on your ceiling trim, or that kerf of your saw blade. Ten minutes of measuring and calculating equals one less trip back to the store. Type in the numbers, pick your material, and watch as the tool calculates everything for you. That way you can get down to the fun part, doing the work with confidence that you’ve got just the right amount.