Block Ice vs Cube Ice Ratio Calculator
Estimate how much block ice and cube ice to pack for a cooler based on trip length, load, ambient heat, cooler type, lid openings, and your preferred ice split.
🚚Camping Cooler Presets
⚙Cooler Inputs
Ice Packing Results
Calculation Breakdown
🧊Ice Form Spec Comparison
📊Reference Tables
| Cooler Use | Block Share | Cube Share | Best Ratio |
|---|---|---|---|
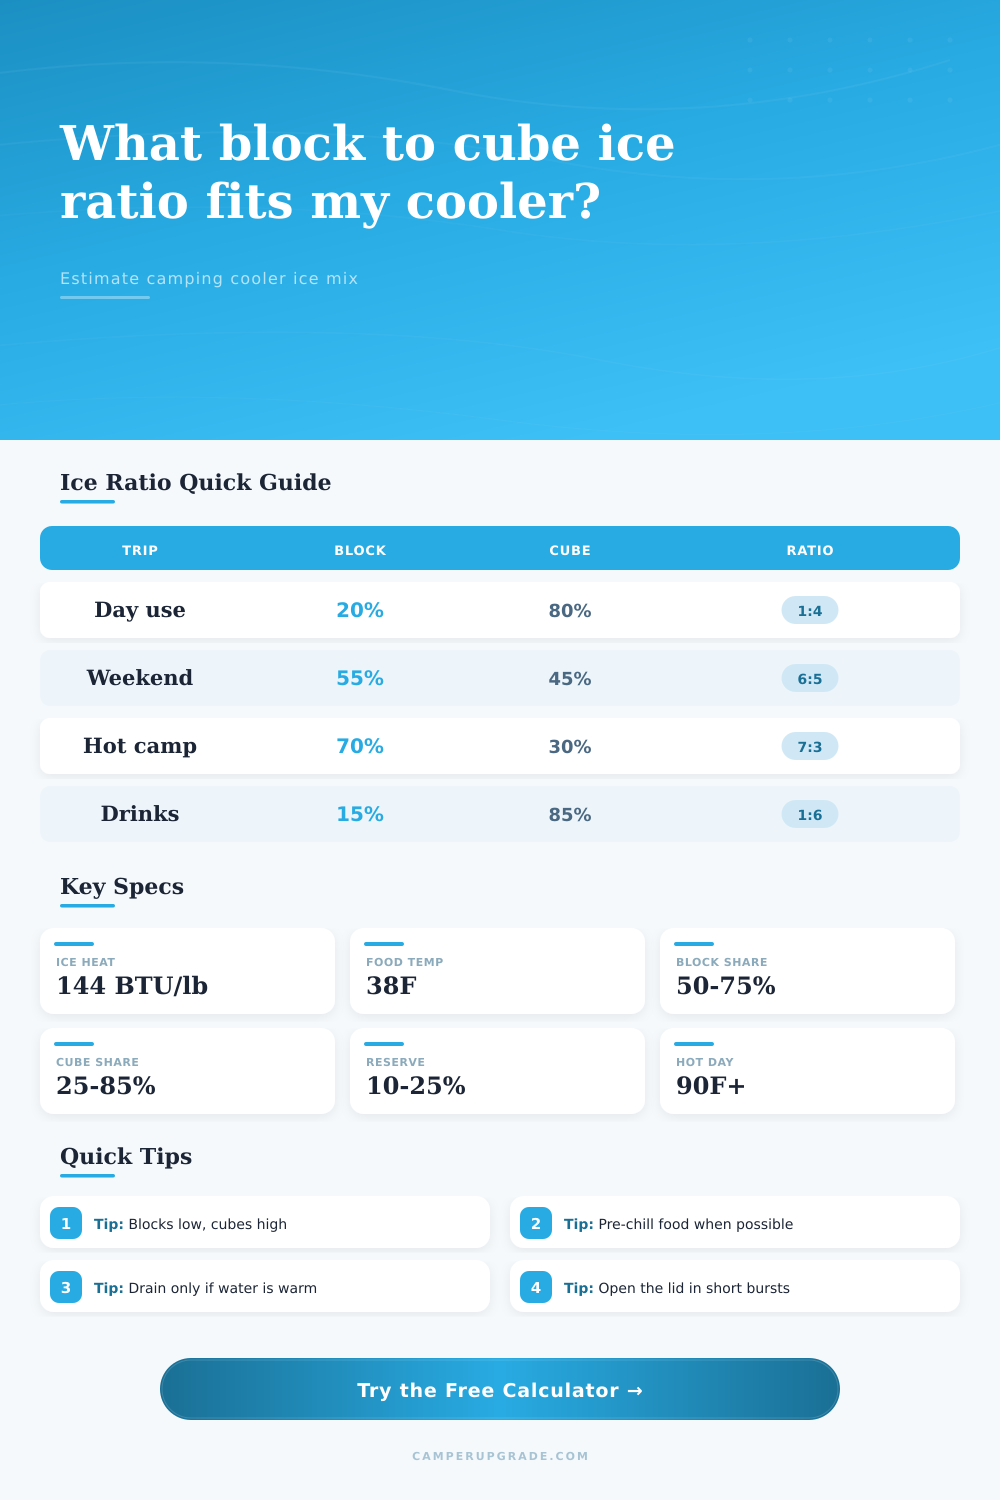
| Drink-only day cooler | 10% to 25% | 75% to 90% | 1:4 to 1:9 |
| Mixed food and drinks overnight | 40% to 55% | 45% to 60% | 1:1 to 6:5 |
| Two to three day camping chest | 55% to 70% | 30% to 45% | 6:5 to 7:3 |
| Hot weather food cooler | 65% to 80% | 20% to 35% | 2:1 to 4:1 |
| Fish hold or meat transport | 20% to 40% | 60% to 80% | 1:3 to 2:3 |
| Cooler Type | Relative Heat Gain | Retention Factor | Planning Note |
|---|---|---|---|
| Soft-sided day cooler | High | 0.82 | Use mostly cubes for short trips |
| Thin-wall hard cooler | Medium-high | 0.90 | Add reserve above 80°F |
| Standard hard cooler | Medium | 0.95 | Balanced block and cube mix |
| Marine cooler | Medium-low | 1.02 | Good for wet fish or drinks |
| Rotomolded premium cooler | Low | 1.10 | Blocks last noticeably longer |
| Pre-chilled powered cooler | Lowest | 1.18 | Ice becomes backup cooling |
| Ice Unit | Typical Weight | Approx. Volume | Use In Ratio |
|---|---|---|---|
| Small cube bag | 5 lb | 0.09 cu ft | Fast drink chilling |
| Standard cube bag | 10 lb | 0.18 cu ft | Most campground stores |
| Large cube bag | 20 lb | 0.36 cu ft | Group coolers |
| Small block | 8 to 10 lb | 0.14 to 0.18 cu ft | Weekend food cooler |
| Large block | 16 to 20 lb | 0.29 to 0.36 cu ft | Long hold time |
| Condition | Input Change | Ice Effect | Ratio Shift |
|---|---|---|---|
| Pre-chilled food | Start at 34°F to 38°F | Less pull-down ice | Keep planned split |
| Room temperature cans | Start near 68°F | More initial ice | Add cube share |
| Hot campsite | Average over 90°F | More heat leak | Add block share |
| Shared drink cooler | 16+ opens per day | More lid exchange | Add cubes plus reserve |
| Long food storage | 72+ hours | Retention matters | Add blocks low |
💡Packing Notes
Think about ice less like one commodity and more like a structural system. Within your cooler, cube ice behave differently from block ice. If you mix the two correctly, instead of letting it all turn to slush by Tuesday, you’re able to safely store food for four days.
It’s not the warm soda; it’s a slushy mess of dissolved ice and water-logged buns that doesn’t do anything to cool down your meat. When you reach for a drink, you pick out lukewarm cubes that dissolve before they even hit your glass because they has lost their ability to cool anything down.
How to Keep Your Cooler Cold
It’s just science: Cubes melt fast because they have a large surface area for their small volume. They cool down your drink instantly and fit into the cracks in bags and cans, but they lose their coldness quick once the shock effect is over. Blocks has a small surface area compared to their overall volume, which is why it takes forever for the heat to reach the middle of a block of ice, making them a slow melt. Use cubes to fill spaces that are hard to reach or difficult to access quickly, but use the blocks underneath as a long-term cold battery.
The amount of ice we think we need when packing our coolers is usually far greater than what’s necessary due to ignoring lid openings. You can’t count on your cooler sitting in one place all day without having to open it to add food and every time you raise that lid, you’re letting warm air in and cold air out. The calculator does the math for you by simply entering your planned trip duration and number of access points to determine if you’ll need five or ten bag.
Even if your cooler has great insulation, constantly raising and lowering the lid increases your ice requirement, as the majority of people don’t realize how much this influence ice retention. While a soft-sided day cooler could maintain cool temperatures for up to six hours when stationary in the shade, repeatedly opening its lid every hour reduce your cooling power by almost half before lunchtime.
How much to use depends on what kind of food you’re bringing too: You’ll probably want lower blocks off to one side or the other (rather than right next to each other) if you’ve got some raw meat or raw fish that you don’t want dripping water contaminating your protein, but you will definitely want the ambient air in there as close to thirty-eight degrees. Thirty-eight is the magic number; the safe zone. Putting a few cubes on top of your warm groceries will get the overall temp down fast early on in the trip, while blocks below keep the bottom nice and cold. Even when the stuff on top melt into water. The trick with this method is that it reduces heat transfer from two directions at once.
And of course there’s ambient temperature. But it is not necessarily how you think. In moderate temperatures like seventy degrees, a regular old hard cooler can maintain ice for up to three days when mixed properly. But throw those temps up to ninety-five and even a well-insulated cooler won’t outlast you unless you dramatically increase the block-to-ice ratio. In other words, certain factors influence heat retention exponentially while others linearly.
Shading your cooler is every bit as important as the quantity and type of ice within its walls. When exposed to direct sunlight, the lid of your cooler will develop localized hot spots which melt surrounding ice at an exponential rate compared than mere ambient air.
This one’s easy: Start with cold stuff. This is true for both groceries and beverages. Pulling things down from room temperature uses a lot more of your ice supply. Even if you have plenty of ice, there is no reason for it to struggle just to get your food and beverages to a safe starting point. Keep them cold before putting ’em in the cooler and your ice will spend its time keeping ’em cool instead of trying to catch up. It is a simple habit that extends your cooler life by hours if not days.
Lastly, think about the melted water. Everyone says to dump it out, but they say that assuming the water was warm when melted. You are throwing away cold water that is actualy cooling things down in your cooler. You are throwing away chillable goodness. Don’t dump the water out unless it is clearly warm or there is something in it that could get contaminated.
You want to get maximum thermal mass with minimal transfer of heat. Packing smart (and getting the ratio right) would of make your cooler do exactly what it promises to do.