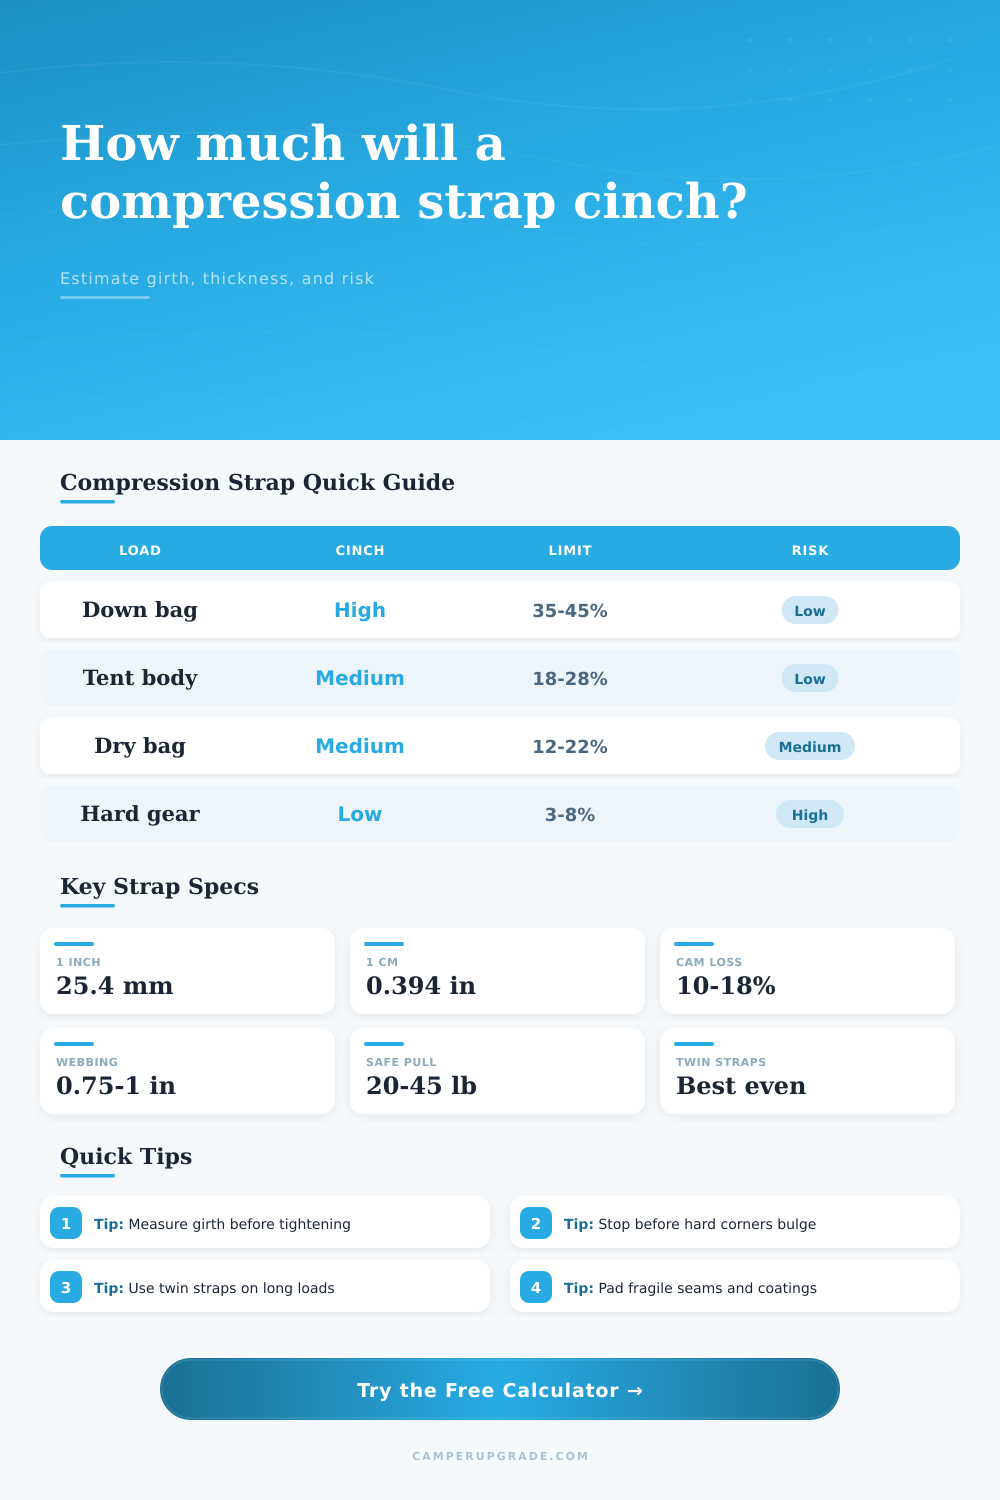
Compression Strap Cinch Reduction Calculator
Estimate how much a strap pull changes pack girth, load thickness, packed volume, and pressure risk for soft camping gear.
📌Named field presets
⚙Cinch inputs
Cinch reduction estimate
Formula 1: effective cinch = tail pulled × buckle efficiency × strap evenness factor.
Formula 2: thickness change = effective cinch ÷ shape conversion factor, capped by material limit and safety buffer.
Formula 3: final girth = starting girth – actual strap-path reduction.
Formula 4: volume reduction compares estimated cross-section before and after cinching over the measured load length.
📊Material and strap spec comparison
📐Compression material limits
| Gear material | Typical useful reduction | Suggested pressure ceiling | Calculation note |
|---|---|---|---|
| Down quilt or jacket | 30% to 42% thickness | About 1.2 psi | Compresses easily, but needs recovery margin for loft. |
| Synthetic sleeping bag | 22% to 32% thickness | About 1.6 psi | Bulkier fibers take more pull for the same girth change. |
| Puffy clothing bundle | 25% to 36% thickness | About 1.4 psi | Loose folds settle well when two straps share the load. |
| Tent body or fly fabric | 15% to 22% thickness | About 2.1 psi | Fabric packs flatter but poles, clips, and seams create hard spots. |
| Tarp or silpoly roll | 12% to 18% thickness | About 2.0 psi | Slick coatings reduce buckle efficiency and can creep after tightening. |
| Loaded dry bag | 10% to 16% thickness | About 1.8 psi | Air purge, contents, and roll-top stiffness limit real reduction. |
| Foam pad stack | 5% to 10% thickness | About 1.1 psi | Foam dents before it meaningfully shrinks. |
| Hard or rigid gear | 2% to 6% thickness | About 3.0 psi | The strap mostly stabilizes; the calculator caps reduction sharply. |
🧮Strap path factors
| Load shape | Thickness formula | Path factor used | Best strap setup |
|---|---|---|---|
| Round roll or stuff sack | Thickness change = girth change ÷ π | 3.14 | Two parallel straps, evenly spaced |
| Oval duffel or dry bag | Thickness change = girth change ÷ 2.55 | 2.55 | Two to three straps over broad panels |
| Rectangular pack cube | Thickness change = girth change ÷ 2.05 | 2.05 | Side straps that press opposing faces |
| Flat stack or side panel | Thickness change = girth change ÷ 2.00 | 2.00 | Wide strap or twin straps to avoid dents |
📏Webbing width and pressure guide
| Webbing width | Metric width | Typical camping use | Pressure effect |
|---|---|---|---|
| 0.5 in | 12.7 mm | Small pouches, light quilt straps | Highest pressure; watch seam bite |
| 0.75 in | 19.1 mm | Backpack side compression straps | Balanced pull and packability |
| 1.0 in | 25.4 mm | Dry bags, duffels, roof-adjacent lash points | Lower pressure for the same hand pull |
| 1.5 in | 38.1 mm | Large bundles and padded gear wraps | Spreads force well but needs larger buckles |
🏕Common camping cinch scenarios
| Preset scenario | Starting girth | Tail pull | Expected result |
|---|---|---|---|
| Down quilt roll with twin straps | 34 in | 3.5 in | Useful shrink with low pressure |
| Synthetic bag in side straps | 42 in | 4.0 in | Moderate reduction, watch rebound |
| Tent body bundle under lid | 30 in | 2.2 in | Small profile gain without seam stress |
| Wet gear dry bag on rear rack | 38 in | 2.0 in | Limited reduction; stability is the main win |
| Foam pad stack with wide strap | 28 in | 1.5 in | Low reduction, dent risk before bulk change |
💡Cinch calculation tips
Starting girth should follow the buckle path exactly. Cinch half the target pull, shake the bundle once, then finish the pull and measure again.
A low volume number can still be too aggressive if narrow webbing crosses coatings, seams, zippers, foam, or rigid packed corners.
Then there’s that moment where your sleeping bag refuse to enter its compression sack. Pulling on drawstring, you notice it flaps beyond the rim. Logic says keep pulling, so you do. But soft gear isn’t infinitely compressible. It have structural limits set by fiber loft and presence of air pockets. Before applying final force, know what you’re measuring; this is the trick.
Compression straps aren’t magic levers for space. Compression straps are connection between your pack and their closure device. They is engineered to trade girth for thickness. Efficiency drop with webbing stretch and friction. But we do the math for you in the calculator above. But it’s the input fields that reveal what happens inside your pack.
Why You Should Not Pack Too Tight
The starting point is how much girth there is, which define the amount of fabric the straps must shrink around. It’s important because circumference reduces more rapidely than diameter. For example, a thin roll of material will dramatically alter its profile with a little strap take-up. A bulky duffel won’t even budge.
This is why the tool ask for the load shape. Rectangular pack cubes behaves different than round stuff sacks. Geometry determines how pressure distribute over the surface area. Most estimates miss material properties. Down wants to bounce back. Its loft memory means that crushing it too hard can damage fiber and cause warmth loss. Synthetics are more dense and don’t bounce back as well, but they does clump up when compressed.
The calculator account for those differences with an estimated safety buffer. Fitting the bag in is one thing, but maintaining its insulation value is another. Down clusters will gets crushed if packed too tightly. Once that happens, there’s nothing you can do on trail to restore the warmness. You may gain 2″ of width at home, but you’ll lose 3° in the mountains. It should of been a bad tradeoff.
But people might overlook the pressure risk output most of all. Narrow webbing bites into material. If concentrated on a zipper track or other seam, it can peel off waterproof coatings or cut through nylon with a half-inch strap. To predict this the tool accounts for webbing width as well. Wider straps spread the load and don’t act like a knife but more like a clamp. That’s why accessory loops on older packs were narrow while side compression straps on new packs tend to be wider. They are designed to hold their shape yet not destroy what’s inside.
Touch a bag that’s been over crunched and you’ll feel the difference, it loses its flexibility, the fabric feels thin and stressed. Another factor is how efficient the buckle is. Metal teeth is toothy! They really grab. Plastic cam buckles slips a bit. Effective take-up goes way down if your webbing is soiled or wet. You can adjust for this friction loss with calculator. This avoids being over-optimistic and cinching too tight.
I pulled back two inches on my tail and expected it to reduce by two inches. However, I got only one inch because I wasted half of my force overcoming hardware friction. You can avoid that mistake by measuring the actual path before tightening.
So in the end, it’s all about volume and stability. A little bigger bag that hugs your back will move with you. A small package of tightly packed gear bounce and jiggles. This create hot spots on your hips. Take the numbers as a suggestion, but rely more heavily on feel. Once you start feeling the gear become tight but still have some wiggle room, let go. You’ve got plenty of space.
We’re looking for less bulk, not beating our gear to death because we want a smaller silhouette. When you lay out that pack at camp, it should be able to puff right back out again with confidence. That’s the real test of a job well done.