Gray Water Dispersal Area Calculator
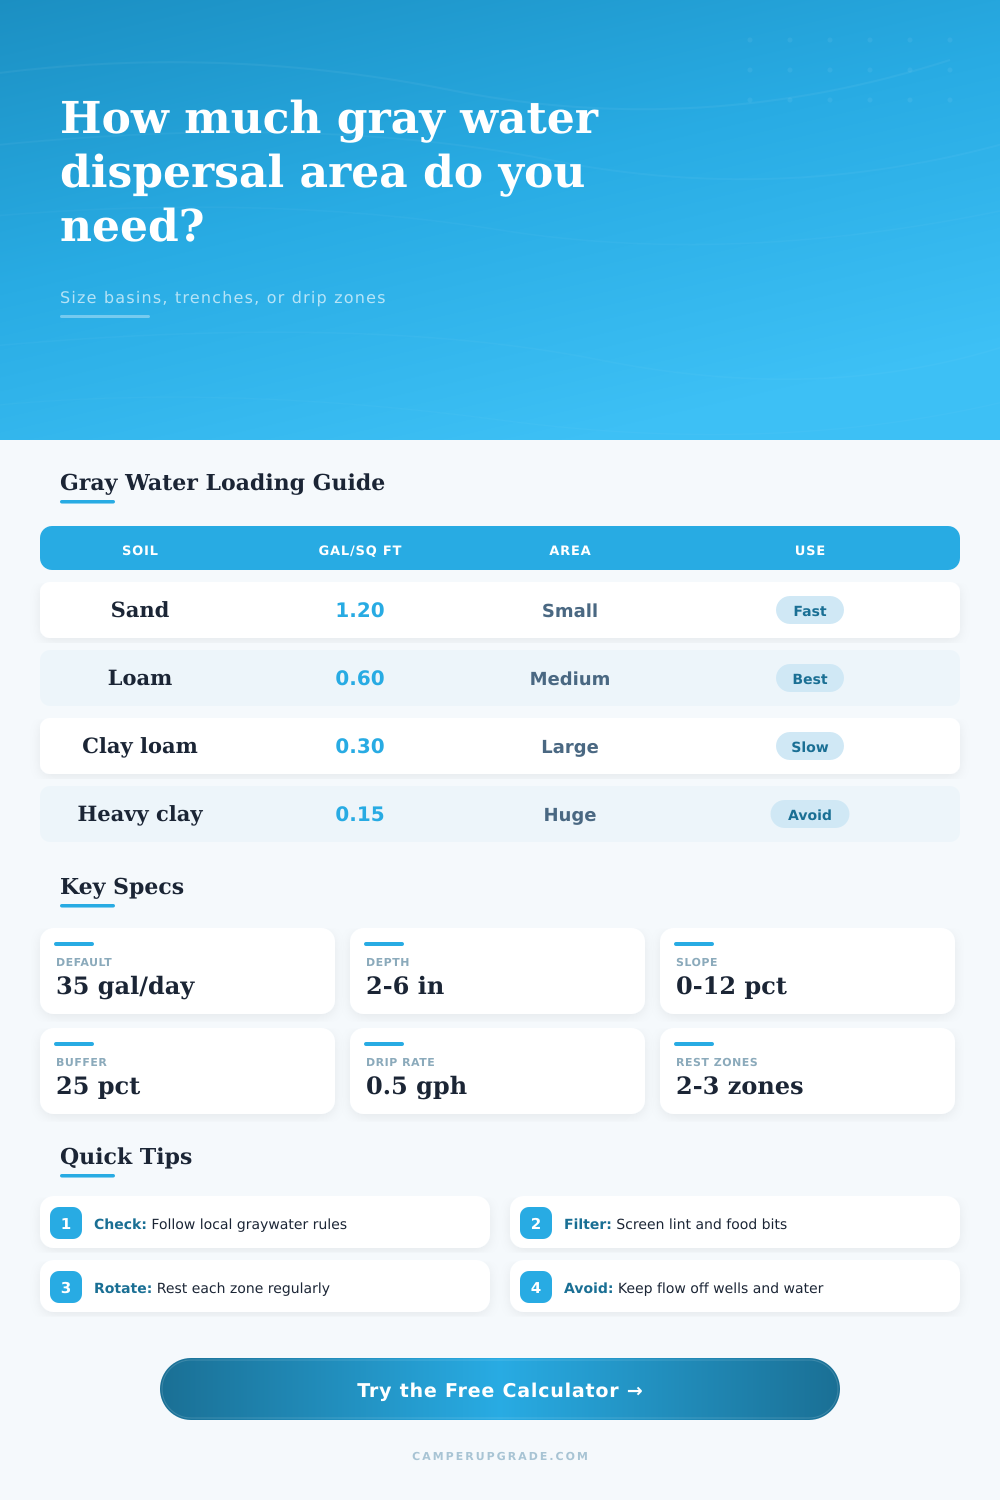
Estimate the mulch basin, shallow trench, or drip-zone area needed to absorb RV graywater using daily flow, soil loading rate, slope, rest rotation, and a safety buffer.
| Soil or receiving area | Planning loading rate | Metric equivalent | Best use |
|---|---|---|---|
| Coarse sand | 1.20 gal/sq ft/day | 48.9 L/sq m/day | Fast-draining basins with excellent separation |
| Sandy loam | 0.90 gal/sq ft/day | 36.7 L/sq m/day | Small RV zones and filtered drip layouts |
| Loam | 0.60 gal/sq ft/day | 24.4 L/sq m/day | Balanced default for vegetated mulch basins |
| Silt loam | 0.45 gal/sq ft/day | 18.3 L/sq m/day | Moderate areas with good surface mulch |
| Clay loam | 0.30 gal/sq ft/day | 12.2 L/sq m/day | Large rotated areas, light daily flow only |
| Heavy clay | 0.15 gal/sq ft/day | 6.1 L/sq m/day | Avoid if ponding, runoff, or poor separation exists |
| Use pattern | Typical flow | Four-person daily load | Loam area before buffer |
|---|---|---|---|
| Strict conservation | 5 gal/person/day | 20 gal/day | 34 sq ft |
| Low-flow RV fixtures | 8 gal/person/day | 32 gal/day | 54 sq ft |
| Average RV use | 12 gal/person/day | 48 gal/day | 80 sq ft |
| Long showers or dishwashing | 18 gal/person/day | 72 gal/day | 120 sq ft |
| Partial tank dump event | 25 to 40 gallons | Surge only | Needs basin storage check |
| Layout style | Width assumption | Length for 100 sq ft | Planning note |
|---|---|---|---|
| Round mulch basin | Area based | 11.3 ft diameter | Use several basins around trees for rotation |
| Shallow trench | 2 ft wide | 50 ft total | Split into level runs rather than one steep line |
| Vegetated swale | 3 ft wide | 34 ft total | Keep flow broad and below the surface when possible |
| Filtered dripline | 2 ft wetted strip | 50 ft total | Needs screen filter and flush point |
| Infiltration bed | 5 ft wide | 20 ft total | Good for compact RV pad edge zones |
| Scenario | Daily graywater | Soil used | Area with 25% buffer |
|---|---|---|---|
| Solo weekend van | 6 gal/day | Sandy loam | 9 sq ft |
| Couple boondock week | 20 gal/day | Loam | 42 sq ft |
| Family travel trailer | 48 gal/day | Loam | 100 sq ft |
| Outdoor sink station | 25 gal/day | Sandy loam | 35 sq ft |
| Clay soil backup area | 30 gal/day | Clay loam | 125 sq ft |
At this point, your romance with off-grid camping fizzles out when you have a full gray tank and nowhere to dump it, all while your water supply is dwindling fast. The closest facility is miles away, and the camp host are unavailable. Off-grid camping suddenly becomes more like a physics equation than anything else.
On one side, you need a spot for all that water to be deposited. But on the other, you don’t want it just sitting there and making a swampy mess around your wheels. Once you input your site conditions into calculator above, it will do the math for you so you won’t have to guess if your patch of dirt can take it.
How to Use Water in Your Campsite Soil
Infiltration rate (the speed at which your soil takes in water) is name of the game. Sounds easy enough…except that not all dirt are created equal. Sandy soil? Nice job! It is a sponge. It will soak up gallons in minutes without a word of complaint. Well done! A sponge, it will soak up gallons in minutes with nary a word of complaint. Is it clay? More like plastic wrap. Every single drop sits right there on top of the surface waiting for a crack, or better yet, to flow downhill into your neighbor’s tent.
So…what do you got? Dig around and find out before you do anything else. A few shovel test can tell you quickly, but be conservative; it’s always better to be safe then sorry. Assume your soil’s loamy, but you suspect some clay below. Go for the lower rate. It adds some square footage to the plan, but it doesn’t let things pond. And ponding are the enemy of any dry campsite.
The size of the area also relies pretty significantly on the amount of water you’re really producing. For example, most folks think they produce less then what they actualy do. Washing dishes produces as much water as taking a shower, but everyone forget about the water from doing dishes. Cooking for more than one person? Washing pots between meals?? That adds up FAST.
To calculate the daily volume, the tool prompts you with the number of gallons per person, plus the number of people. Then, it divides that by your soil’s capacity to find the total area needed. BUT, we don’t stop there. Real life gets messy! Your friends comes over for dinner. Or maybe you took an extra long shower after a hard day of hiking. So we include a 25% buffer for those kind of things, to make sure your system won’t fail you at its highest use.
The other thing that trips people up is rotation… Which actualy totally makes sense if you think about lawn care. You don’t water the exact same spot of grass every single day! You move around so that the soil has time to dry out a bit and breathe. Graywater systems does that too. Divide your dispersal area in half (or third) so that you have multiple zone, which allows you to focus on one zone for a few days, and then switch to another while the first recovers. That way no one gets drowned, there isn’t any odor buildup, and all the surrounding plants is happy too. Depending on how many zones you plan to build, the calculator will show you what the total installed area should of been. You face a trade-off: do you want more flexibility later? Or have enough space now?
For people who don’t have much level ground, there’s always drip irrigation. It’s slower, trickling across filtered lines buried beneath mulch instead of flooding a basin. But again, it takes some thought, how many emitters per square foot? How slow do they drip? Too fast, and it pools; too slow, and it sits in the lines growing bacteria. You have to balance the number of emitters and their run time to keep the soil moist without letting it get to wet.
Another complicating factor: Site slope (water wants to move downhill, which is useful for gravity flow but dangerous if it creates runoff before soaking in). That’s helpful when you want it to drain by gravity, but not so good if it causes runoff before infiltration. The key: On a steep site, provide additional surface area to help the water slow down and have time to soak in. Otherwise you’re left with a channel where there should be a healthy absorption zone.
Remember: it’s not an exact science; it’s building systems that understand their limits. You’re matching nature’s ability to absorb with human habit. And you will have to do some trial and error, particularly in the first season. On a day when you get a big dump of water on the soil, watch what happens. By midday, has it dried? Is it still glistening the following afternoon? What the numbers say, your eyes will tell you. Do not worry if you need to make adjustments in your zones, start small, pay attention, go from there. Aim to leave no trace…except perhaps some ever-so-slightly greener grass where the trees happens to be planted.
The bottom line is that managing your own greywater is all about treating the earth below you as if it’s alive: It filters your waste with no complaints; just don’t treat it as if it were a sewer line. And with an empty tank and a clear conscience, you’re off again on another mile down the road.